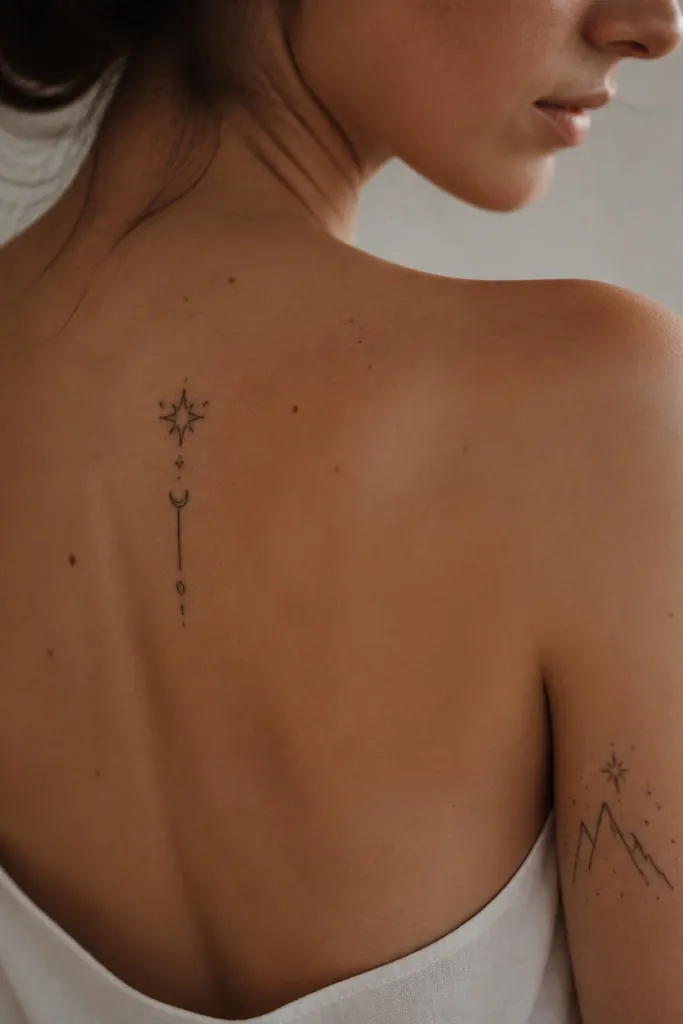
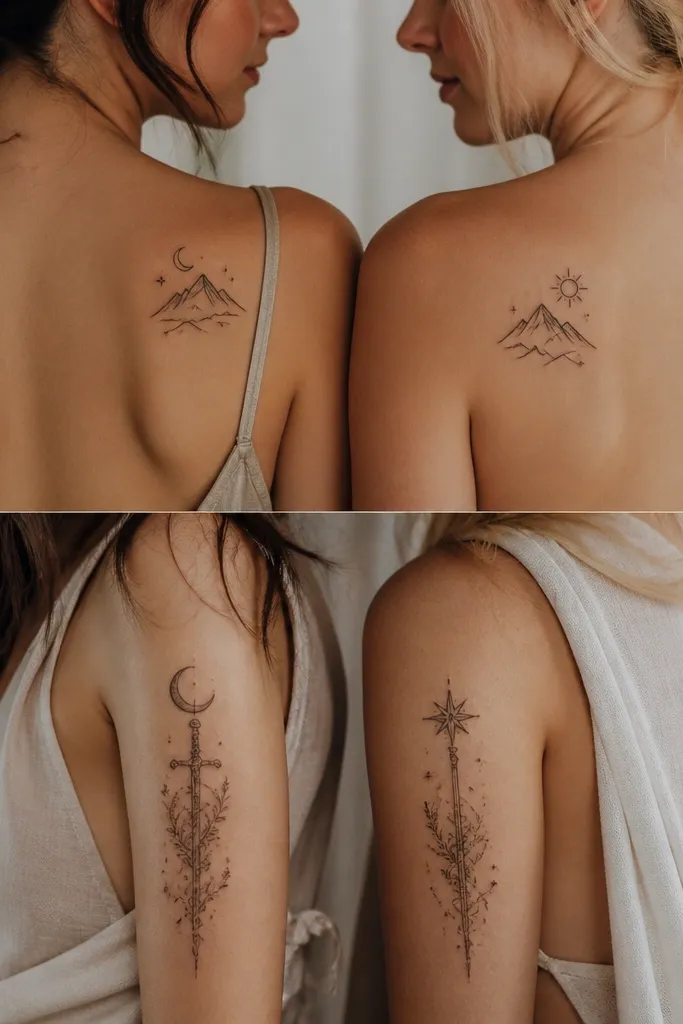
1. Court Sigil Pair - Two Suns and One Crown Line
This set works because sigils read as icons even when the skin softens. I've done versions with a single warm gold highlight and the rest as black lining - the gold fades first, but the silhouette still looks intentional. The crown arc also creates a clear visual rhythm so your eyes don't get stuck on tiny details.
Place the sunburst on the outer forearm about 6-8 cm below the elbow crease, and place the crown arc on the inner forearm at the same height so the pair lines up when you both hold your arms out. Keep the line thickness around 2-2.5 mm for the main outline, with negative space inside the sun rays so it doesn't turn into a blob. Skip micro-dots; use short ray segments instead.
Pro tipAsk your artist to redraw the rays so they're slightly thicker than the reference. That one change is the whole before-and-after difference.
AvoidAvoid tiny crowns with thin spikes - they blur into a dark halo after a year.
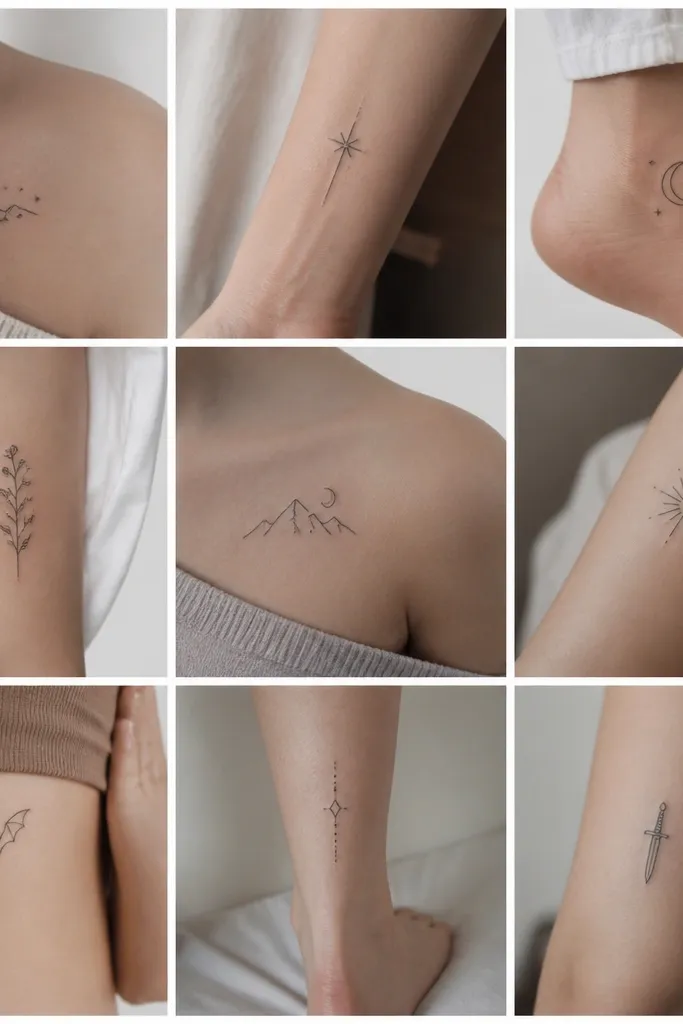
2. Starfall Constellation - Night Sky Dotwork With One Red Star
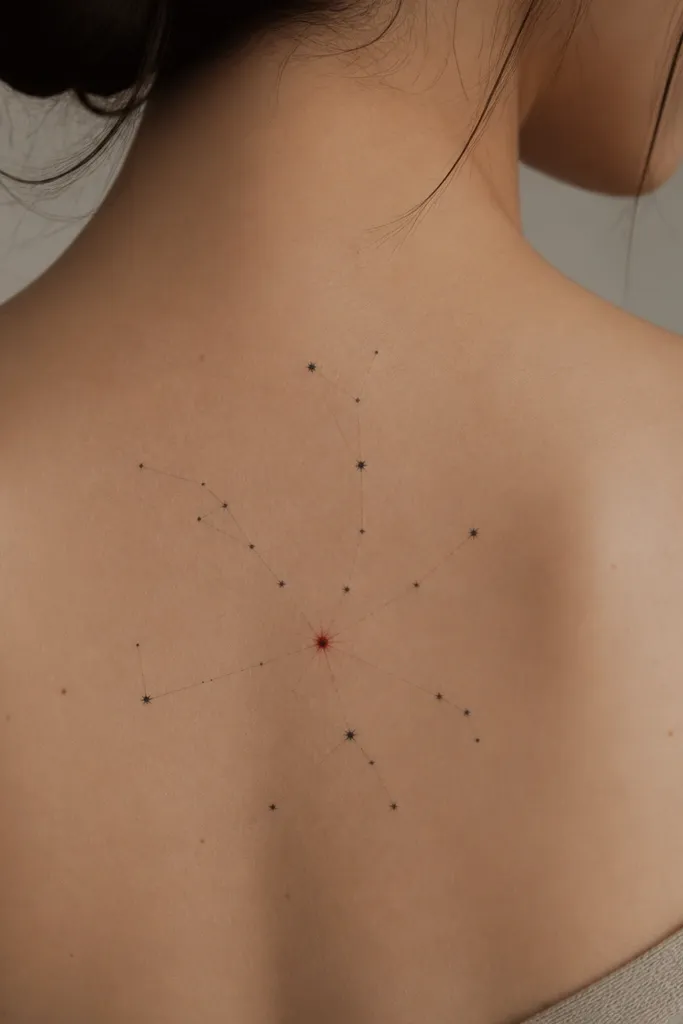
Dotwork constellations heal beautifully because dots stay dots. I like this design with one red star because it gives you a "hook" color that survives even when the skin lightens. The thin connecting lines can soften a bit, but the constellation pattern still reads from across a room.
Use a 10-14 cm vertical placement on the outer calf or outer upper arm. Keep the red star about the size of a pencil eraser head compared to the other dots, so it doesn't disappear. Color plan: black/gray dotwork with a single small red accent - no large red fills.
Pro tipDo a quick stencil test from two angles - standing and sitting. If it looks like a blob from one angle, resize before you ink.
AvoidAvoid lots of mid-gray shading under the dots; it turns into a flat patch after healing.
3. Rhysand-Style Feather Stroke - Black Ink Only, With One Soft Gradient Edge

A feather is one of the best ACOTAR best friend tattoos because it has natural motion lines that still look elegant when healed. I've seen black-only feathers age better than anything with lots of teal or bright blues. The soft gradient edge gives depth without relying on color staying perfect.
Put it on the outer bicep or upper forearm, running diagonally so the feather follows the muscle line. Keep it narrow - about 3-4 cm wide at the widest part - and let the tip taper to a fine point. Ask for a controlled gray wash only at the outer edge, not through the center.
Pro tipUse a slightly larger stencil than you think you need. Feather tips shrink visually as they settle.
AvoidDon't add layered feathers with thin spacing; they merge into a single dark smear.
4. Amren's Crystal Chain - Interlocking Geometric Links

Geometric chains are built for healing because the negative space is doing the work. The "crystal" look here comes from sharp outlines and tiny un-inked gaps that catch light, not from heavy color. It reads like jewelry from day one and still looks like jewelry after the skin calms down.
Place it high on the outer forearm like a cuff, about 2-3 cm above the wrist crease. Size it to wrap around the arm - don't keep it flat; ask for a slight curve in the stencil. Use black linework with small white highlight gaps (left blank), and add a thin gray shadow only under the top edge of each link.
Pro tipBring a real bracelet to the appointment and match the curve. Your body already has the curve; the tattoo should borrow it.
AvoidAvoid thick fill inside each link - it kills the crystal effect and makes it look like a patch.
5. Fae Runes Band - One Thick Band, No Tiny Text
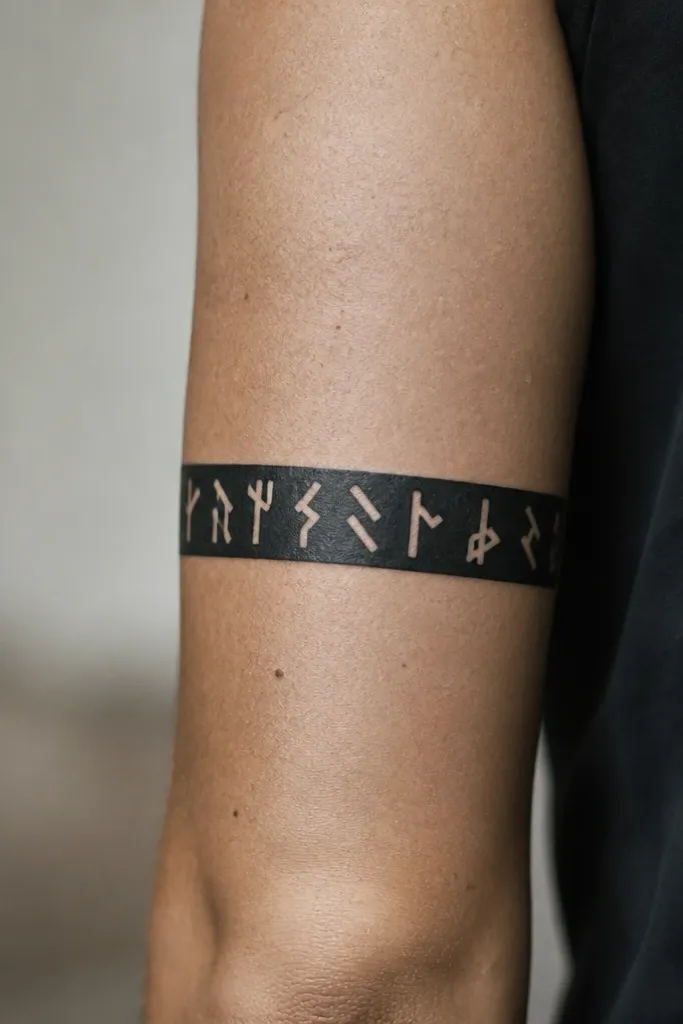
Rune bands look dramatic and heal clean when you avoid micro-lettering. This design uses negative-space "cuts" instead of packed text, so even if the skin softens, the runes still show. It also creates a matching effect because both friends can get the same band width and symbol spacing.
Place it across the upper arm outer edge or on the upper calf. Keep the band height around 10-12 mm. Make the rune cuts wide enough to read (think 1.5-2 mm minimum) and keep the band color solid black with no extra gray patterns.
Pro tipAsk for a stencil grid. If the symbols aren't evenly spaced, the healed tattoo looks crooked even if you didn't notice during the session.
AvoidSkip any runes smaller than a grain of rice - they blur into a dark texture.
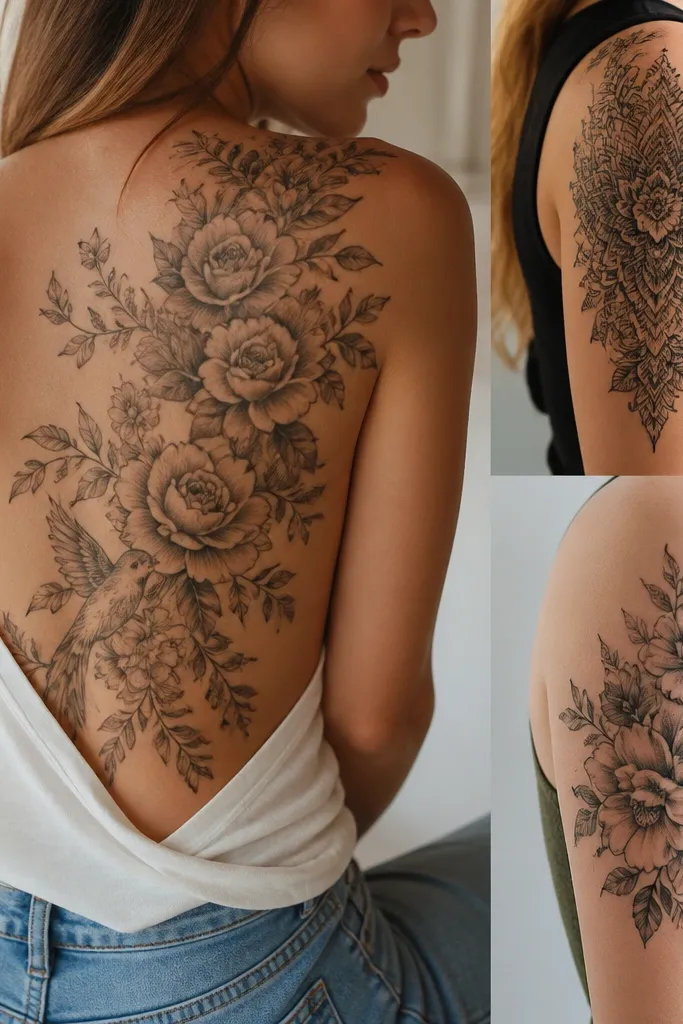
6. Vine and Thorns - One Vine, Two Different Endings
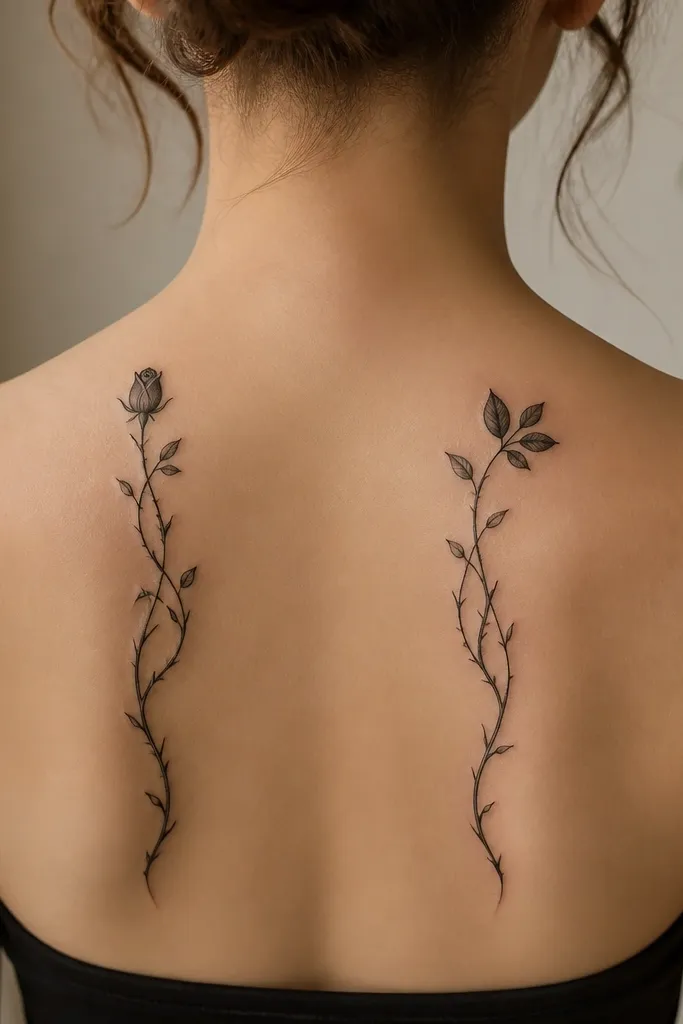
This is a great best friend approach because the main vine is shared, but the ending tells your individual story. Vines heal well when the linework isn't too fine - thorns should be short and bold so they don't turn into fuzz. The rosebud end gives a softer romantic note, while the leaf cluster keeps it grounded.
Do the vine on the inner forearm or the outer thigh, running in a gentle S curve. Make the shared vine section about 7-9 cm long, then split the last 2-3 cm into different endings. Keep the thorn tips at a consistent thickness so both tattoos look like they belong to the same set.
Pro tipMatch the direction of the vine on both bodies. When you stand side by side, the flow should look continuous.
AvoidAvoid long, needle-thin vines. They stretch with movement and heal uneven.
7. The Book Spine Banner - Chapter-Style Banner Without Letters
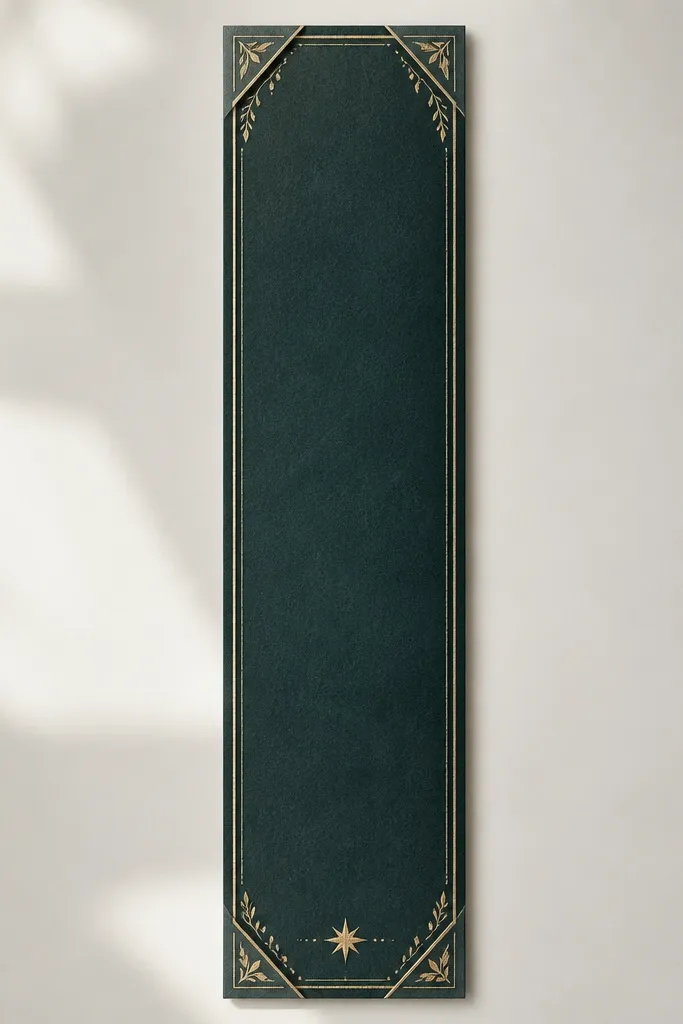
If you want an ACOTAR "book moment" without gambling on tiny text, banners without letters are the move. The folded corners create structure, and a single star keeps it unmistakably fae. It looks like a page mark, not like a random tattoo, even after healing.
Place it on the side of the ribs or the outer upper arm, vertical and straight. Height around 8-10 cm, width 1.5-2 cm. Use black linework with a thin gray shadow under the folds only. Add one small star at the bottom using dotwork.
Pro tipUse a stencil that includes the corner folds. Those folds are what make it look intentional instead of like a generic rectangle.
AvoidDon't include actual quotes in a font smaller than 8-10 pt equivalent on the stencil.
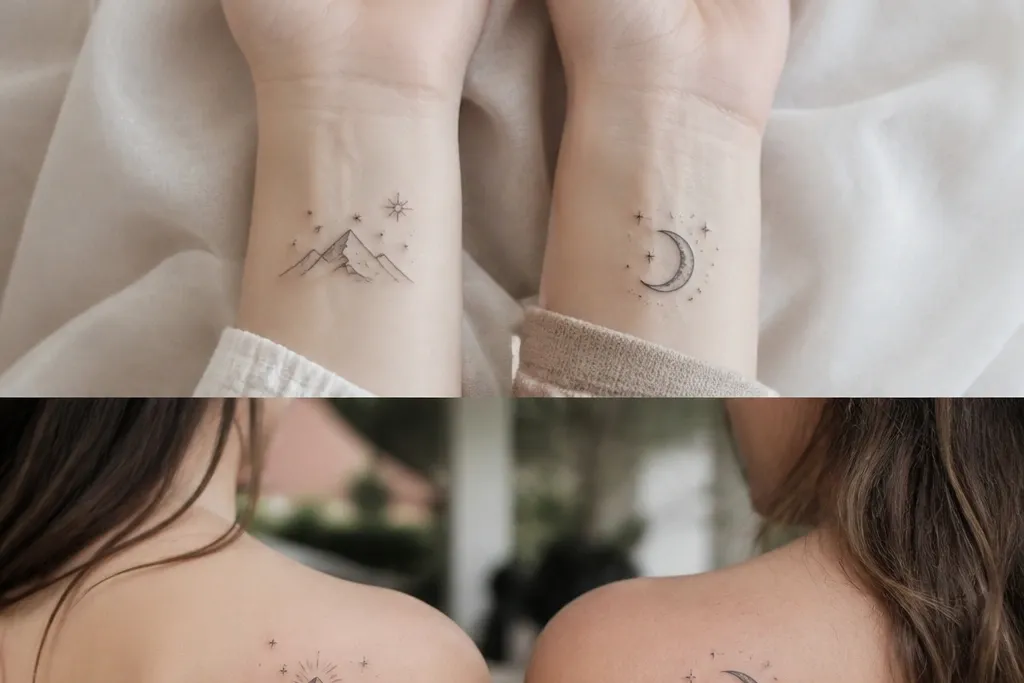
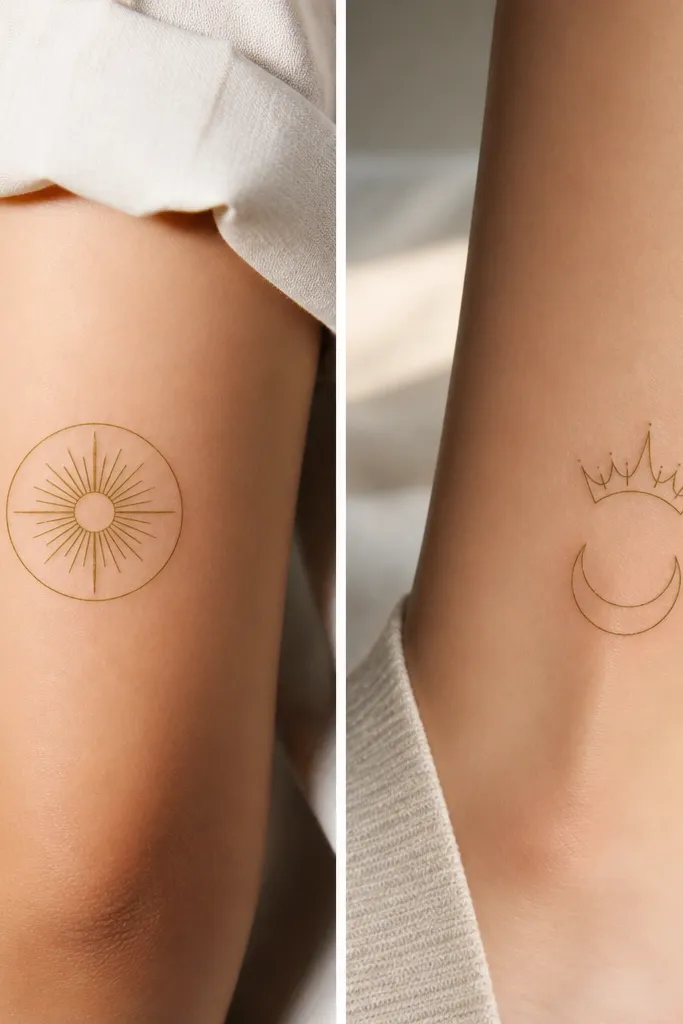
8. Moon Phases + One Spark - Matching Left/Right Placement
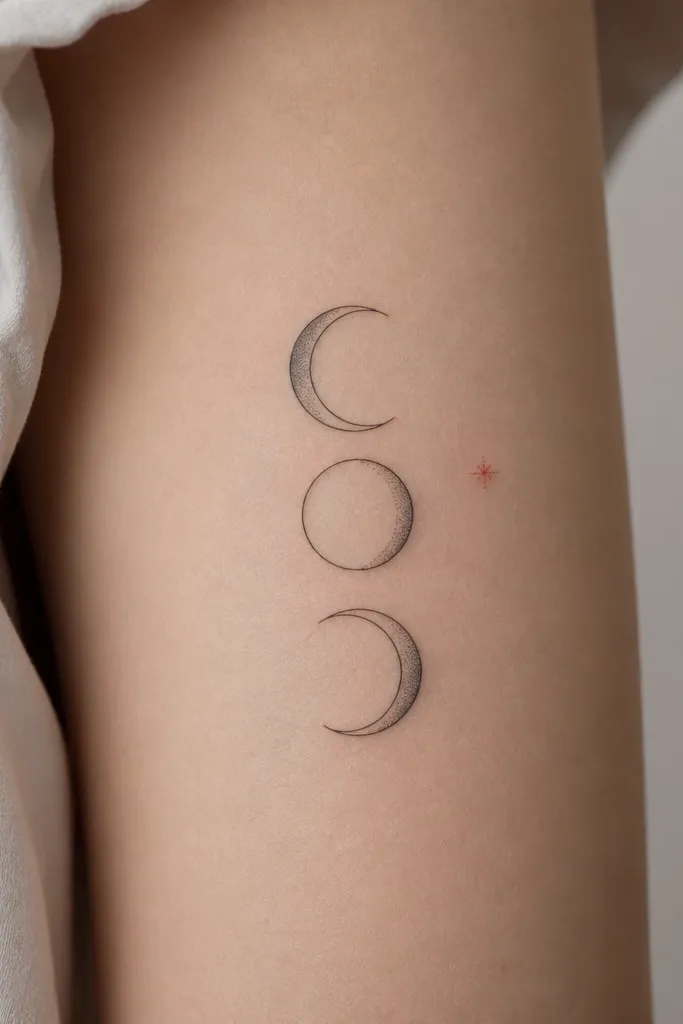
Moon phases are instantly readable and they age better than you'd think because each phase is a clear silhouette. The red spark gives a modern accent that still looks like "magic" once the tattoo settles. Doing left/right placement on you and your friend makes the pair feel coordinated without forcing identical bodies.
Place one set on the inner wrist area just above the wrist bone and the other on the opposite wrist. Keep it small: 4-5 cm tall. Use black outlines, lightly shaded crescent fill on only one phase, and keep the red spark to a single dot or tiny three-dot cluster.
Pro tipIf you're worried about wrist fading, pick a slightly thicker outline and ask for minimal shading.
AvoidAvoid heavy gray realism on the moons. It turns into a gray smear in that spot.
9. Court Garden Flower - One Black Outline, One Color Petal
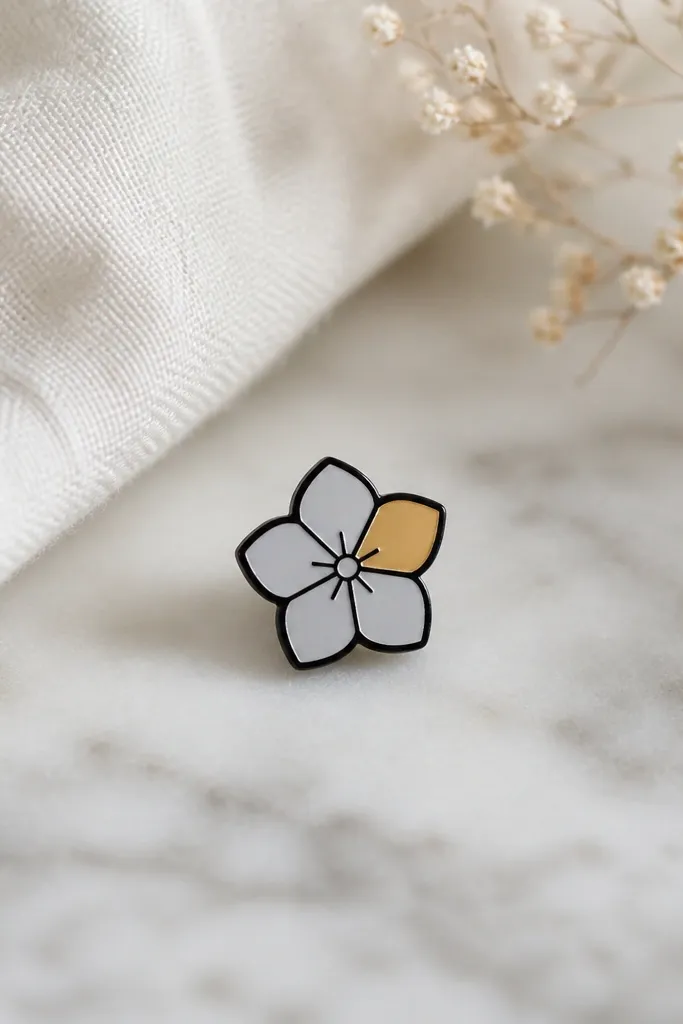
This one is for friends who want something softer than runes but still ACOTAR. One color petal gives you that "fae garden" vibe without needing the color to survive perfectly. The black outline anchors the shape so even if the gold fades, the flower stays crisp.
Place it on the outer upper arm or calf, about 6-7 cm below the knee or on the bicep outer edge. Size around 3-4 cm across. Use muted gold (not bright yellow) and keep fill light. The rest is black line with a light gray shadow under each petal.
Pro tipPick gold that matches warm skin highlights. If you test the color on your wrist, you'll see whether it's too bright.
AvoidAvoid full-color flowers with multiple bright pigments. They can muddy as they heal.
10. Raven Feather + Tiny Sigil Charm - One Tattoo Has the Charm
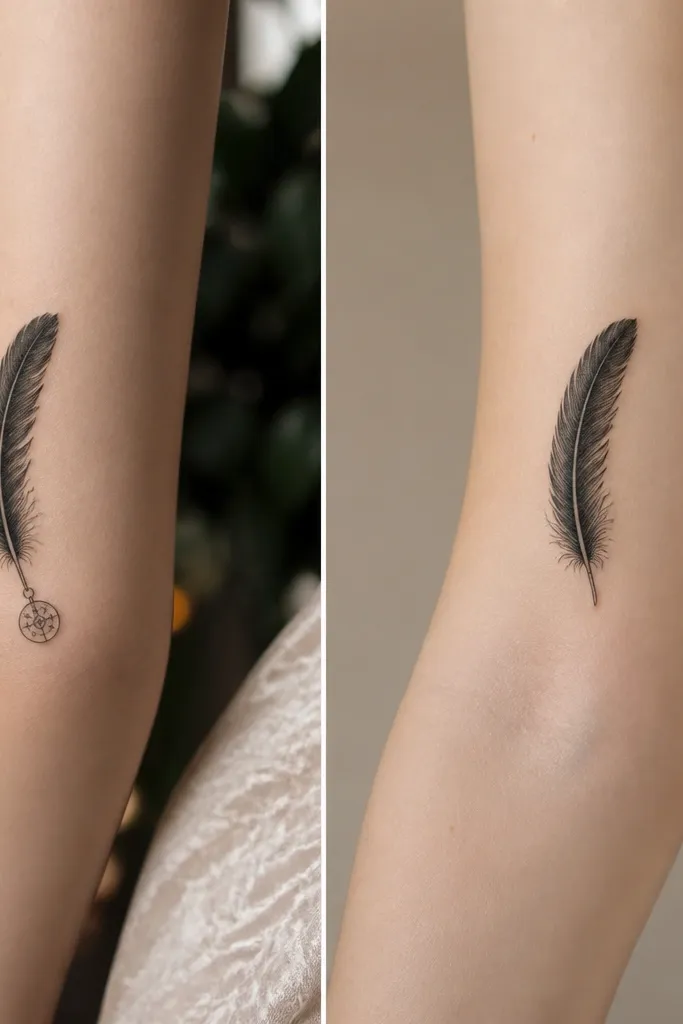
This set looks like a matched pair even when they aren't identical. The feather is the shared anchor, and the tiny charm becomes the "before and after transformation" moment when it heals - small charms can fade, but the overall silhouette stays strong. It also feels like jewelry, which is exactly how these characters carry their symbols.
Place the feather on the outer forearm at a diagonal, 7-9 cm long. Add the charm on one friend near the feather base, like it's hanging. Keep the charm diameter around 8-10 mm and use black outline only, no tiny text.
Pro tipIf you want the charm to survive, keep it thicker than you think. Tiny circles need bold edges.
AvoidDon't attach the charm with super thin lines. It breaks up visually once the skin smooths out.
11. Protector Sigil Shield - Negative Space Starburst
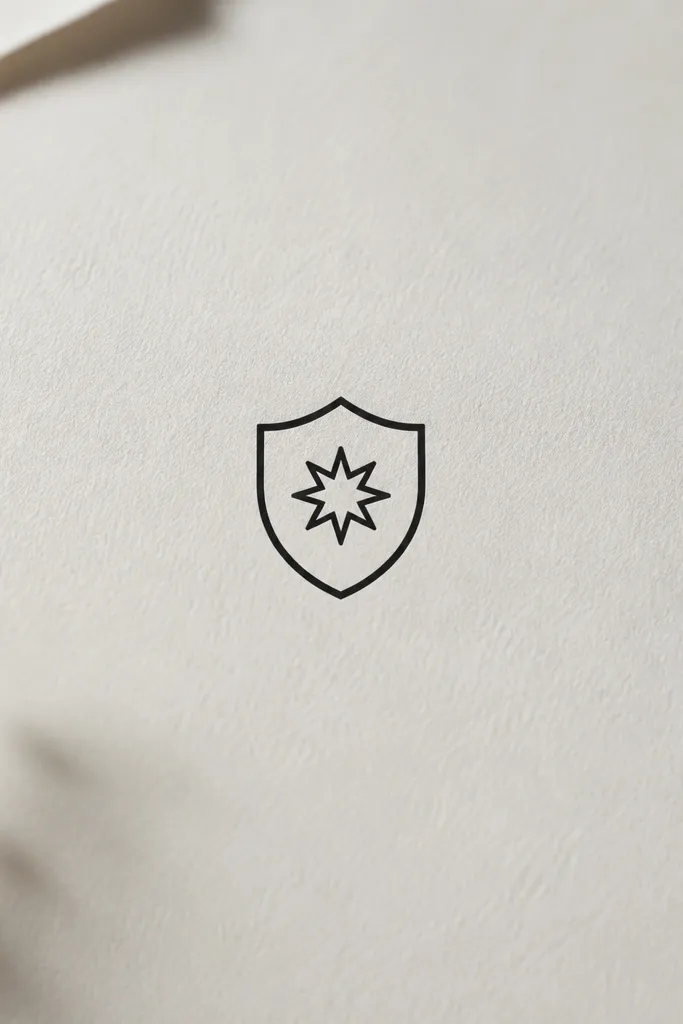
Negative space starbursts are the cleanest way to get that protective "ward" look without heavy shading. The shield outline gives structure, and the cutout center keeps the design airy so it doesn't turn into a dark sticker. After healing, the starburst still reads because it's the absence of ink doing the work.
Place it on the upper arm outer edge or the front of the shoulder, about 5-6 cm wide. Keep the shield corners slightly rounded so it ages well. Use solid black for the outline and leave the starburst completely uninked. No gray - let the skin tone be the color.
Pro tipAsk your artist to print the stencil in real size and hold it against your skin for five minutes. If it feels too small on you, go bigger.
AvoidAvoid thin shield outlines. They disappear first and leave the starburst looking random.
12. Illyrian Wind Swirls - Two-Color Flow Lines
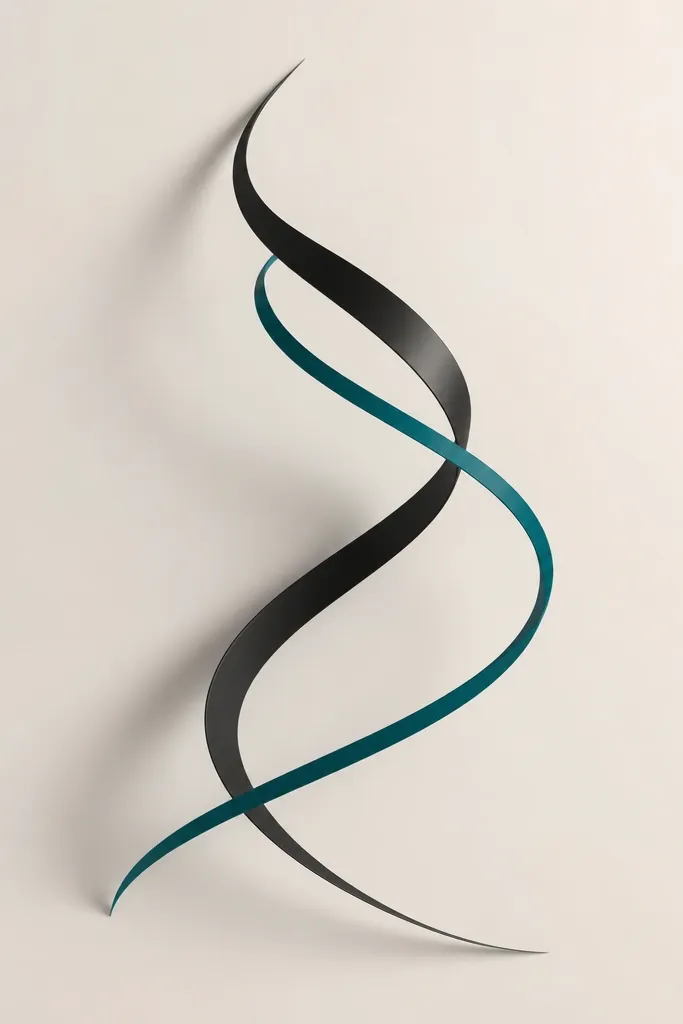
Wind swirls look alive when they have contrast and direction. The second color (dark teal) gives motion, but the black line keeps the tattoo readable when color fades. This design works for best friends because you can mirror the swirl direction so it looks like your tattoos are part of the same story.
Use the side of the ribs or outer upper arm for best movement flow. Size around 9-11 cm long, 2-3 cm wide. Keep the teal line narrow and add it only once per swirl - don't make it a full fill. Gray shading stays light and only sits under the black line.
Pro tipDo a mirror check. If the swirl reads backwards in the mirror, it will read wrong after healing too.
AvoidAvoid teal-black both being equally thin. One must be thicker so one line stays the anchor.