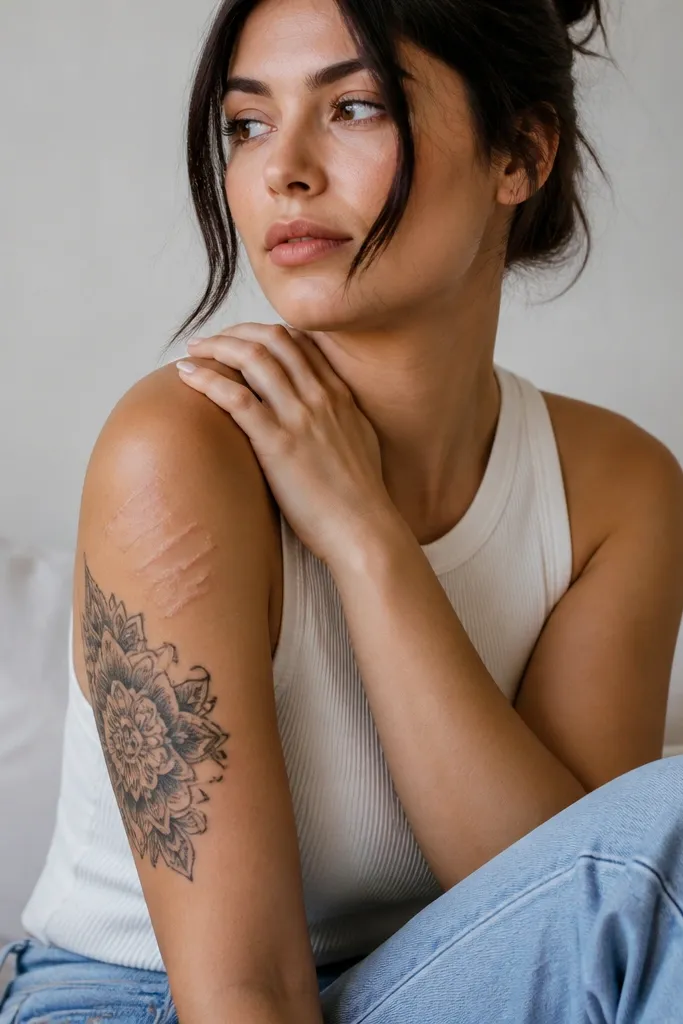
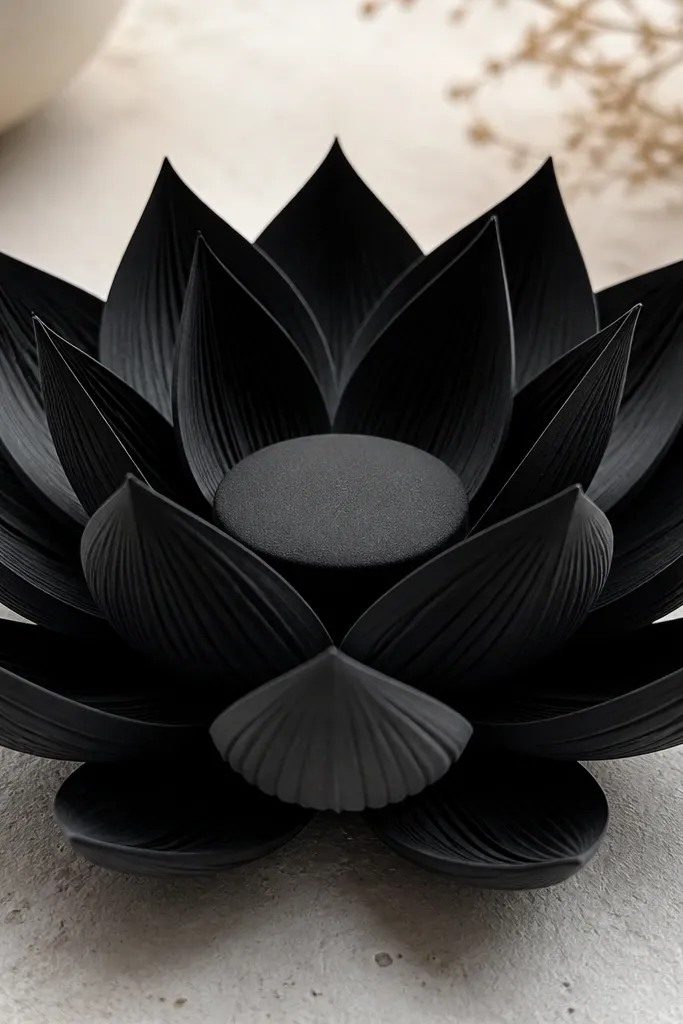
1. Black Rose With Charcoal Veil Shading
This works because the rose gives you a clear focal area while the charcoal veil shading smooths the scar's contrast. Black anchors the center, so the tattoo reads as intentional even if the scar texture shows through a little. The gray fade gives the eye a softer landing at the scar boundaries, which is what you want for cover-ups.
Place it where you can let the artist wrap the shading past the scar by at least two finger widths. Ask for the bloom to be darkest in the inner third, then lighten toward the outer petals with smooth packing rather than hard lines. Size it so the rose head spans the scar plus extra width, not just the scar length.
Pro tipIf your scar is slightly raised, request fewer tiny dots and more smooth gradient - dots can emphasize bumps after healing.
AvoidAvoid a rose that's mostly thin linework with no heavy center - it won't hide uneven texture.
2. Butterfly Wings in Dense Dotwork + Soft Color Wash
Dotwork hides scars well because the pigment is distributed in many small points, which reduces the "flat patch" look. The solid black body gives structure and keeps the tattoo from dissolving into the skin texture. The muted color wash stays light enough to feel airy but still adds depth so the scar doesn't become the main event.
Use a vertical butterfly if your scar runs horizontally - the wing span can cover more surface area. For renters, pick a placement that won't rub constantly, like outer upper arm or upper thigh. Keep the color minimal: mauve and teal at low saturation around the edges, not across the thickest scar area.
Pro tipAsk the artist to test stencil orientation by drawing it on with a marker for 2 minutes and watching how the wings sit when your arm bends.
AvoidSkip bright neon colors over a scar - they can highlight unevenness instead of disguising it.
3. Geometric Mandala With Black "Flood" Center
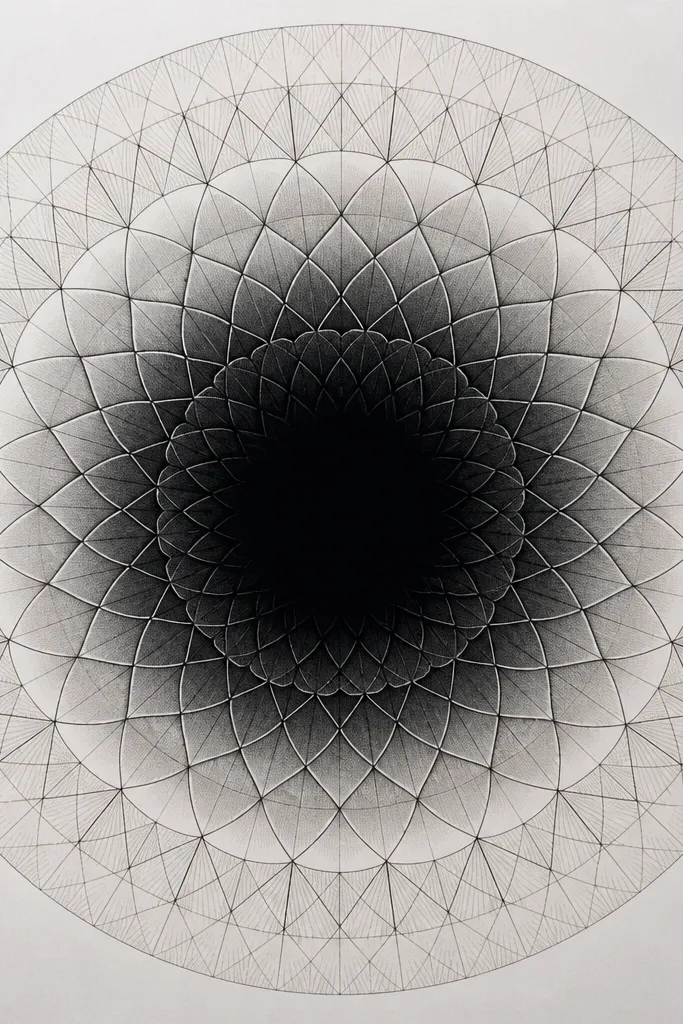
A mandala is great for scars because circles naturally pull coverage outward. The black flood center swallows the scar contrast, and the outer geometry gives you clean edges to make the whole piece look planned. When the gradients are handled smoothly, the tattoo doesn't look like it's sitting on top of a healed wound.
Go for a mandala diameter that's 1.5 to 2 times the scar length. Ask for the center to be solid black with a soft feathered edge, then add geometric lines only where the skin is calmer. If your scar is raised, keep the outer ring slightly thicker and avoid super-fine micro-lines.
Pro tipChoose symmetry that matches your body - if the scar is off-center, rotate the mandala so the thickest ring lands over the scar center.
AvoidAvoid a mandala where the center is just outline black - it won't cover tone differences.
4. Moth With Smoke-Gray Wings and Graphite Body
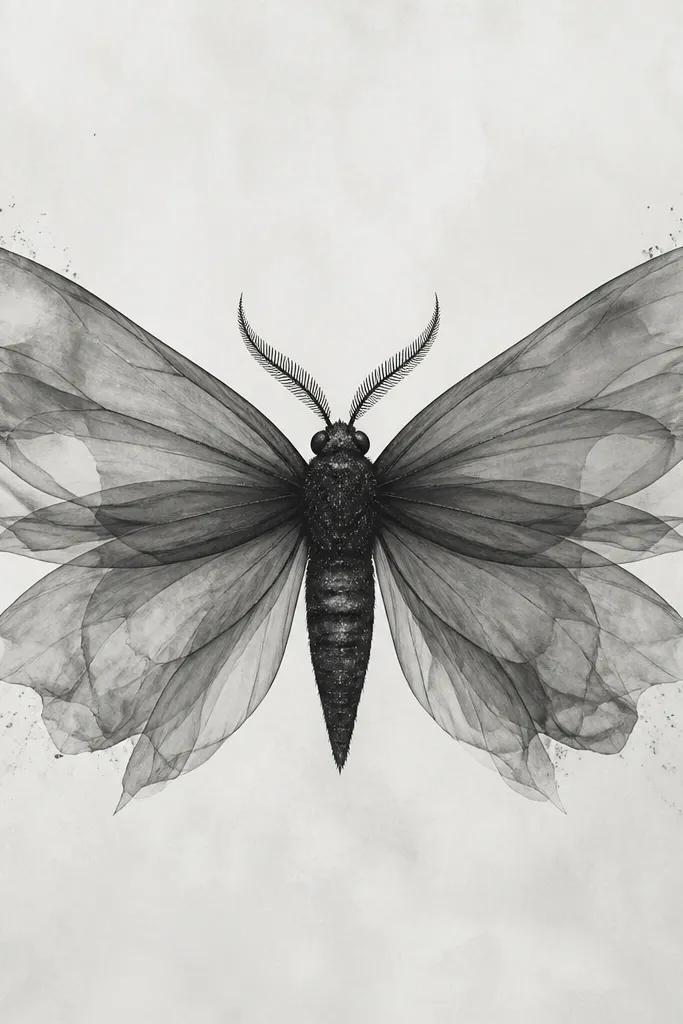
Moths are underrated cover-ups because the wings can be shaded to "float" over uneven skin. Smoke-gray gradients blur the scar edges, while the graphite body keeps the tattoo grounded. The tiny specks near the tips also distract the eye from the exact scar boundary.
Place it where you can angle it with your movement, like inner forearm or calf. Ask for wing shading that starts darker at the body and fades outward, rather than a flat mid-tone wash. Keep the wings wide enough to extend beyond the scar - moth designs look best when they feel like they're spreading.
Pro tipIf your scar is pale, add a slightly cooler gray (graphite) instead of warm brown-black - it blends into skin undertones better.
AvoidDon't request heavy black only along the scar line - it makes a "stitch" look.
5. Blackwork Snake Coil With Negative Space Scales
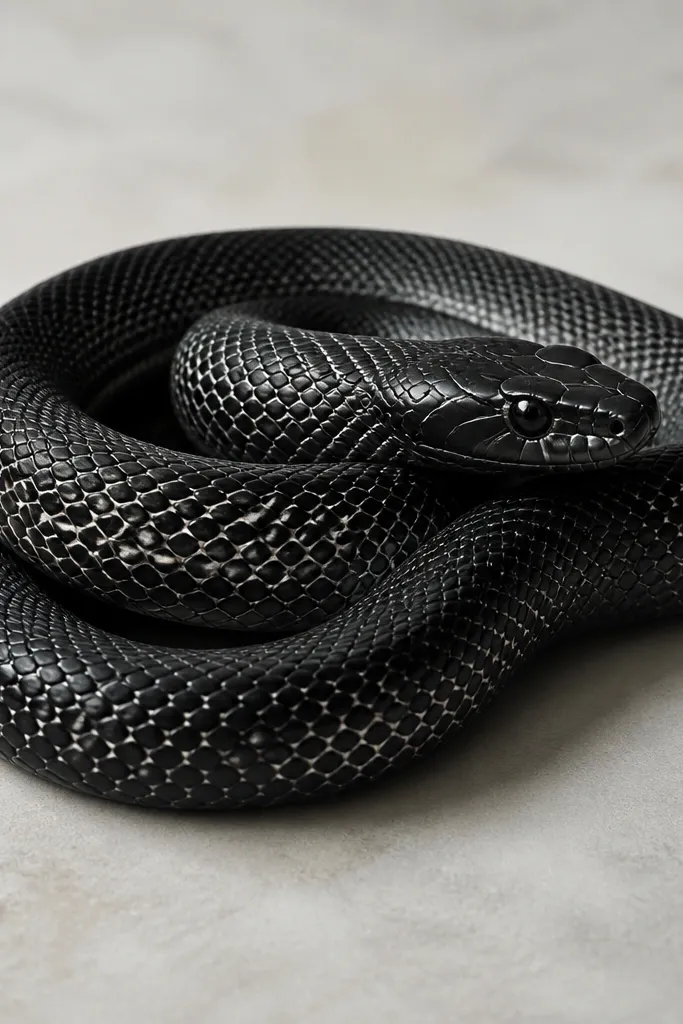
This is a strong option when your scar has a defined line. The snake's coil direction can match the scar's natural orientation, and negative space scales give the design a built-in distraction. Solid black areas cover texture, while the negative space prevents the tattoo from looking like a big blob.
Use a coil that wraps across the scar instead of sitting beside it. Tell the artist the scar's length and direction, then ask them to align the snake's spine over it. Keep highlights subtle - light gray only where the skin is smoothest, not on the bumpiest part.
Pro tipIf your scar is raised, ask for the black packing to be slightly wider than the scar line by about a centimeter.
AvoidAvoid thin white highlights on top of scar texture - they age fast and can look chalky.
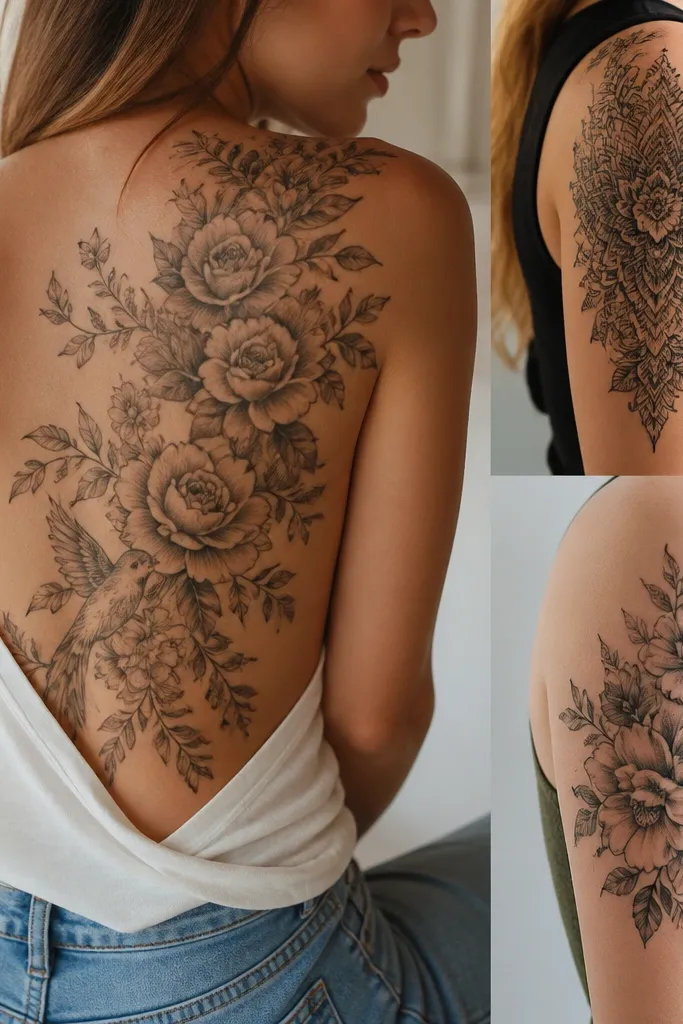
6. Peony Cover-Up With Overgrown Black Leaves
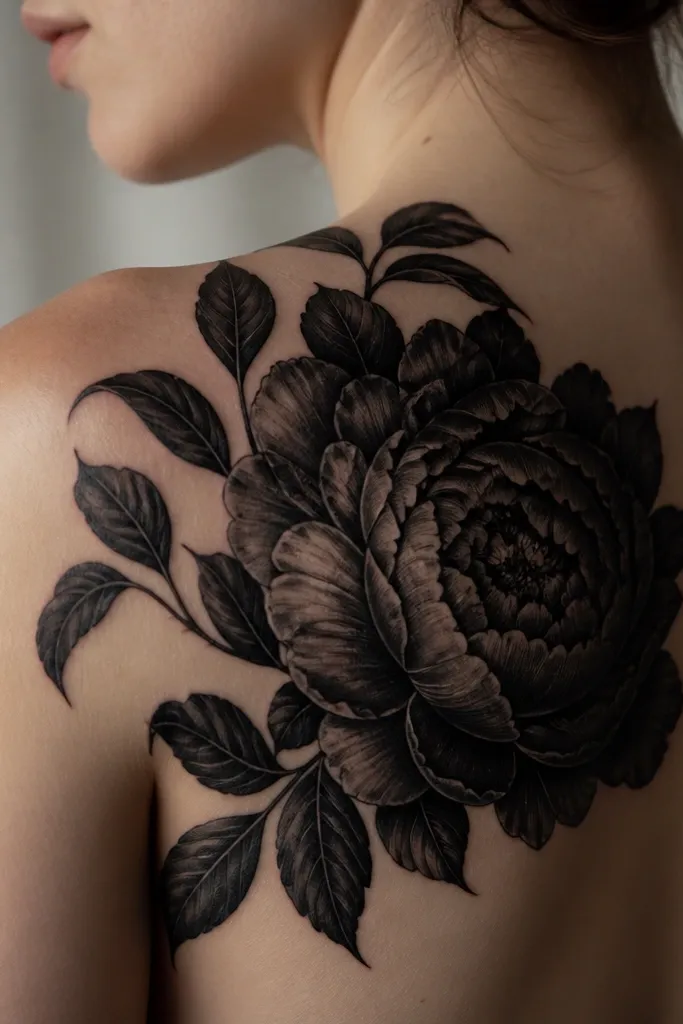
Peonies work because the layered petals create depth, and the overgrown leaves let the artist hide uneven edges. The leaves act like a visual frame that sits over the scar boundary. Charcoal shading inside petals makes the bloom look soft, so your scar stops being the sharpest texture on your skin.
Pick placement with room for leaves, like upper arm or shoulder. Ask for the bloom to be the darkest in the center and let the outer petals fade into gray. The leaves should overlap the scar area, not just decorate beside it.
Pro tipBring a photo of your scar taken in natural light - leaf overlap needs to match the scar's exact edge, and phone lighting helps.
AvoidDon't choose a peony with tiny petal linework only - it won't hide raised texture.
7. Sunburst Rays With Soft Halo Gradient
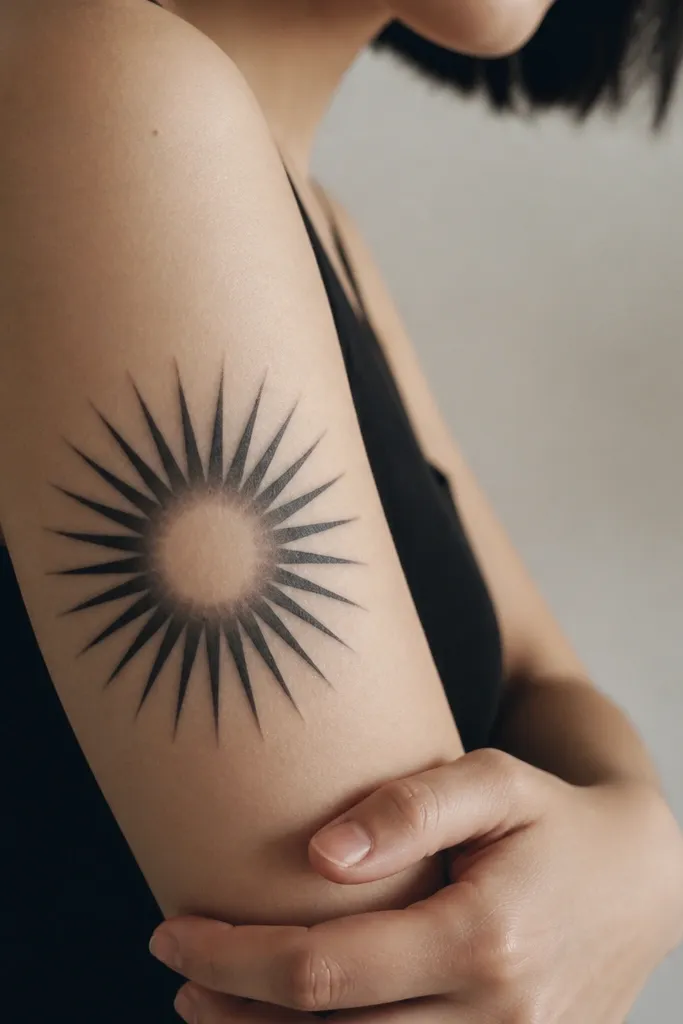
Sunbursts are great for scars that are long and narrow because rays pull the eye outward from one point. The halo gradient is the key: it makes the center transition smoother so the scar doesn't show as a hard line. Thick rays give enough pigment density to cover tone changes.
Position the center of the sunburst over the thickest part of the scar. Request rays that are wider at the base near the center and taper as they move outward, which helps blending. Keep the overall diameter large enough to extend beyond the scar edges so the transition looks intentional.
Pro tipIf your scar is on a joint area, keep the rays slightly curved so they don't warp badly when you bend.
AvoidAvoid ultra-thin rays - they disappear and leave the scar contrast behind.
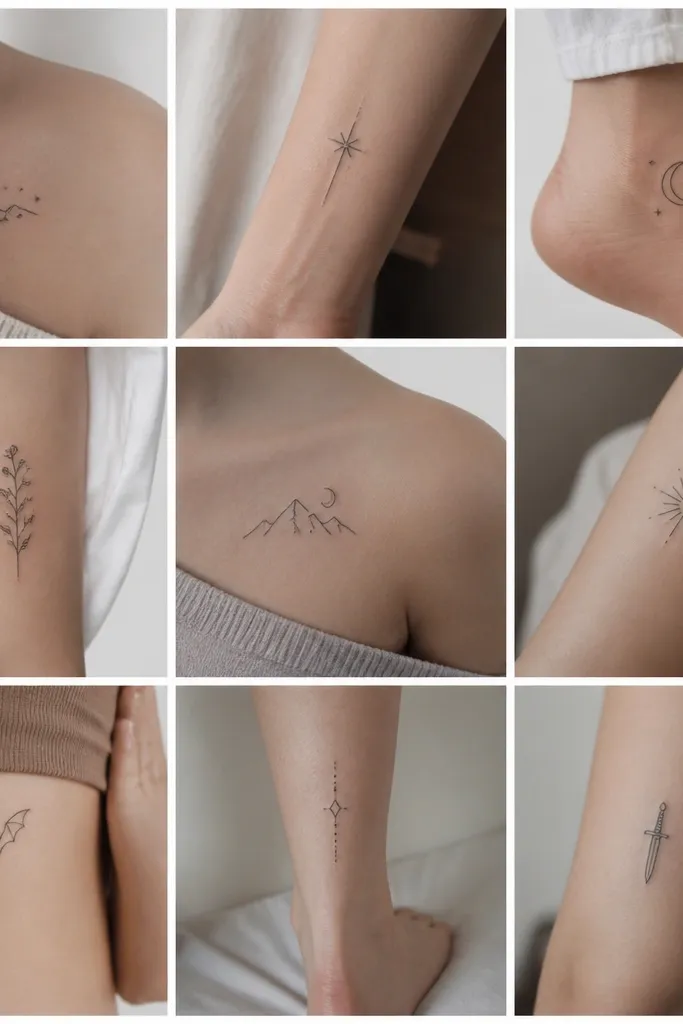
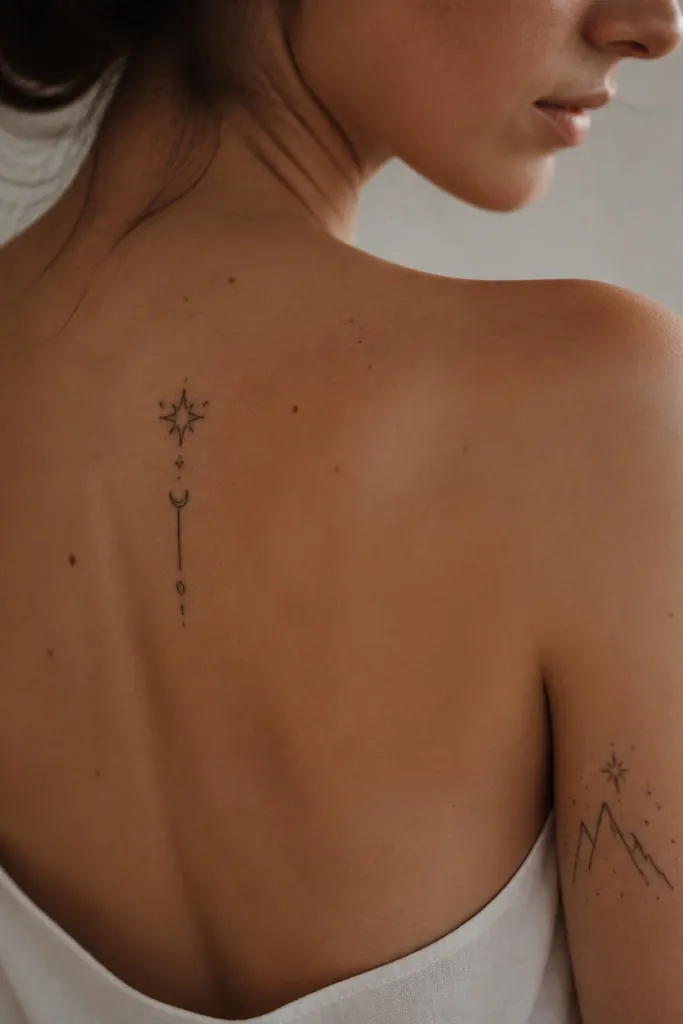
8. Half-Sleeve Style Cover-Up Star Map

A star map works when you want coverage that looks like art, not a single patch. The soft smoky shading fills the scar zone, and the constellation lines give structure so the piece reads as a theme. The scattered stars also break up the visual continuity of the scar texture.
Treat this like a coverage plan, not a single tattoo. Start with a central smoky patch over the scar, then build constellations around it so the edges are naturally blended. For renters, this is easier to maintain across sessions because you can add stars later without ruining the design.
Pro tipAsk for darker dot clusters near the scar and lighter dots farther out - it creates a fade that matches healing.
AvoidSkip a star map that's all fine lines with no shading - it won't bury tone differences.
9. Blackwork Lotus With Folded Petal Texture
Lotus petals give you natural "folds" where shading hides uneven skin. The folded texture breaks up the scar into sections so it stops looking like one continuous mark. A solid center circle anchors the design and keeps it readable from a distance.
Place it so the petal folds travel across the scar, not straight over it. Ask for gray shading inside folds and solid black on the outer petals. This design works well on upper arm, outer thigh, and shoulder where you can fit a medium-large piece.
Pro tipIf your scar is pale and thin, you can add a tiny hint of deep red-brown in the inner petals - sparingly, only where the skin is smoothest.
AvoidDon't do a lotus that's mostly outline and empty space - scars love to show through empty space.
10. Skull With Rose Crown and Charcoal Smoke Border
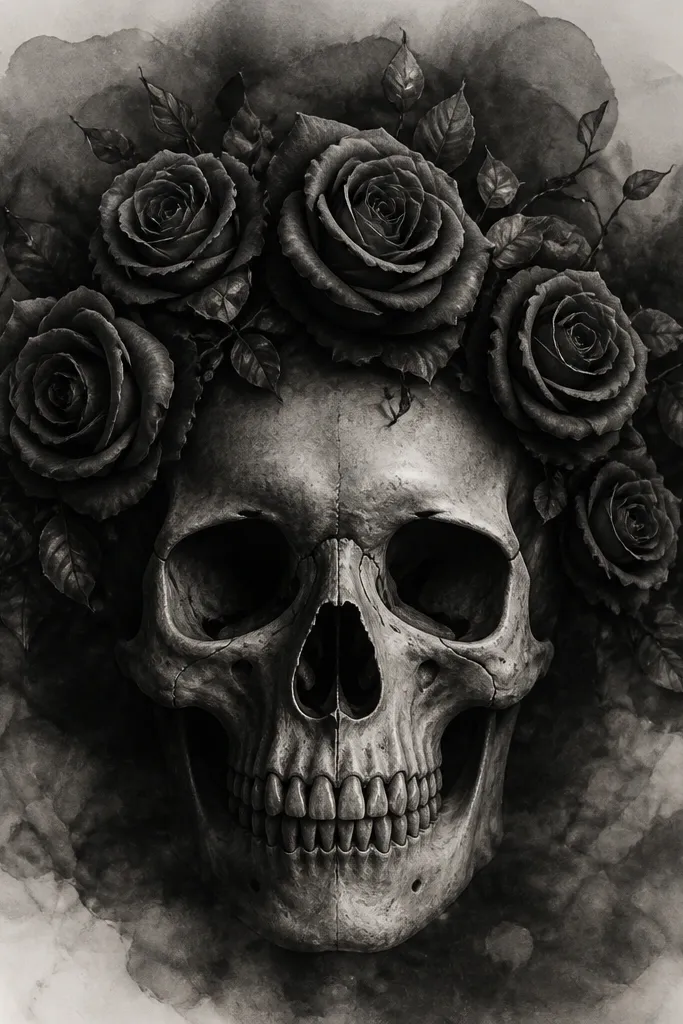
Skulls can cover scars well because the face has natural zones for dense shading. The rose crown adds soft texture and gives the artist room to blend around the scar edges. The charcoal smoke border is the trick - it hides where the tattoo ends and the scar begins.
Place it where you can keep it flat during healing, like upper arm rather than a high-bend finger area. Request heavier shading on the skull's sides and cheeks, then let the smoke border blur outward. For colors, keep roses black and gray unless your scar is already calm and flat.
Pro tipIf you want a feminine vibe, ask for the roses to sit higher so they frame the skull like a crown, not like a mask.
AvoidAvoid crisp skull linework with no smoke border - it makes the scar edge look like a seam.
11. Watercolor-Style Black Ink Wash With Floral Edges
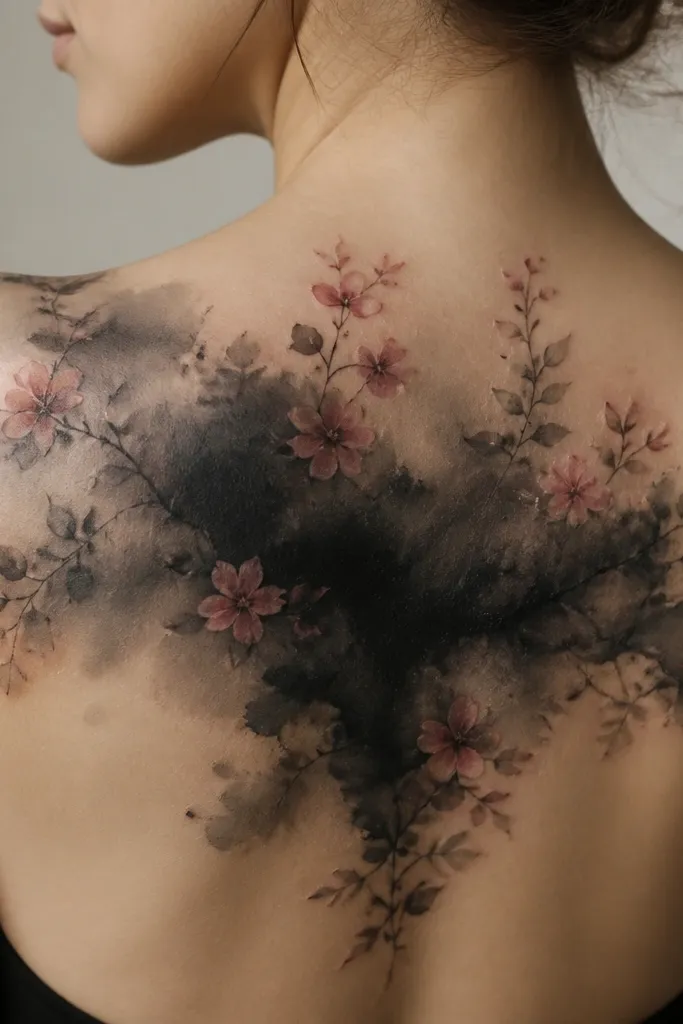
Even though "watercolor" sounds delicate, black ink wash can cover scars because it creates a haze over texture. The floral edges keep the piece from looking like a blot, and the muted colors bring softness around the perimeter. The darkest area sits over the scar center so the transition feels like part of the art.
Pick a placement where the tattoo won't get rubbed daily - outer arm or upper back works better than waistline. Ask for the wash to be layered with soft transitions, not hard-edged splatters. Keep the color muted and sparse so the scar doesn't peek through at the bright spots.
Pro tipBring a reference photo of your scar color in daylight so your artist can match the wash density to your undertone.
AvoidSkip bright, high-saturation watercolor over a scar - it can look patchy when it heals.