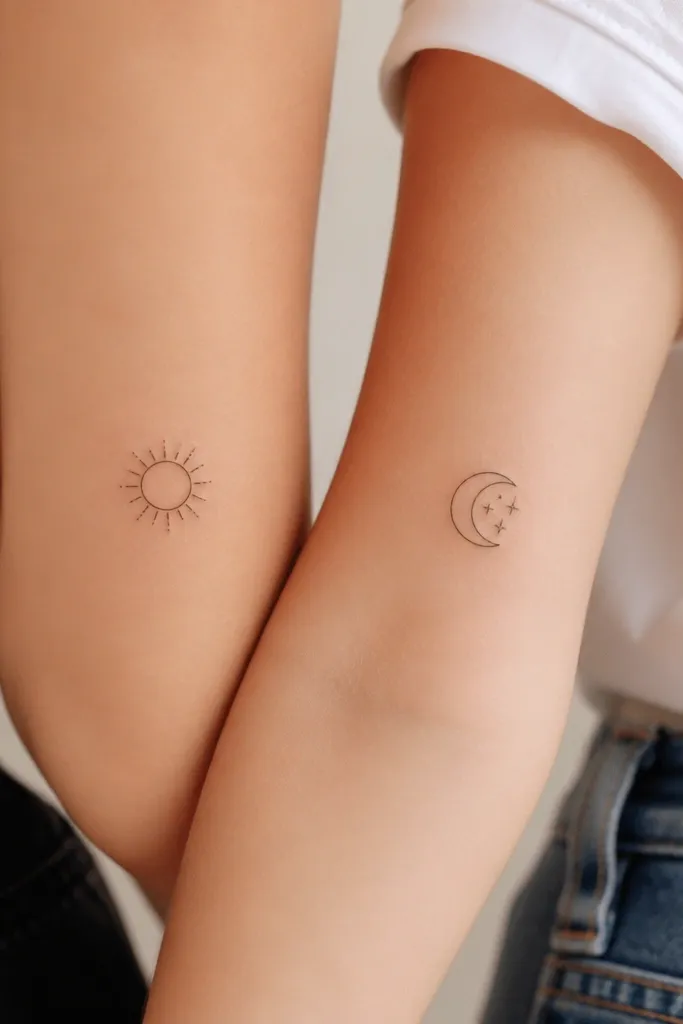
1. Micro crescent moon on the crease
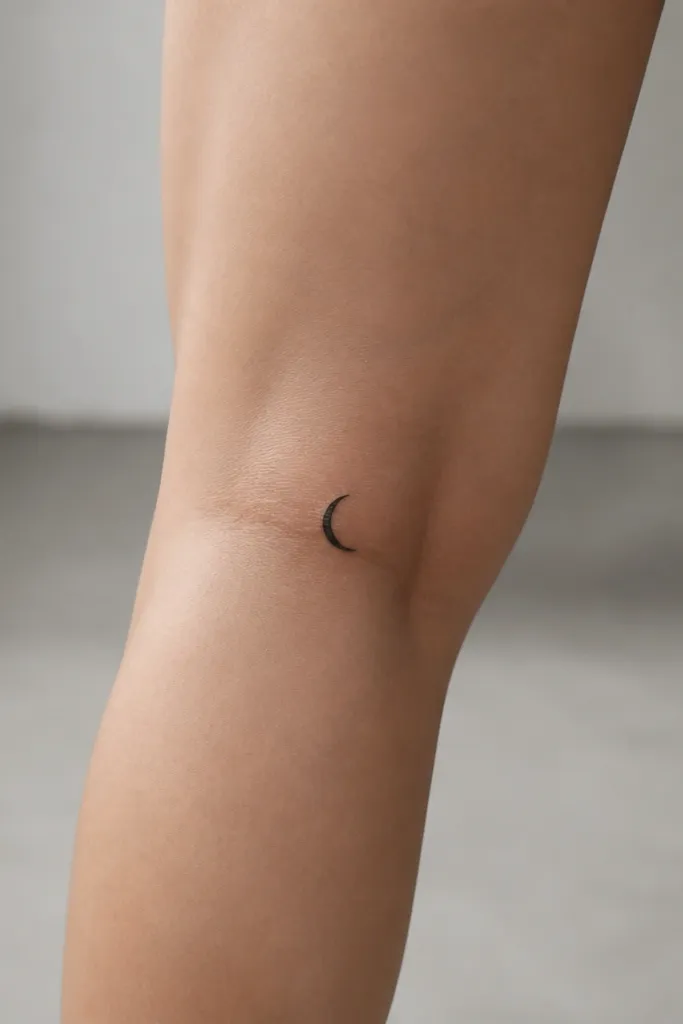
This works because the moon shape still reads when the skin stretches. The negative space inside the crescent gives your eye a clear silhouette, even as the tattoo softens over time. I like a solid black fill only on the outer curve, with a thin outline around the inside edge for crispness.
Place it so the longest part sits on the crease when your knee is bent. For a minimalist look, keep it around 2.5 to 3.5 cm wide. Use a flat black fill with a slightly lighter inside outline so the shape doesn't turn into a blob as it heals.
Pro tipAsk the artist to stencil while you bend your knee, then confirm the moon still looks centered from the back.
AvoidAvoid a crescent that sits too low on the calf, because it stretches and turns lopsided by day-to-day bending.
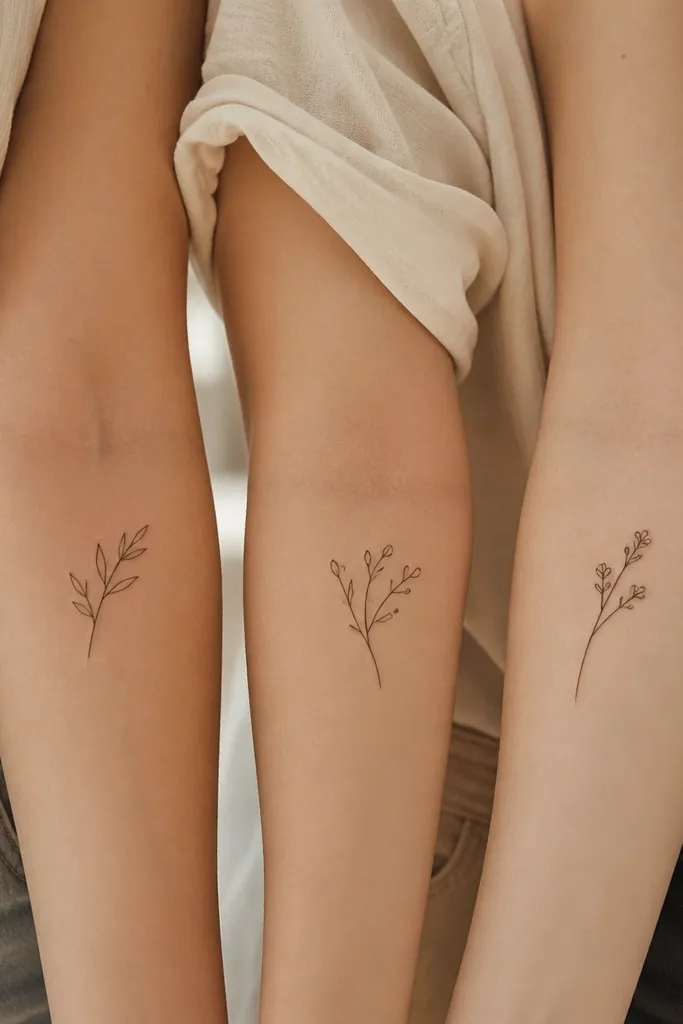
2. Tiny botanical sprig with three leaves
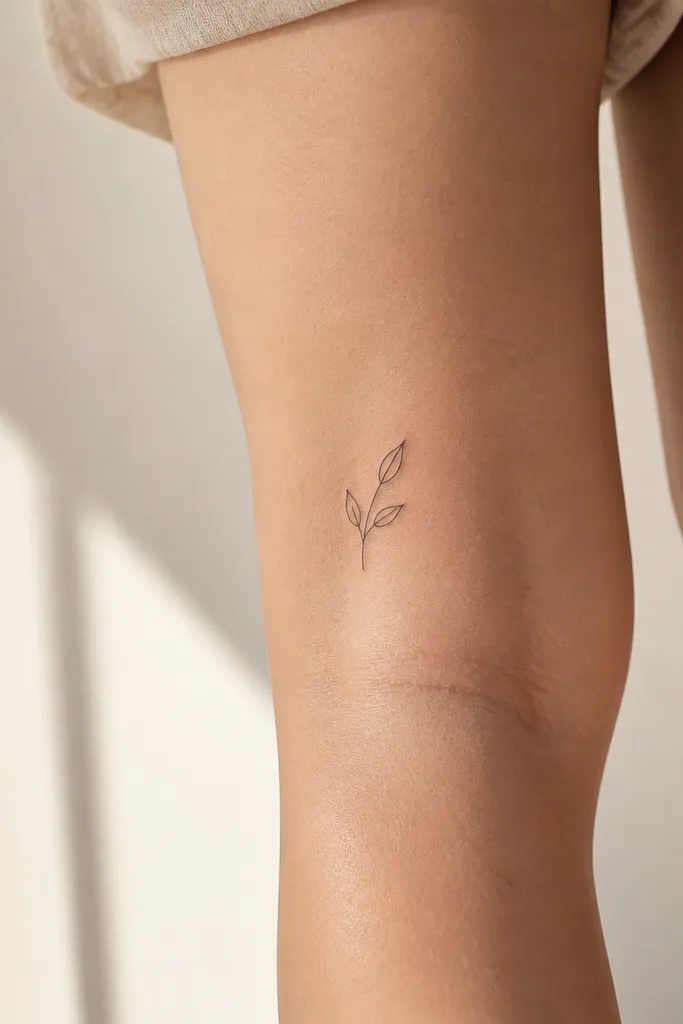
Three leaves is enough detail to look intentional without crowding the small area behind the knee. Thin linework keeps the tattoo airy, and the empty space between leaves stays visible as the tattoo ages. I've seen this style look clean even after months of friction from leggings.
Keep the sprig length around 4 to 5.5 cm from bottom stem to top leaf. Use line weight around 0.6 to 0.8 mm and avoid heavy shading. If you want depth, do it with tiny dot highlights at leaf tips, not filled-in gradients.
Pro tipBring reference photos that show the leaves at the exact size - the artist will scale it wrong if your reference is a big wrist tattoo.
AvoidSkip thick stems and heavy stippling; they blur fast on knees where skin moves constantly.
3. Single-line heartbeat curve

A one-line heartbeat stays readable because your brain recognizes the curve shape, even if the contrast fades. The key is using a consistent line weight so the curve doesn't look shaky. Minimal black ink keeps it modern and doesn't compete with your leg's natural shadows.
I like it at about 4 cm long, angled so the highest peak sits closer to the outer knee. The line should be 0.5 to 0.7 mm, drawn smoothly with no wobble. Keep the line away from the crease edges by a few millimeters so it doesn't get distorted when you bend.
Pro tipAsk for a stencil that you can see when you bend your knee, then do a quick "walk test" in the studio chair.
AvoidDon't add extra spikes or text; extra elements shrink the legibility fast on such a small surface.
4. Geometric dot cluster with negative space
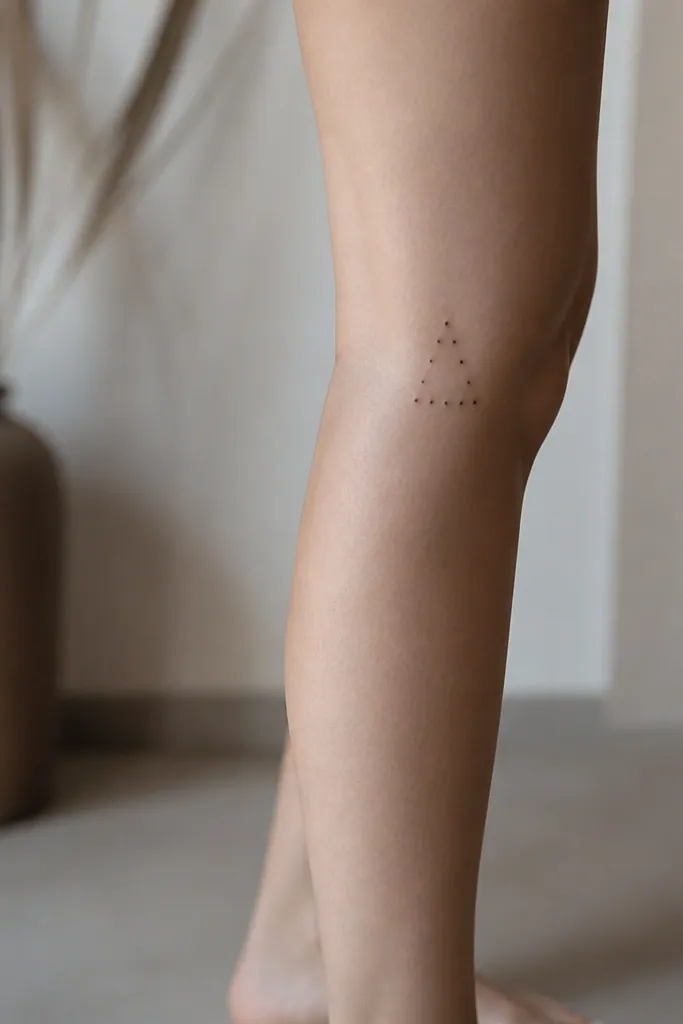
Dotwork looks crisp when the dots are evenly spaced and the pattern has clear geometry. The negative space center helps it keep a "shape" even as dot contrast softens. I've had dot clusters look better than fine-line micro flowers in areas that rub.
Plan for a footprint around 3.5 to 4.5 cm. Use dot spacing consistency - the artist should start with a guide and then place dots in a grid-like way. If you want a little glow, add one tiny dot highlight offset from the cluster, not a full shaded background.
Pro tipAsk the artist to do one test mark for dot size before committing to the full stencil.
AvoidAvoid random dot patterns; uneven dots make the tattoo look like an accidental stain when it heals.
5. Mini eye with lash line
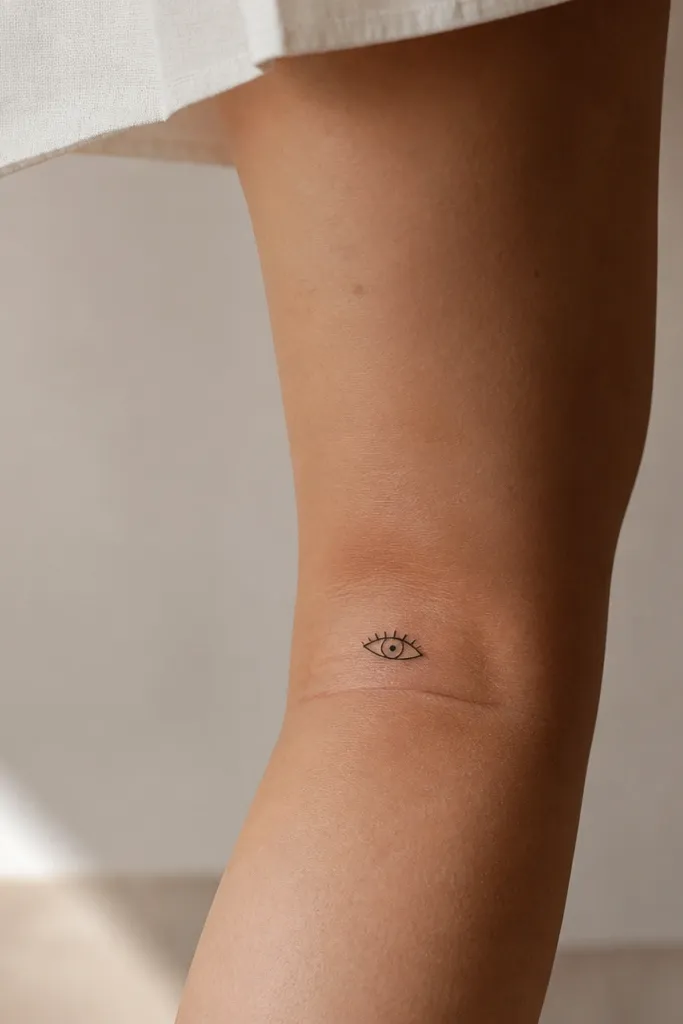
The eye shape has strong symmetry cues, so it reads even at small sizes. A tiny pupil dot anchors the design, while the lash line adds just enough personality without clutter. I prefer this for people who want meaning but still want it to look clean from across a room.
Keep the eye around 3 cm wide. Use an almond outline in 0.6 to 0.8 mm line weight and a pupil dot about 1.2 to 1.5 mm. Place it so the eye's horizontal line sits parallel to the crease when your knee is bent.
Pro tipBring two versions in your reference: one with a thicker outline and one with a thinner outline, and decide in the chair.
AvoidSkip heavy black fill for the eye - it turns into a flat patch on knee skin.
6. Tiny butterfly silhouette, no wings shading
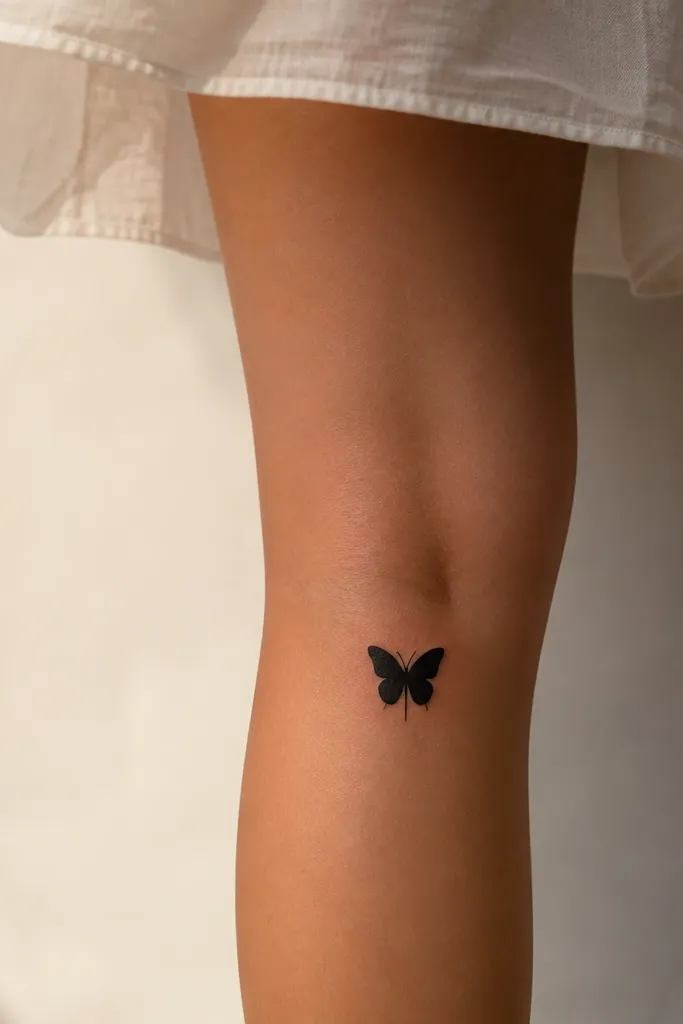
A silhouette butterfly looks minimalist because it relies on shape, not details. No shading means less chance of muddy healing. The solid black also holds up better to friction from clothing compared to super-fine linework.
Keep it under 5 cm across the widest point. Place it slightly higher on the back of the knee so the silhouette doesn't flatten when the crease shifts. Let the body line be thin (about 0.5 to 0.7 mm) while wings are a consistent solid fill.
Pro tipChoose a placement where the butterfly's body points upward when you stand - it looks sharper in photos.
AvoidDon't place a winged design too close to the inner crease if you fold your legs often; it warps the silhouette.
7. Small Roman numeral slash with dot accents
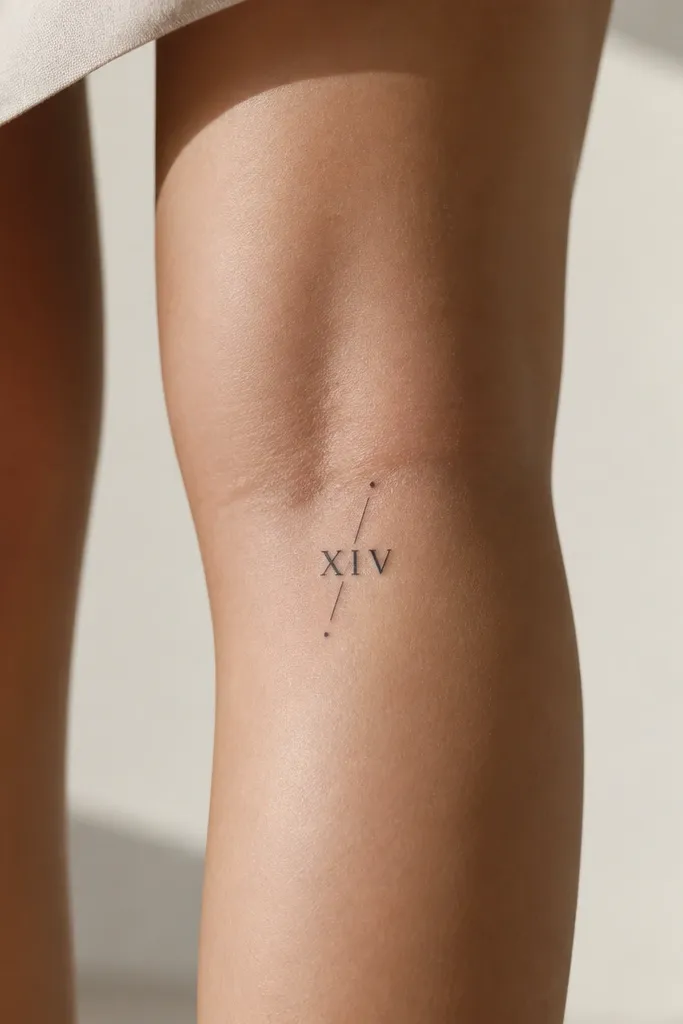
Text can work on knees only when it stays short and bold. Roman numerals have built-in structure, and dot accents make it look intentional without extra clutter. I like this style for birthdays or dates because it doesn't require a lot of space to read.
Keep the numerals around 2.5 to 3.2 cm tall for most women's knees. Use a font style with thick strokes so it doesn't thin out during healing. Place the numerals parallel to the crease when bent, then add dot accents about 3 to 5 mm away so they don't merge.
Pro tipPrint the numeral reference in the exact size you want and bring it to the appointment. Scaling on the fly is where text gets ugly.
AvoidAvoid ultra-thin script fonts; knee skin movement turns them into gray smears.
8. Minimal curved arrow pointing down
A single arrow line gives you motion and direction without adding shading. The curved line also hides slight unevenness in healing because the eye follows the arc. I've seen arrows stay clean longer than micro portraits because there's less surface detail to blur.
Aim for 3.5 to 5 cm total length. Use a line weight around 0.6 mm with an outline-only arrowhead. Place the arrow so the curve follows the natural bend behind your knee when you sit.
Pro tipDo a seated photo test in the studio mirror: if the arrowhead disappears when you bend, move it up 5 to 8 mm.
AvoidDon't make the arrowhead too tiny; tiny arrowheads turn into dots after healing.
9. Two-line infinity knot
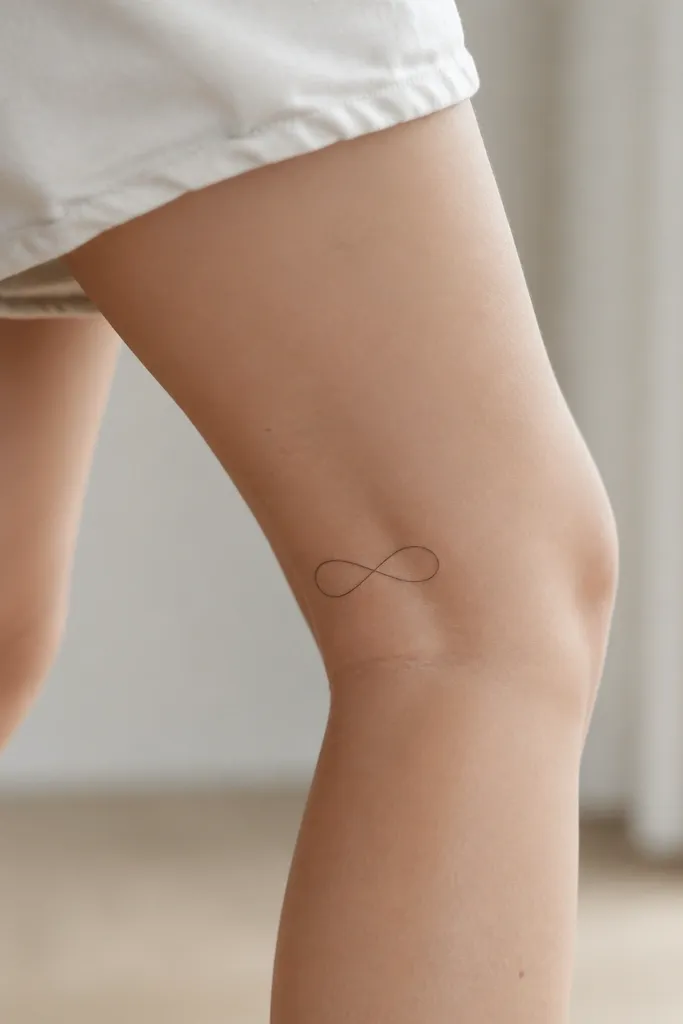
Infinity symbols look clean when they're line-only and symmetrical. The gap in the crossing point keeps the design crisp and prevents it from turning into a single blob. This one also photographs well because it sits flat across the crease line.
Keep it around 3.5 to 4.8 cm wide. Use consistent line weight (about 0.6 to 0.8 mm) and avoid tapering - tapered lines look uneven on a moving joint. Place it centered behind the knee, then stencil with your knee bent.
Pro tipAsk the artist to trace the stencil with a marker while you bend your knee. You want the crossing gap to stay visible.
AvoidSkip thicker "filled" infinity designs; knee friction turns fills into a dark patch.
10. Micro starburst with 6 rays
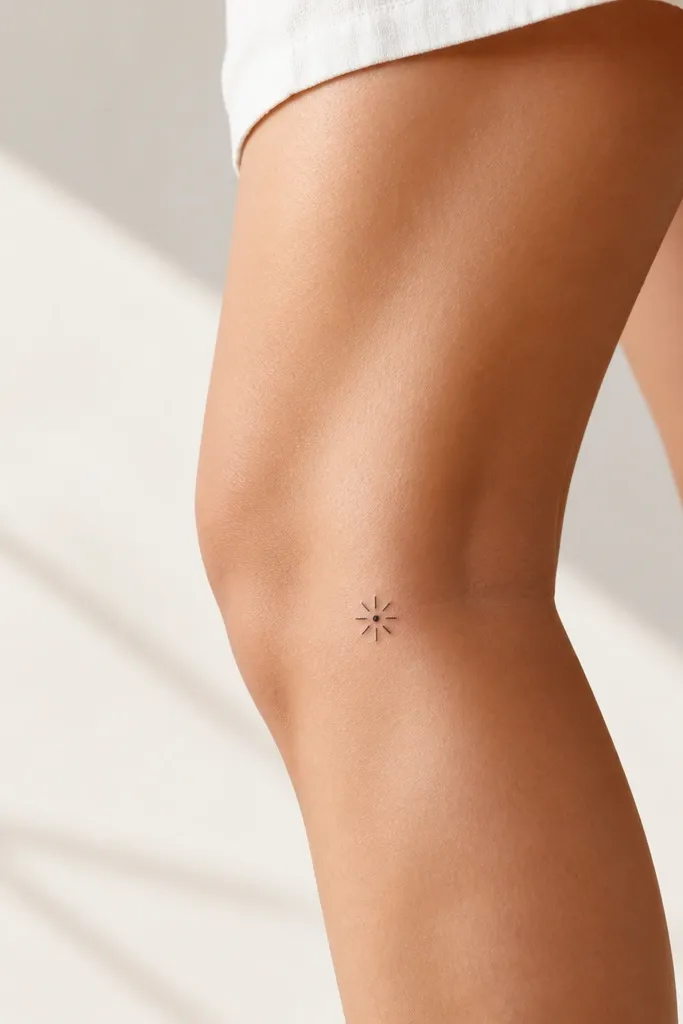
Six rays is the sweet spot for readability at small size. Too many rays crowd together, and the knee movement merges them. The center dot gives a focal point, so even if the rays soften slightly, it still reads as a starburst.
Target 2.8 to 3.8 cm total width. Use a center dot around 1.5 mm and rays around 0.6 mm thickness, with consistent spacing. Place it so the starburst sits just above the main crease line when standing.
Pro tipBring a reference with a ruler next to it so the artist doesn't scale it up and make it look like a sticker.
AvoidAvoid 10+ ray designs; they blur quickly on knees.
11. Feather linework with dot shading tip
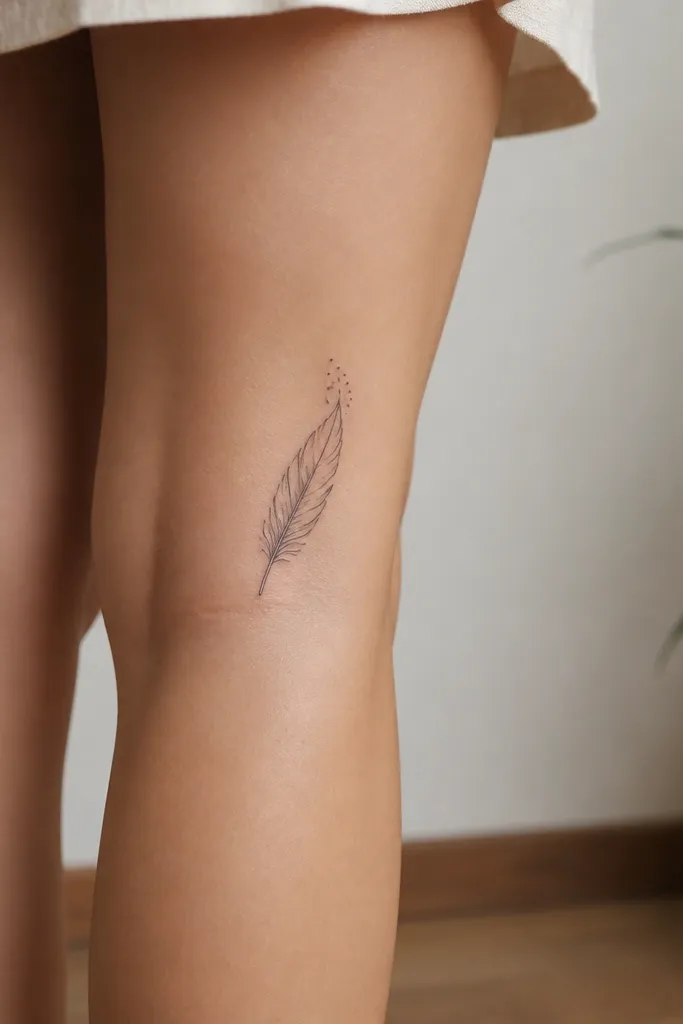
Feathers look best when the barbs are sparse. The dotted tip gives texture without turning the whole feather into a dark smudge. This style also keeps movement interesting because the linework stays crisp while the dot cluster adds depth.
Keep the feather length around 5 to 6 cm. Use 0.6 to 0.8 mm line weight for the outer feather and 0.4 to 0.6 mm for barbs if your artist can do it cleanly. Place it diagonally so the shaft follows the crease direction when bent.
Pro tipAsk your artist to show you a healing photo of a similar feather on a joint area before you approve the stencil.
AvoidSkip full shaded feathers; heavy shading on the knee fades into a gray blur.