1. One-Line Starburst Above the Thumb Knuckle
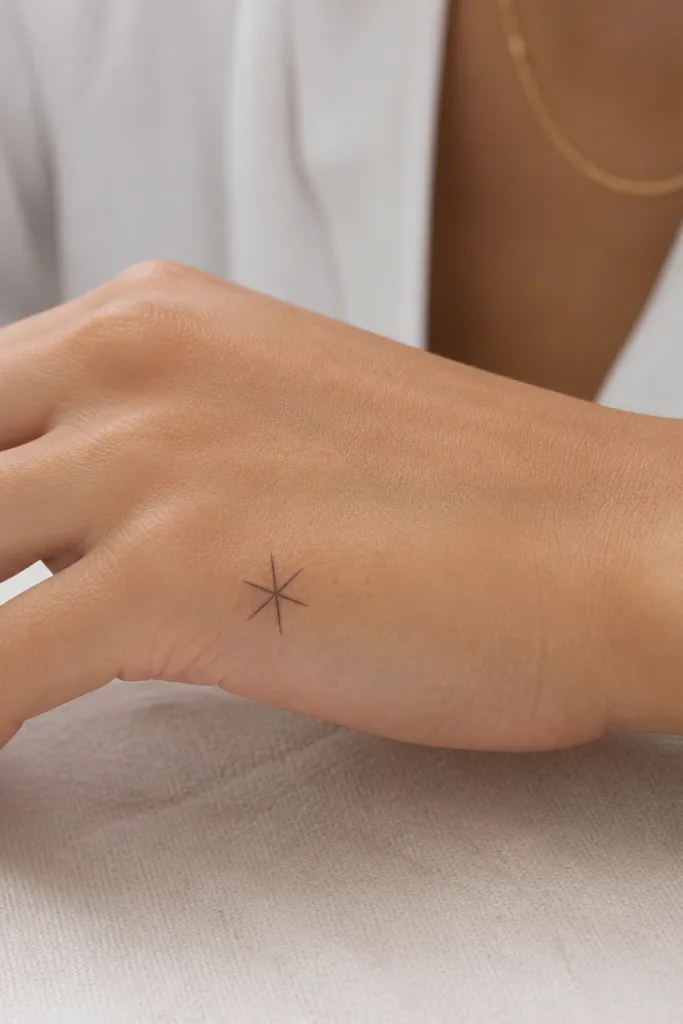
I love a single-line starburst here because it reads instantly even with minimal ink. The key is keeping the points short and evenly spaced so they don't blur into a blob after healing. Black ink only - no gray wash - keeps the shape sharp against your skin tone. This also looks great with a ring stack because the starburst sits above the knuckle area where rings catch light.
Place the starburst so its center is about 1 cm above the knuckle crease on the thumb side. Keep it small - around 8-12 mm wide - and let the lines be consistent thickness. It suits everyday wear because it stays visible when you gesture.
Pro tipAsk for a stencil that matches your relaxed hand position, then take a quick mirror photo before you commit. It's the fastest way to catch tilt.
2. Tiny Crescent Moon With a Dot Trail
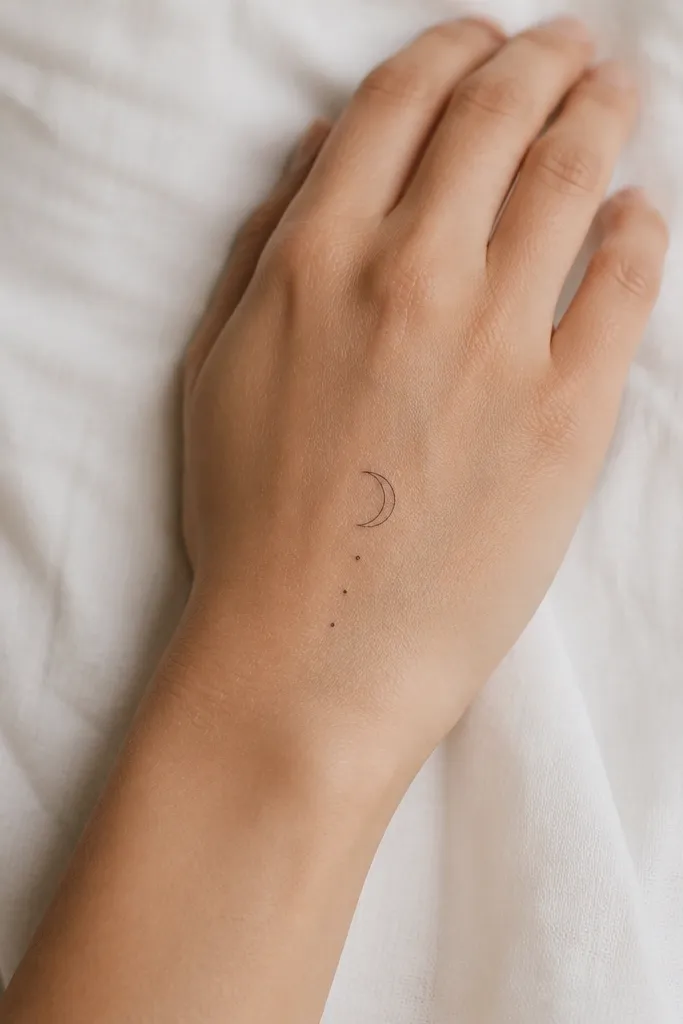
This design works because it has negative space. The crescent outline gives a clear silhouette, and the dot trail adds movement without tiny shading. I've found dot trails age better than micro text in this spot because there's less to smear. It also feels romantic without turning into a "theme" tattoo.
Size it to about 10-14 mm for the crescent, with dots spaced roughly 3-4 mm apart. Keep the trail diagonal, pointing toward the wrist, so it looks natural with hand flex. Put it slightly off-center toward the pinky side for a balanced look with rings.
Pro tipIf your hands get dry, keep the stencil lines extra clean - the back of the hand can flake early and make fine dots look uneven.
3. Micro Infinity Loop Between Knuckles
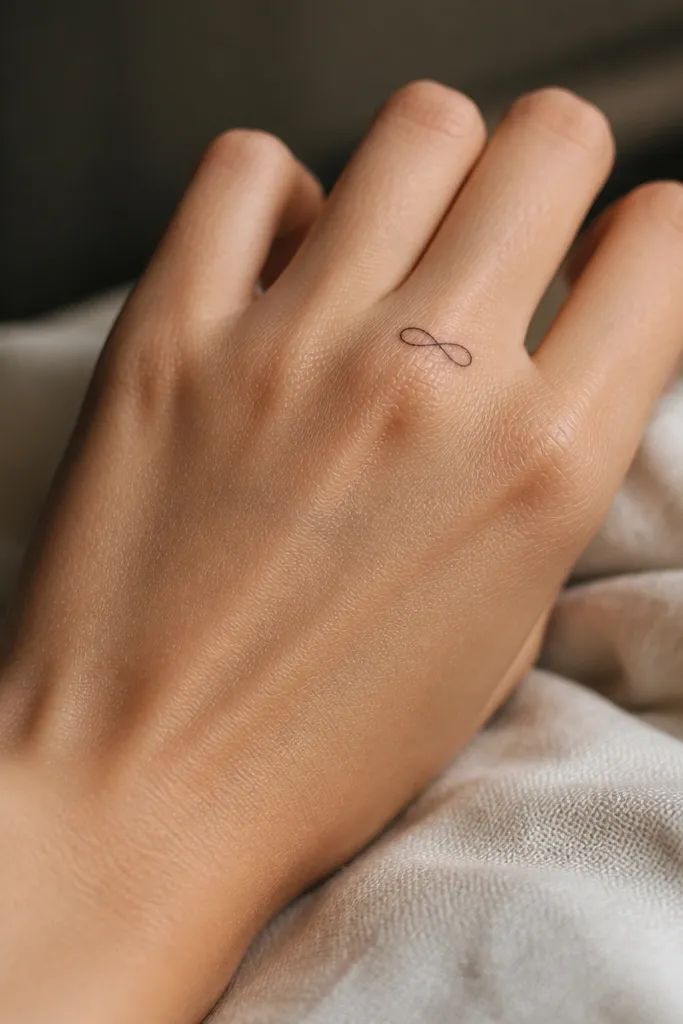
An infinity loop is one of the simplest couple-friendly motifs because it reads the same at any angle. The back of the hand shows it nicely when you open your hand, and the negative space inside the loop stays crisp. I prefer thin, even linework and no added thickness at the ends. That keeps it from looking like it was drawn with a thick marker.
Aim for 12-16 mm wide total. Place it so the loop sits just above the knuckle crease line, not across it. For couples, mirror the orientation: one person's infinity tilts slightly up-left, the other up-right, and both still look cohesive in photos.
Pro tipTell your artist you want it "thin and consistent," not "bolder for healing." Consistent thin lines heal better here.
4. Two Matching Vertical Dashes With a Gap
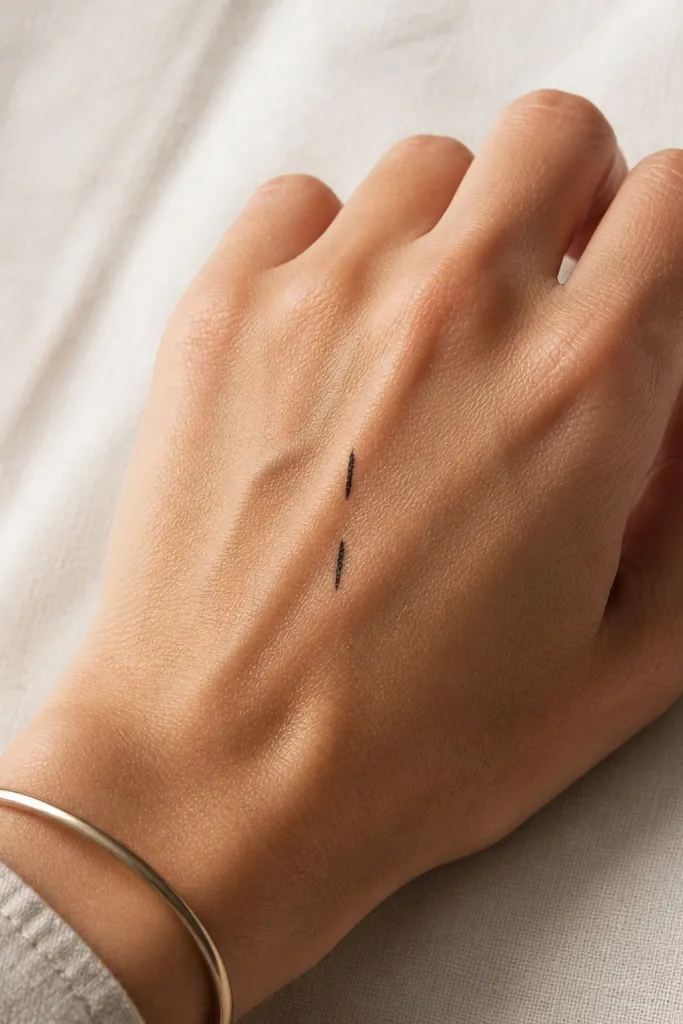
This looks clean because it's basically geometry. Two dashes give a coded feel without needing symbols that could mean different things to different people. The gap matters - it prevents the dashes from merging as skin texture changes during healing. It's also perfect for couples who want a matching tattoo but don't want a full picture.
Keep each dash around 6-8 mm long, with a 3-4 mm gap between them. Put them between the index and middle knuckles, centered on the back of the hand. If you want a little extra, vary the dash thickness by a tiny amount - like one line 1 mm thinner - but don't get fancy with gradients.
Pro tipChoose placement by measuring from the knuckle crease, not by eye. A 2-3 mm shift is obvious on this spot.
5. Minimal Heart Outline on the Wrist Side of the Back Hand
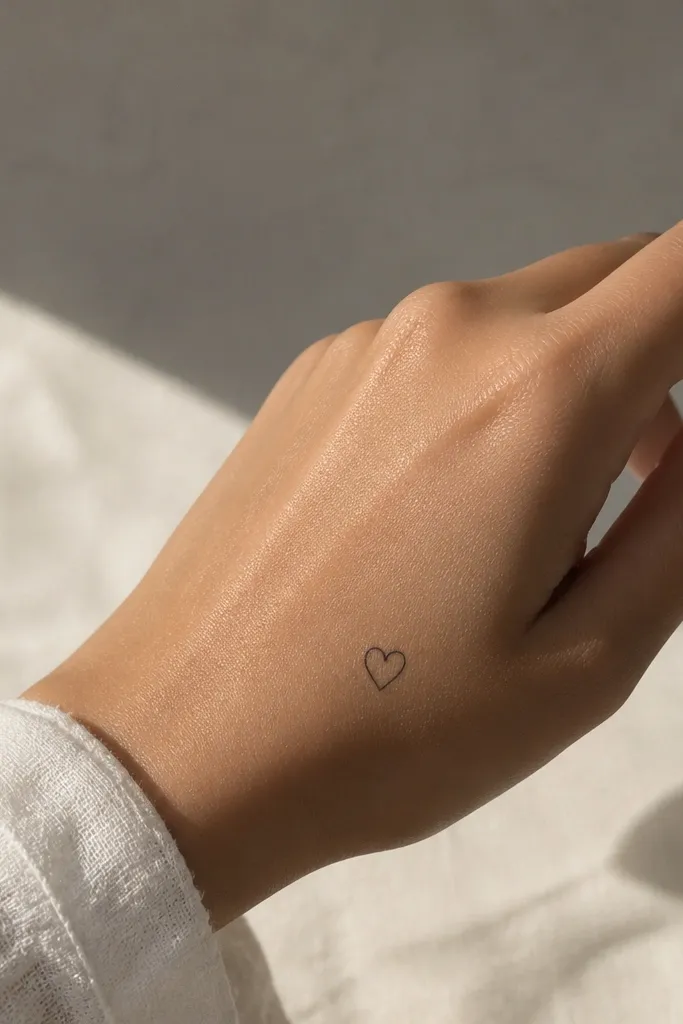
A heart outline stays cute because it doesn't rely on shading. On the back of the hand, filled hearts can look like a dark smudge if the artist packs too much black too close to the edges. Outline-only keeps the heart shape readable. I like placing it a little closer to the wrist so it doesn't stretch over the knuckle crease.
Size it around 12-18 mm tall. Place the heart so the point sits about 1 cm above the wrist crease line, and keep the top lobes away from the knuckle area. For couples, you can mirror the heart - same placement, same size - and add a tiny dot near the point on only one person for a subtle difference.
Pro tipAsk for round, smooth corners on the lobes. Sharp corners can heal jagged on thinner hand skin.
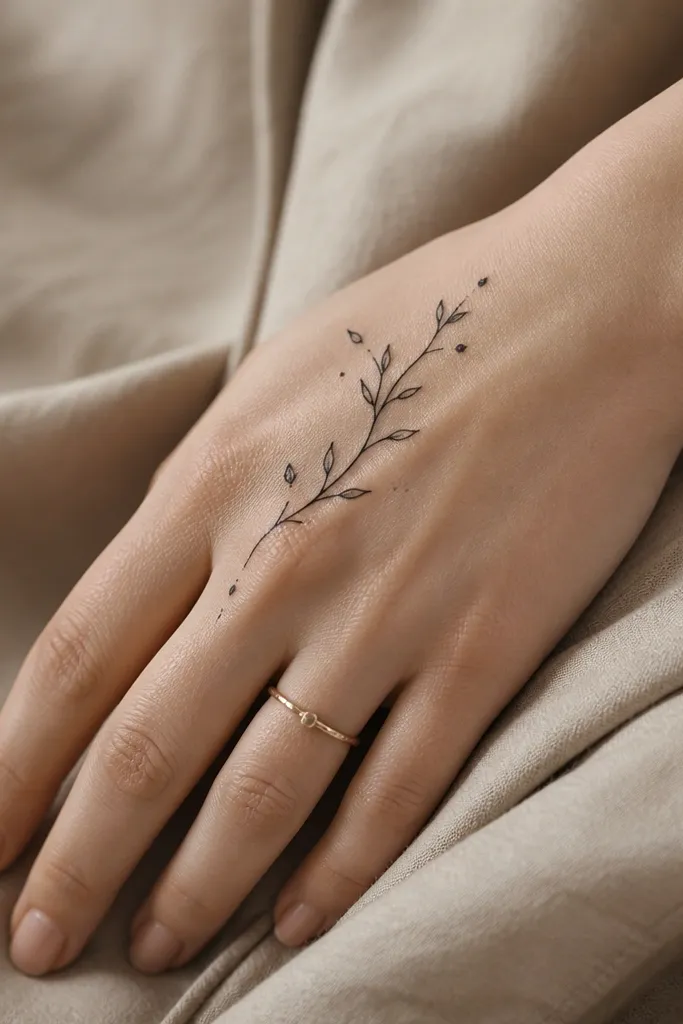
6. Feather Tip Linework at the Edge of the Hand
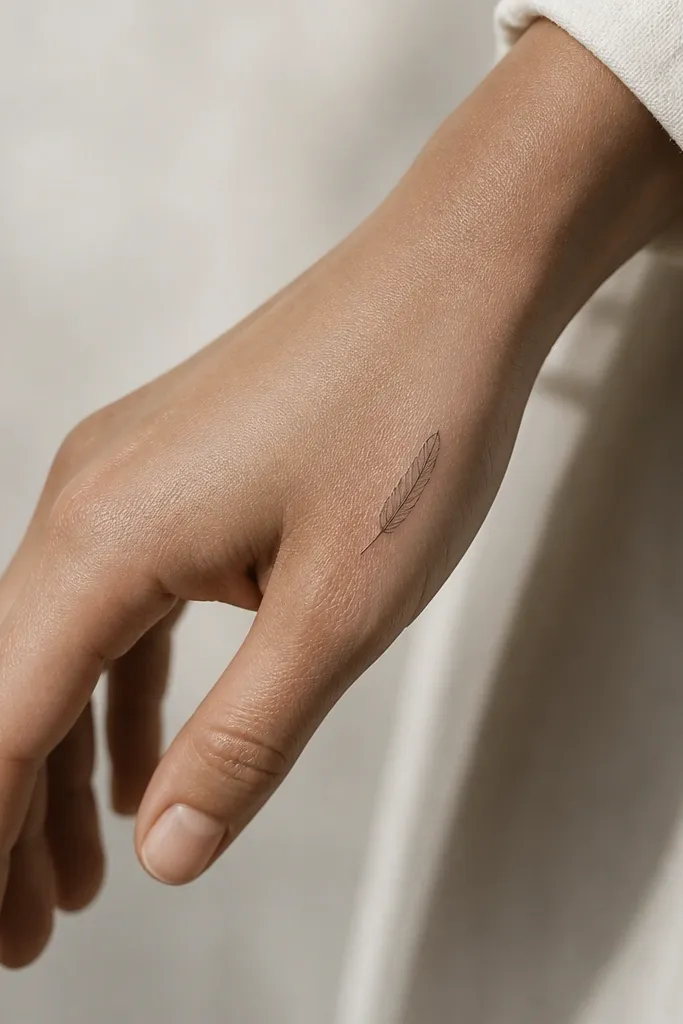
Feather linework looks good here because it's directional. The outer edge of the back of the hand has less distortion than the center, so the barbs stay cleaner. Keep the feather tiny with only 5-7 barbs. Too many details turn into a grayish texture as it heals.
Place it along the outer edge, near where your hand meets your thumb-side palm. Aim for 15-22 mm long. For matching couples, do the same feather but rotate it so each person's feather points toward their pinky - it reads intentional in photos.
Pro tipUse a stencil with your thumb slightly open. The outer edge changes shape when your thumb tucks.
7. Tiny Roman Numerals With Big Spacing
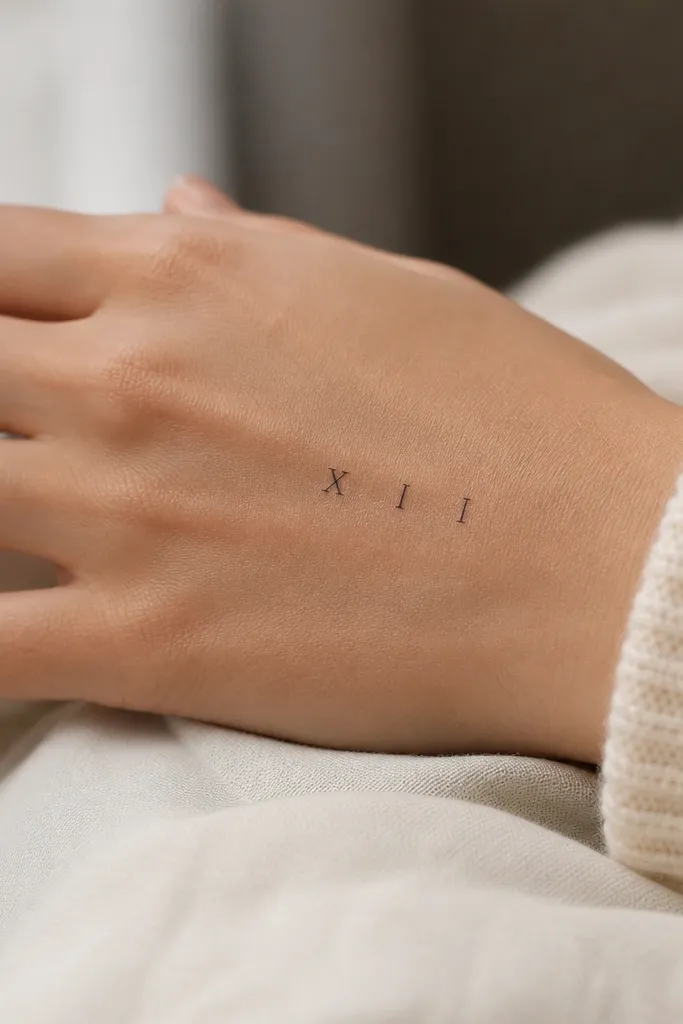
Roman numerals can work on the back of the hand if you keep the character width generous and avoid micro lettering. The back of the hand hates tight typography; the ink spreads and the numerals merge. I've had good results with 2-4 characters max, thin consistent linework, and no decorative serifs beyond what the numerals naturally have.
Choose two numerals or a short set like 3 characters. Keep the whole word around 14-20 mm wide. Place it between knuckles so it doesn't cross a crease when you flex. Couples can match the exact same numerals with the same placement for a clean "we picked the same date" feel.
Pro tipAsk your artist to mock up the stencil on your hand in the mirror. If you can't read it from 1 meter away, it's too small for this location.
8. Geometric Triangle Outline With One Inner Line
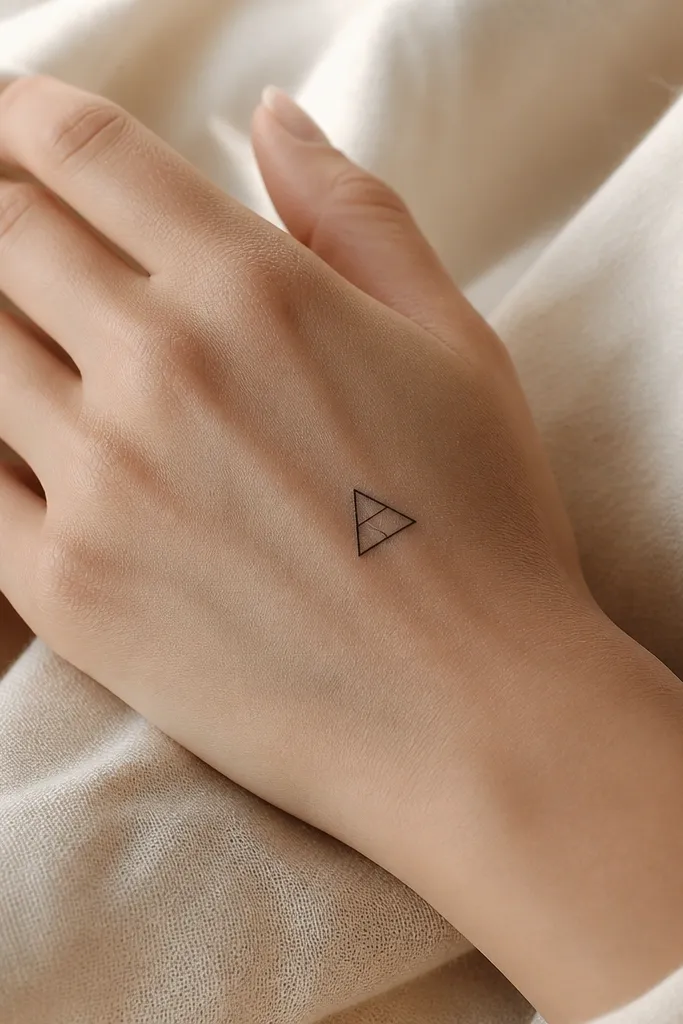
Geometric shapes heal nicely when they're simple. The triangle outline gives structure, and the single inner line adds detail without clutter. This design also photographs well because straight lines catch light and stay legible. I prefer no dot shading and no extra corners beyond the triangle edges.
Size it around 14-18 mm tall. Place it slightly diagonal, with the point angled toward the wrist. Keep the triangle edges about the same thickness throughout so it doesn't look uneven after healing.
Pro tipIf your skin tends to blow out (ink spreads), ask for slightly thinner lines than you think you want.
9. Small Keyhole Symbol at Center-Back Hand
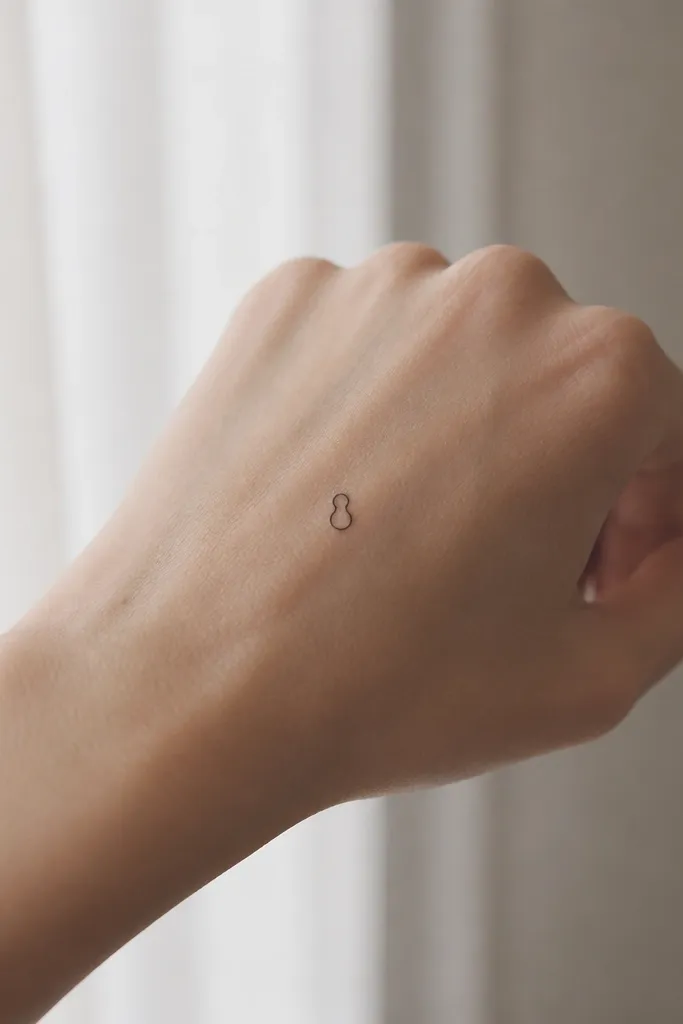
A keyhole is one of those symbols that feels meaningful without looking busy. The outline is simple, and the circle at the bottom gives a clear focal point. On the back of the hand, the symbol stays crisp when the circle is slightly larger than you'd expect and the neck linework is clean. It's also a great couples option if you want a theme that isn't obvious.
Keep it around 12-16 mm tall. Place it centered between the middle and ring knuckles, avoiding the crease that forms when you clench. For matching, do the same size and placement for both people so the keyhole lines up in photos.
Pro tipTell your artist you want the neck straight, not slightly curved. Curves can look accidental once it heals.
10. Minimal Sunburst Dot Cluster (No Lines)
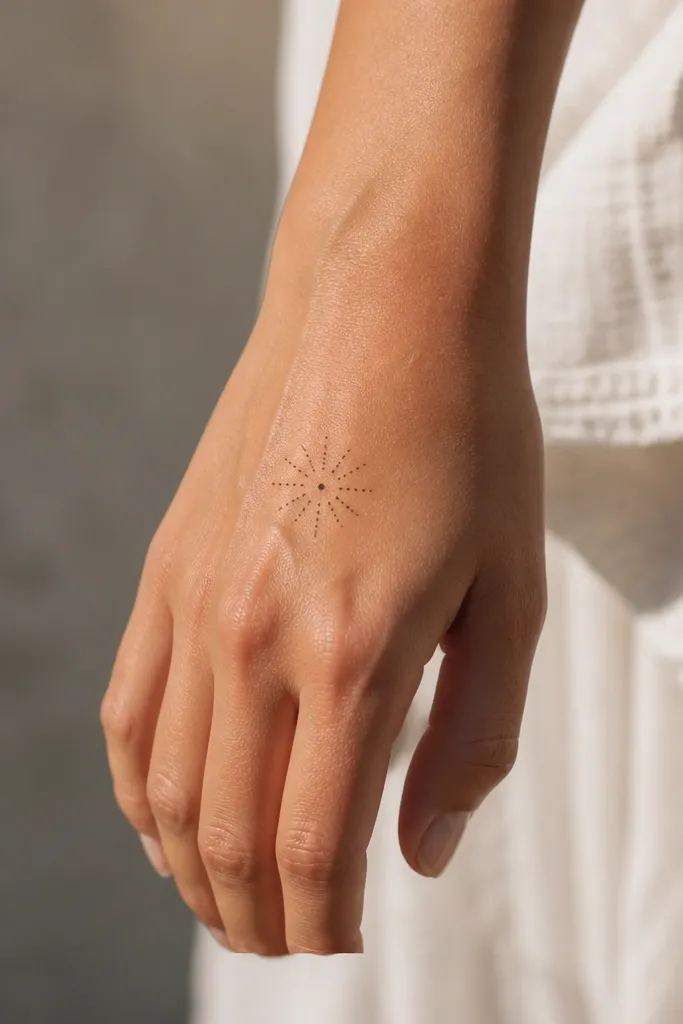
Dot-only sunbursts look soft and clean, and they age better than line rays. The trick is spacing: dots must be far enough apart that they stay distinct. I like a central dot with 10-14 dots around it, all the same size. This gives a sun vibe without turning into a "stamp" blob.
Size it around 10-14 mm wide. Place it on the back of the hand slightly toward the wrist side so the dots don't stretch across knuckles. Couples can match the same dot layout, or mirror it by flipping the orientation of the dot ring.
Pro tipAvoid asking for "more dots for fullness." Fullness is what causes merging.
11. Small Serpent Wrap Line Near Pinky Knuckle
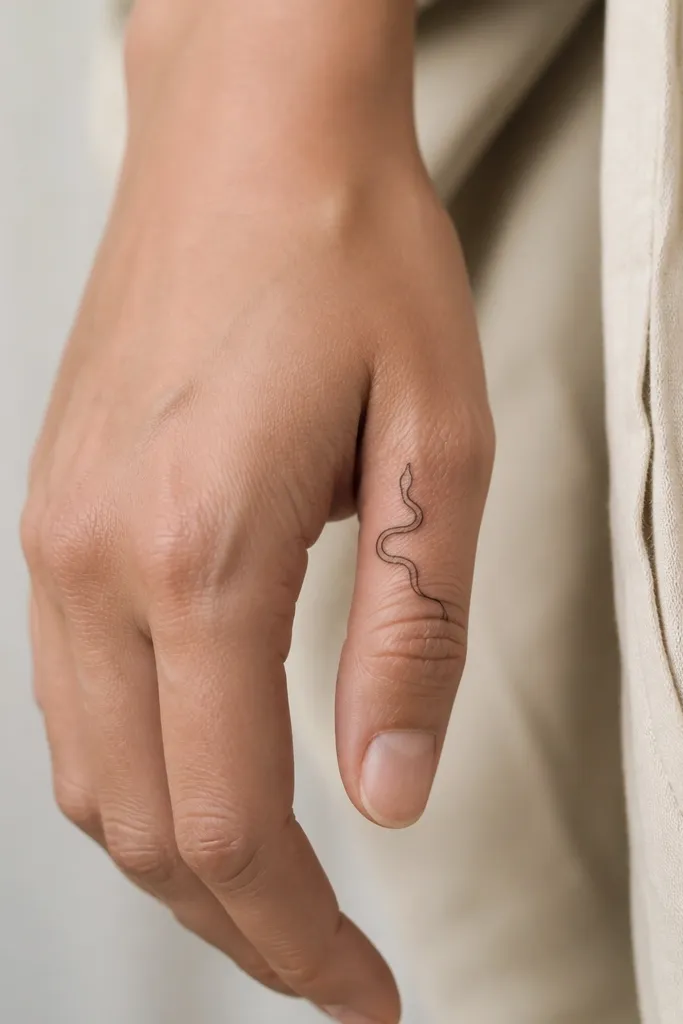
A serpent wrap line works because it uses flow, not detail. Without scales, it stays clean and doesn't rely on shading that can fade. The curve also follows how your hand naturally moves, so it looks alive when you gesture. I recommend a simple head curve and a single continuous line to avoid awkward breaks.
Keep it 15-25 mm long and place it near the pinky-side outer edge of the back of the hand. Avoid crossing the main knuckle crease - let it sit just above it. For couples, one person can have the serpent head pointing toward the thumb, the other pointing toward the wrist for a matched-but-not-identical feel.
Pro tipAsk for a line that tapers slightly at the tail. That taper makes healed ink look more "designed" and less like a single-width sketch.
12. Two Small Constellation Stars With One Connecting Dot
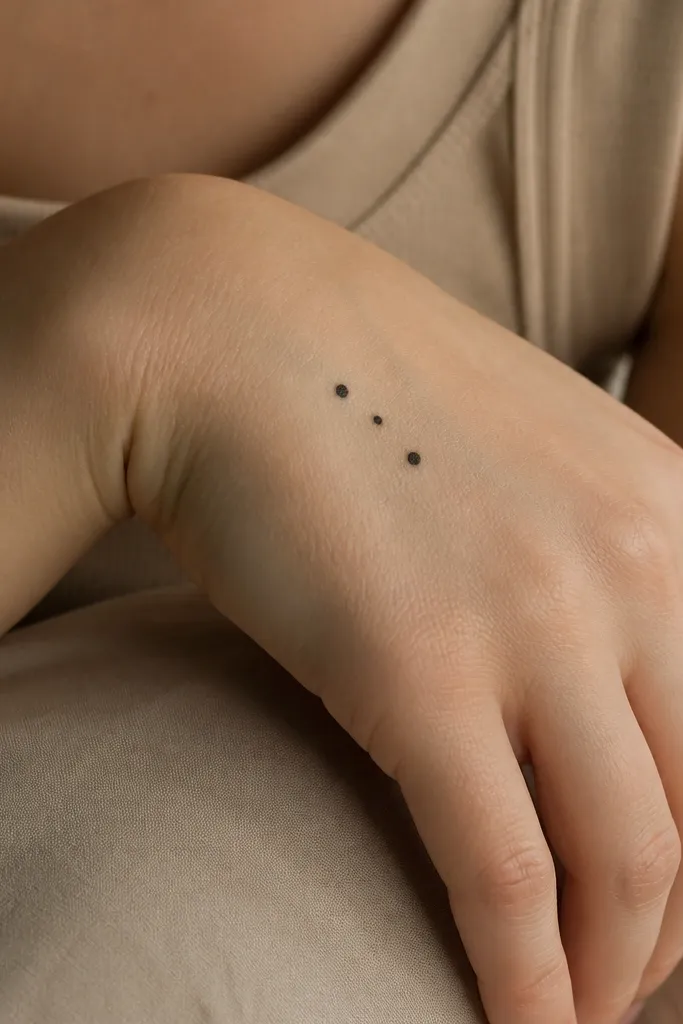
Constellation tattoos can get messy fast, but a three-dot layout stays crisp. The different dot sizes create a hierarchy without needing lines. This looks especially good on the back of the hand because the dots read as sparkly points even in low light. Couples can pick the same dot spacing and just change the order of which dot is the "main" one.
Make the largest dots about 1.5-2 mm and the smallest around 1 mm. Place the cluster between the index and middle knuckles and keep it under 12-16 mm wide. If you want it to look even cleaner, keep the dots in a gentle arc rather than a straight row.
Pro tipBring a photo of night-sky constellations you like and ask your artist to replicate the spacing, not the exact dots count.