
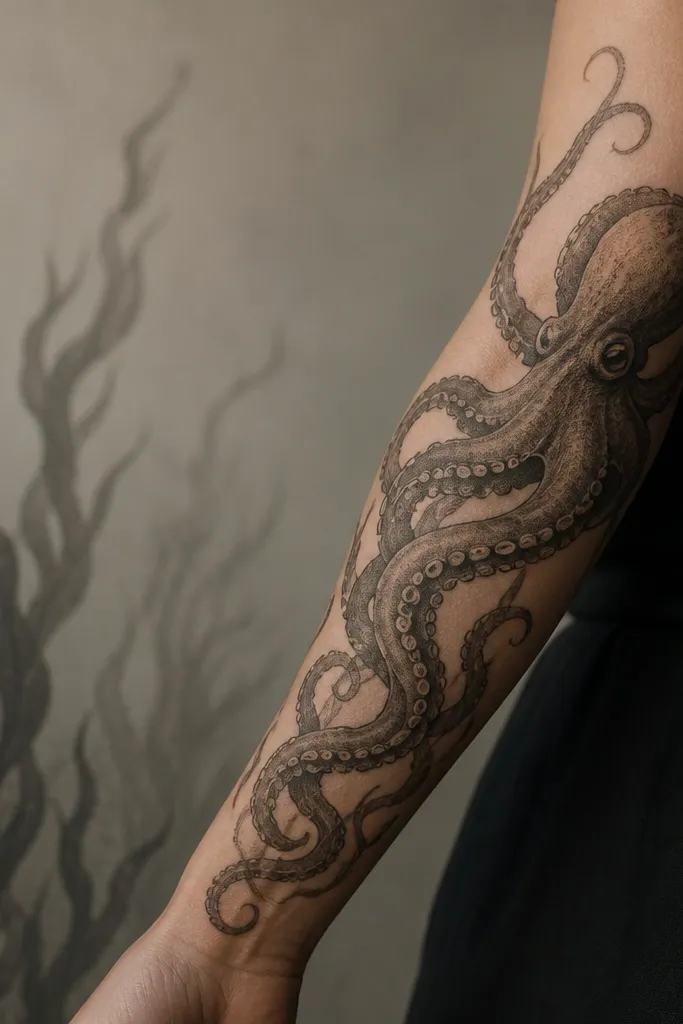
1. Inner Forearm Octopus With Bubble Trail
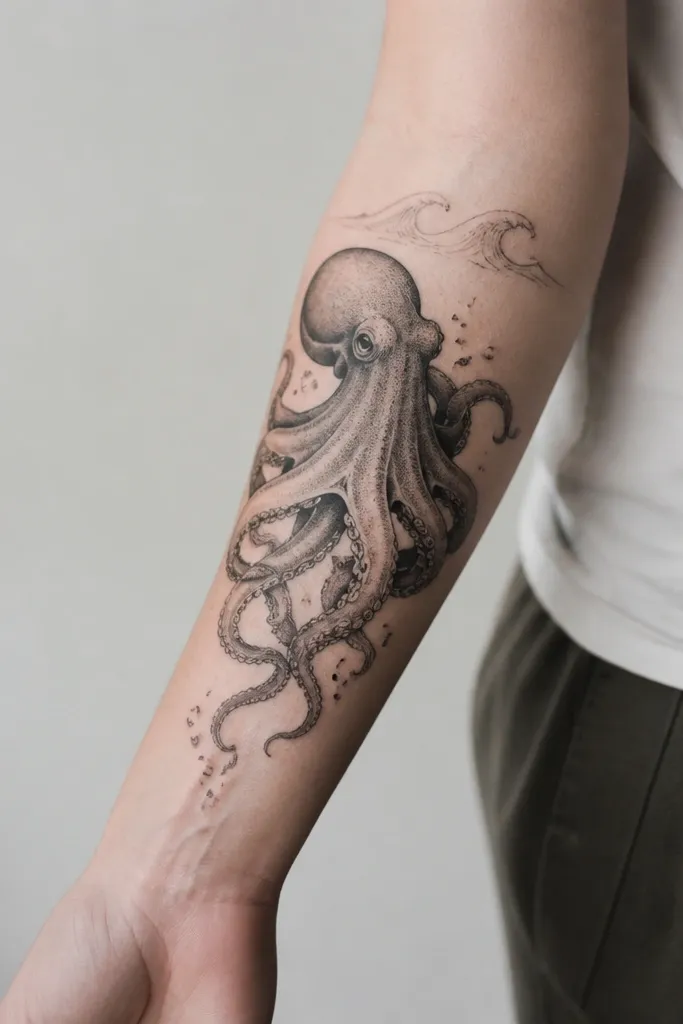
This placement makes the tentacles look like they're swimming because your inner forearm gives the design a long, clean path. Use tight linework for the outline, then gray wash that lightens toward the negative space so the ocean fades naturally. The bubble trail should be spaced wide enough that each bubble reads separately at arm-length. I like a thin wave line as a base - it anchors the whole piece without covering skin texture.
Place the head around the mid-forearm, then angle two main tentacles downward with smaller tentacles fanning out. Keep the bubble dots 1-2 millimeters apart in the sketch so they don't merge over time. If you want a "wet" look, ask for a highlight pass on the head and a softer haze behind the tentacles.
Pro tipWear a short-sleeve or sleeveless top when you first get it - the inner forearm shows detail best in natural light.
AvoidDon't cram the bubbles all the way into the tentacles; it makes the lower half look like one gray mass.
2. Outer Forearm Octopus Wrap With Seaweed Shading
Outer forearm tattoos can look like a sleeve panel without committing to a full sleeve. The key is the curl - tentacles should hug the contour of your arm so the movement reads even when your arm relaxes. Seaweed shading works because it gives depth behind the octopus head and prevents the design from looking flat. Use darker midtones behind the tentacles, then fade the edges toward the skin for an ocean-depth effect.
Start the octopus head slightly above the halfway point on the outer forearm. Let the biggest tentacles wrap around the arm's curve, then taper the tips toward the wrist. Ask for seaweed shapes behind the head that are lighter than the octopus outline so they don't steal focus.
Pro tipIf you lift weights, place the center far enough from your elbow so the design doesn't distort when your biceps flex.
AvoidAvoid heavy black fill for the background; it kills the illusion of water and makes skin look like it's been stained.
3. Ribcage Side Octopus With Breathing-Safe Tentacles
Ribs move, but that movement can look stunning if the tattoo design has long, flowing lines. Put the head high and let tentacles extend downward so the shape stays readable as you breathe. For ocean detail, keep bubbles sparse and airy - the negative space helps the tattoo stay crisp. Gray wash that gets lighter toward the edges makes the "water haze" effect without turning into a smudged gray rectangle.
Choose a placement where you can see it in a mirror when you stand straight, not when you're slouched. Keep the tentacle tips thinner than the mid-tentacles - ribs stretch and thicken lines over time. Ask the artist to avoid dense dotwork right over the most textured rib areas.
Pro tipWear a soft bralette or fitted tank after healing so you can spot how the tattoo looks in real lighting and movement.
AvoidDon't place tiny bubbles at the very bottom of the ribs; they blur faster in that fold.
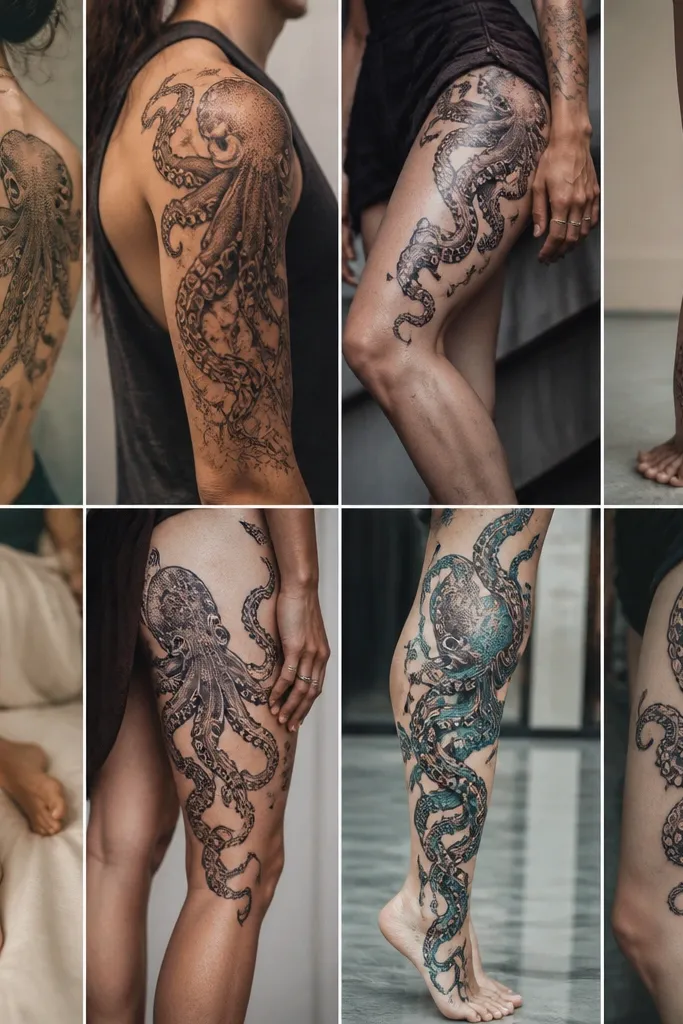
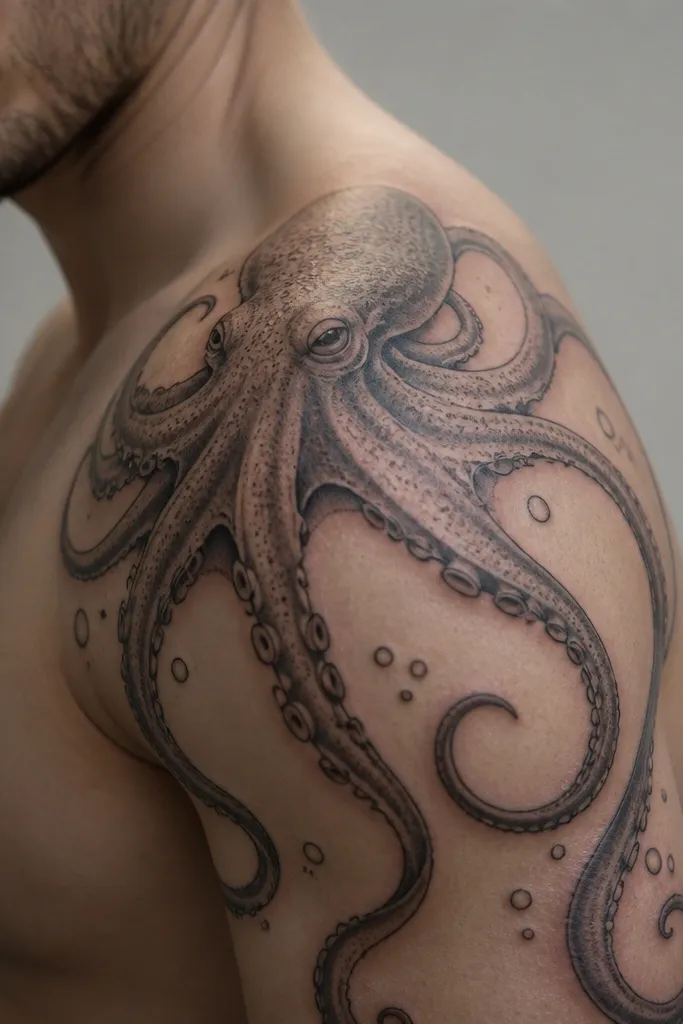
4. Upper Arm Octopus Crest With Wave Border
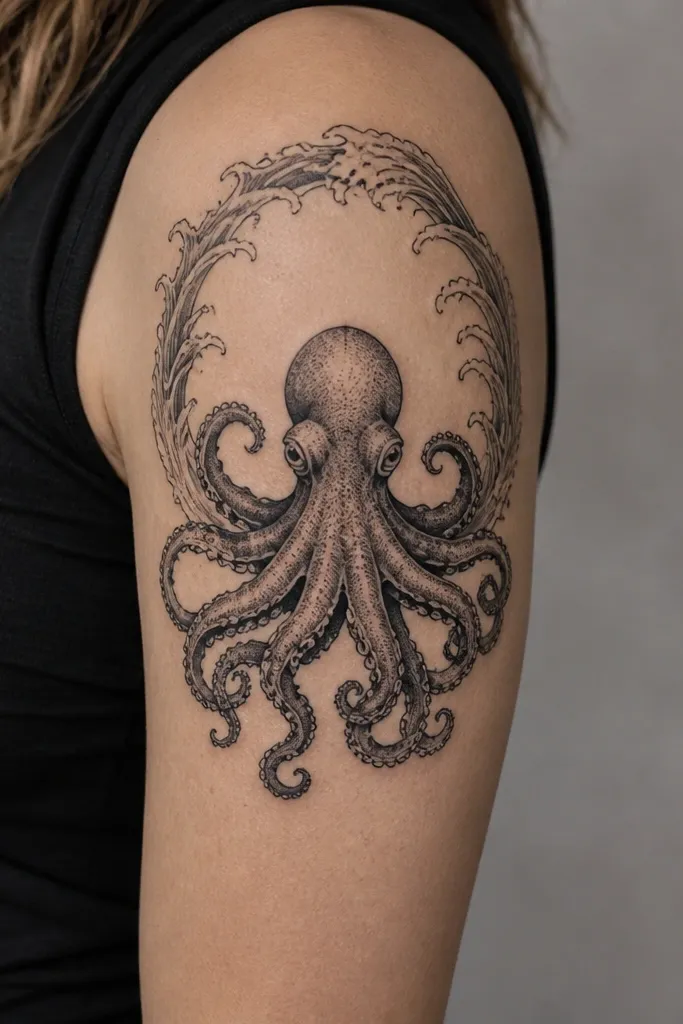
A crest-style octopus works because the upper arm is a stable canvas and you get a clean "framed" look. The wave border gives you crisp geometry that makes the octopus feel intentional, not random. For ocean detail, add a gradient inside the crest: darker behind the head, lighter around the tentacles. This keeps the tattoo looking like it has depth even if you don't add color.
Place the crest centered on the outer upper arm, with the tentacles reaching slightly downward but not past the midline of your arm. Keep the wave border thin enough that it doesn't thicken with healing. If you want realism, ask for subtle wet highlights on the head and faint shadow under each tentacle base.
Pro tipPair it with a simple gold chain or a watch - the contrast makes the black-and-gray waves look sharper.
AvoidSkip thick borders; they make the whole piece feel heavy and dated.
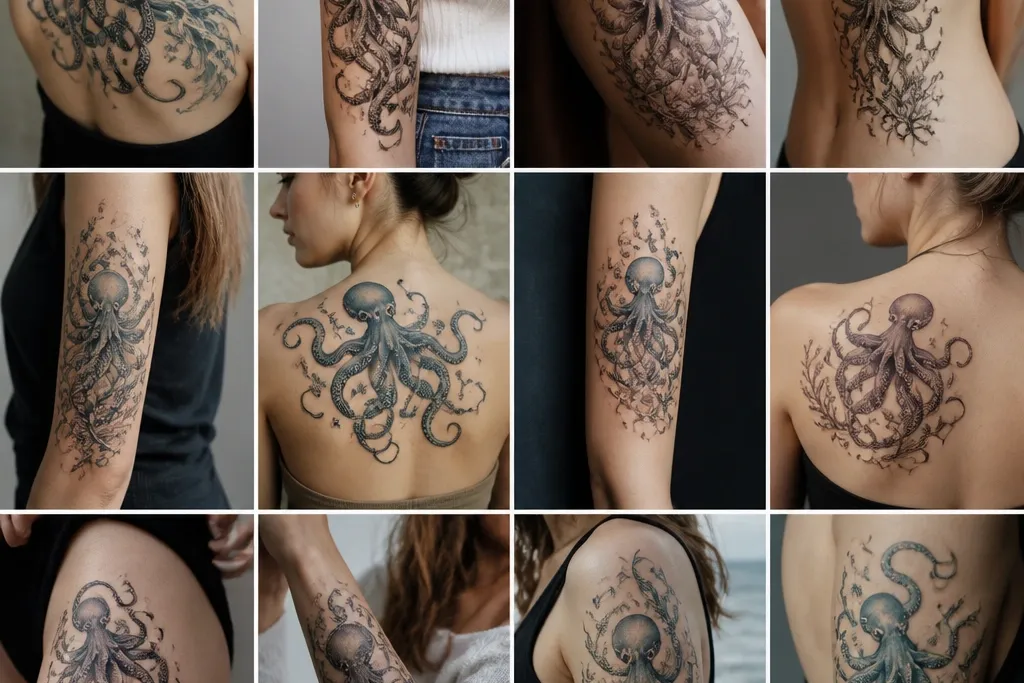
5. Shoulder Cap Octopus With Negative-Space Water
Shoulder cap placements look like ocean splash because the shoulder curve frames the head perfectly. Negative space is your friend here - it reads as clear water, which makes the tentacles and suckers stand out. Use thin lines for suckers and gray wash for the tentacle shadows, then keep the "water" area mostly uninked. A few bubbles near the border add motion without clutter.
Center the octopus head on the midpoint of the shoulder. Let tentacles fan outward with some going toward the upper arm and some toward the collarbone area. Keep the bubble dots larger near the edges and smaller near the head - it helps the eye travel.
Pro tipAsk your artist to test the stencil with your arm raised - the shoulder cap stretches and shifts.
AvoidDon't fill all the water area with dots; it removes the clear-water look.
6. Clavicle Octopus With Tiny Sucker Detailing
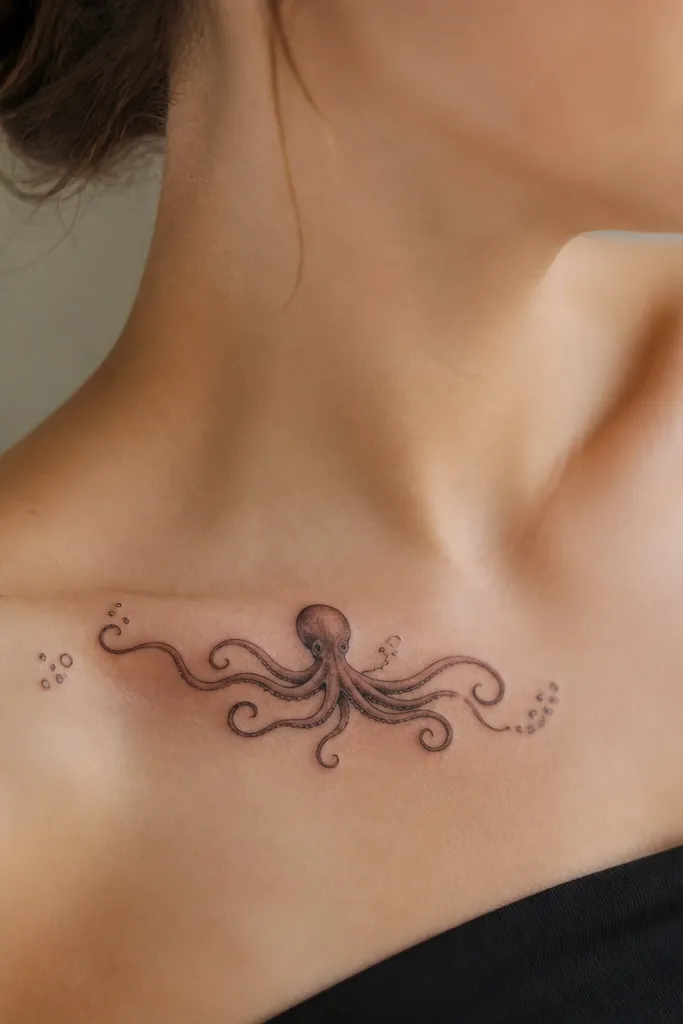
Clavicle tattoos read delicate and sharp because the skin is smoother and the viewing angle is flattering. This placement is perfect for micro-sucker detail if you keep the tattoo small and clean. Use fine linework for the sucker rims and light gray wash to imply depth under each tentacle. Micro bubbles should be minimal - just enough to give ocean air without turning into noise.
Plan the octopus head to sit around the center of your collarbone, with tentacles curling toward the shoulder and sternum side. Keep the tentacle thickness consistent and avoid tiny dots inside the most curved parts of the clavicle. Let the negative space sit between tentacles so the design stays readable.
Pro tipIf you wear low-cut tops, this placement looks best when the octopus points slightly toward your neck.
AvoidAvoid over-shading the clavicle; heavy gray makes it look bruised.
7. Back Neck Octopus Halo
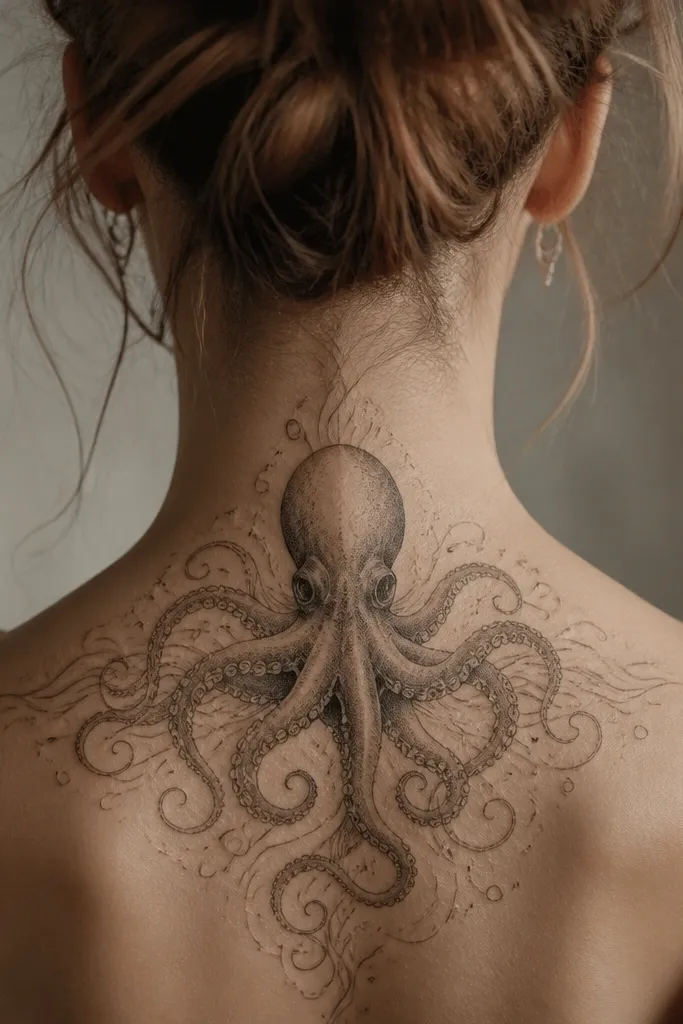
The back of the neck gives you a hidden ocean detail that looks amazing when hair moves. A halo-shaped tentacle layout keeps the design readable even when your head turns. Use light gray wash for the tentacles and keep the head slightly darker for contrast. A few wave lines and dot bubbles create depth without needing color.
Size it so the widest part sits around the width of your upper neck muscles. Keep tentacle tips thin and spaced - the neck is tight and lines spread as it heals. Ask for a gentle fade at the edges so it doesn't look like a sticker.
Pro tipWhen you sit for stencil, wear the same hairstyle you use daily so the placement matches what you actually see.
AvoidDon't put it too low on the upper spine; it stretches and warps with posture.
8. Top of Hand Octopus With Waterline Micro Realism
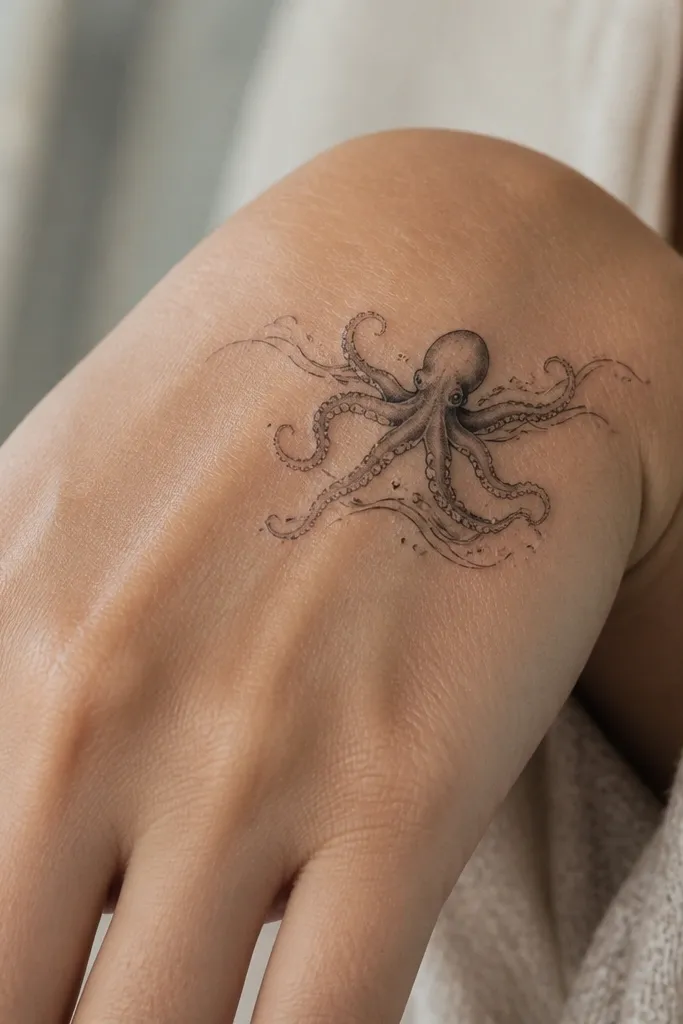
Hand tattoos show detail only if the design is simple and the linework stays crisp. A small octopus with a thin wave line looks sharp and reads ocean without relying on dense shading. Use gray wash in small patches under tentacle bases, not full gradients. The waterline idea gives the eye a reference point so the tattoo doesn't float.
Place the head near the center of the hand top, with tentacles wrapping slightly toward the wrist but stopping before the thumb web. Keep bubbles tiny and sparse, and avoid lots of dotwork. For best longevity, ask for clean outlines and limited shading.
Pro tipPlan for healing downtime - hand tattoos get irritated more easily from washing and friction.
AvoidAvoid a full-realism octopus on the hand; tiny suckers won't hold up.
9. Outer Wrist Octopus With Minimal Bubble Cluster
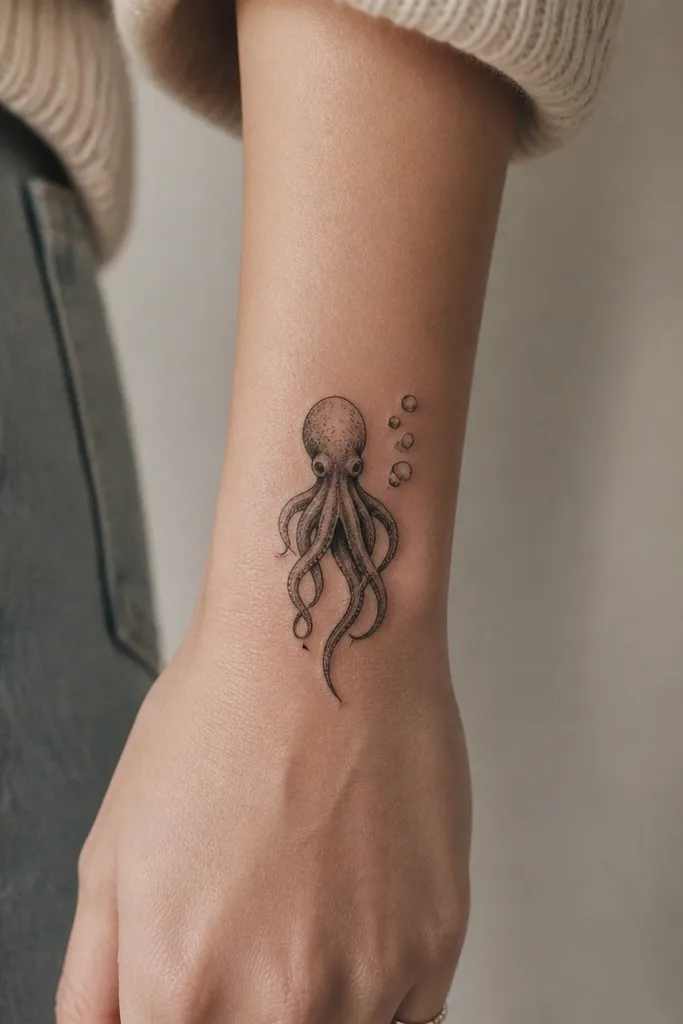
Wrist placement is all about readability. Keep the design compact and let negative space do the work. A minimal bubble cluster looks intentional and stays clearer than scattered dots across the whole wrist. Use clean linework for the head and gentle gray wash under the tentacle roots.
Center the head where your pulse line is, then extend two main tentacles straight down. Keep tentacle tips thin and separate. Place bubbles off to one side so they don't crowd the wrist crease.
Pro tipChoose a stencil that fits within your wrist width - if it wraps too far, it distorts when you bend your hand.
AvoidDon't add heavy shading over the wrist crease; it blurs fast.
10. Sleeve Panel Octopus With Deep-Water Gradient

If you want ocean detail that looks like depth, go for a gradient background. This placement works as a panel so you control where the darkest tones sit. The octopus should have crisp outlines and layered gray wash that transitions from dark behind the head to lighter near the tentacle edges. That contrast keeps the tentacles reading even when your arm is moving.
Design it to fit between natural sleeve boundaries - like from upper arm to just above the elbow. Ask for a darker "pool" behind the head, then fade it outward with stipple or soft wash. Keep small bubbles near the top of the panel where they won't get distorted by elbow movement.
Pro tipIf you want it to look extra realistic, ask for a thin highlight on the suction cups rim.
AvoidAvoid mixing too many styles - if you do realism, don't add cartoon waves in the same panel.
11. Lower Back Octopus With U-Shaped Tentacle Spread
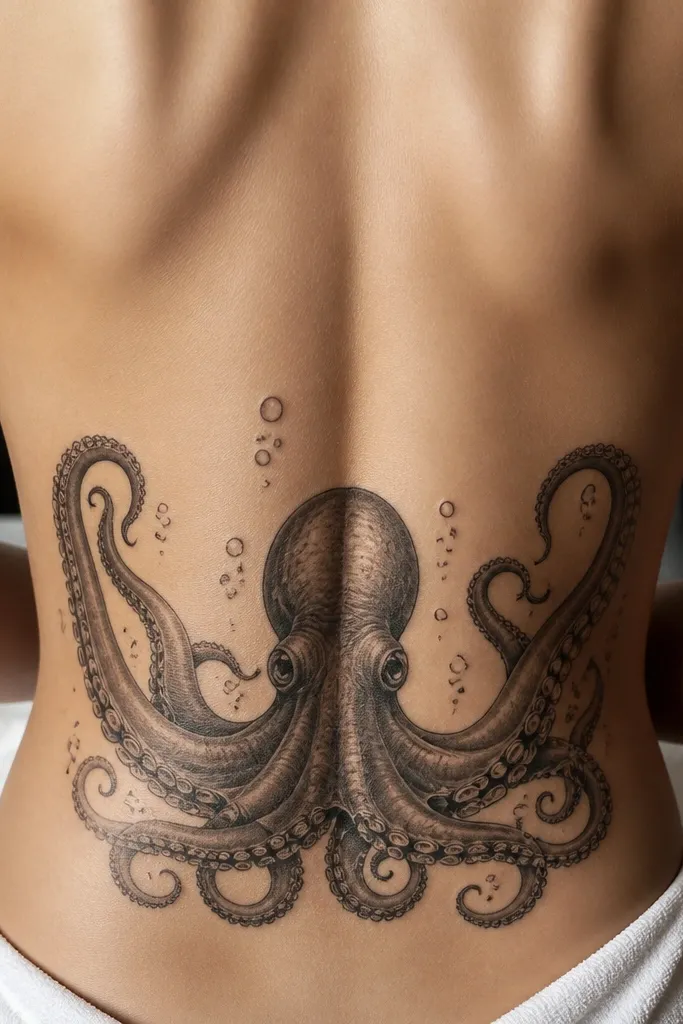
Lower back is one of the best places for a full octopus silhouette because you get a wide, symmetrical canvas. A U-shaped tentacle spread frames your waist and makes the ocean detail look intentional. Use darker shading near the head and fade outward, leaving clear negative space between tentacles. Bubble specks should be light and few - think "air bubbles in clear water," not glitter.
Place the head slightly above the waistline so it doesn't get swallowed by the curve when you sit. Let the tentacles extend toward the hip bones but keep the very tips lighter and thinner. Ask for subtle wave lines beneath the tentacles to anchor the composition.
Pro tipWear high-waisted underwear or leggings when you pick the stencil - it changes what looks centered.
AvoidDon't overfill the tentacle centers with dotwork; it makes the back look textured instead of watery.
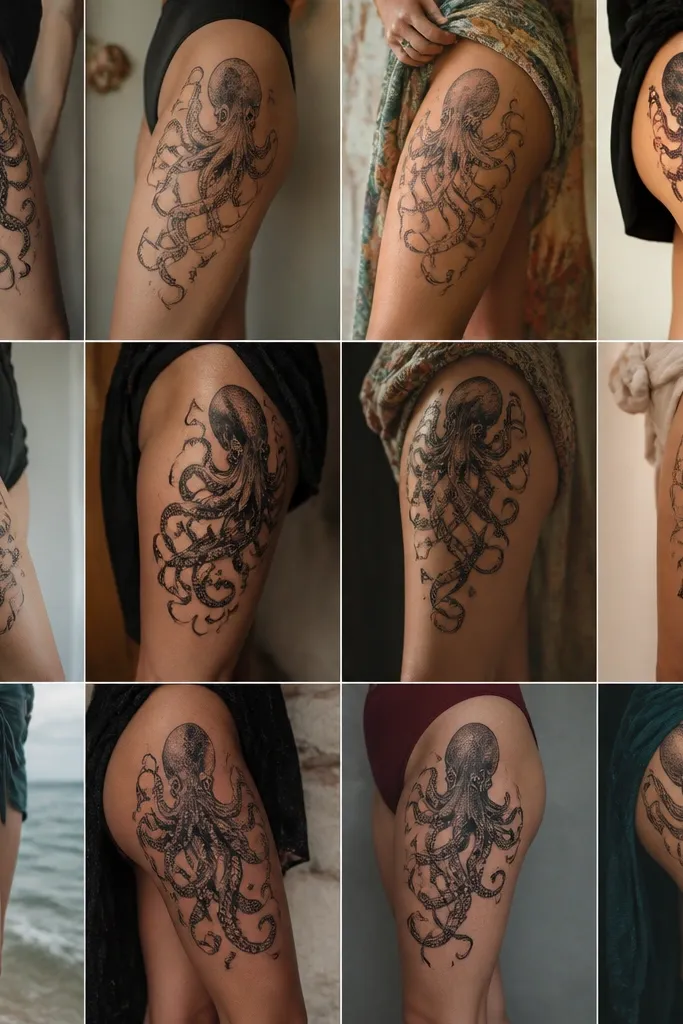
12. Side Thigh Octopus With Floating Seaweed
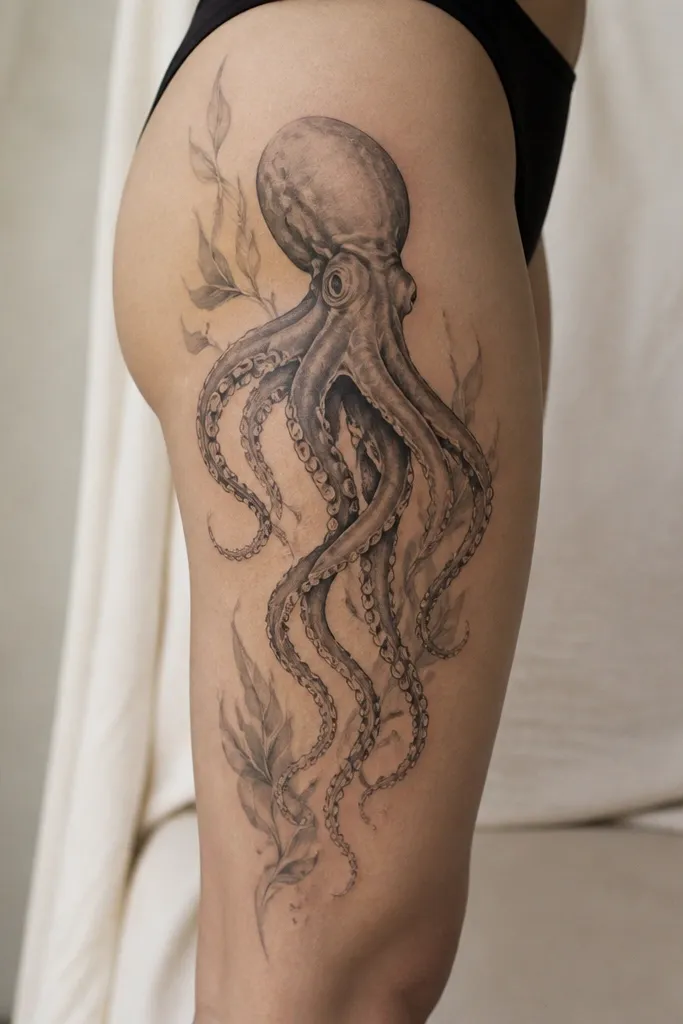
Side thigh tattoos look great because you can place tentacles to follow the leg's length. Floating seaweed shapes create a layered ocean scene without needing color. The thigh also handles medium shading well, so gray wash gradients can feel like depth. Keep the octopus head slightly darker, then fade the tentacles as they drift down.
Place the head higher on the side thigh, then let the longest tentacles reach toward the upper knee area. Add seaweed shapes behind the head and mid-tentacles so the composition has foreground and background. Bubbles should be concentrated near the top third and near the tentacle tips.
Pro tipIf you're active, keep the design away from the spot where your shorts ride up - friction can dull detail.
AvoidAvoid placing the densest dotwork right at the widest thigh crease; it blurs with movement.