
1. Forearm Kraken-Style Octopus With Bold Tentacle Arcs

This design works because the forearm naturally gives you long travel paths for tentacles. Thick linework holds up as your skin moves, and the simple sucker shapes keep the tattoo legible as it ages. I like black-and-gray for this placement because the gradients can follow the forearm's light and shadow without turning gray mush.
Place the head about 2-3 inches above the wrist crease, then let two main tentacles arc toward the inner forearm while the others fan down the outer side. Keep tentacles roughly 1/2 to 2/3 of the forearm length so they don't crowd your wrist. Ask for crisp edge definition on the tentacle outer lines and softer shading inside the tentacle folds.
Pro tipBring a photo of your forearm in normal daylight and ask your artist to match the direction of the darkest shading to your natural crease lines.
AvoidAvoid ultra-fine dot suckers on the forearm - they heal flatter and lose their edges.
2. Ribcage Octopus With Side-Swept Tentacles
Ribs give you a natural canvas for a draped look, but only if the tentacles follow the diagonal sweep of the muscles. Side-swept tentacles keep the design from getting squashed when you twist your torso. The high-contrast blacks anchor the tattoo so it still reads even with the rib's texture and healing variation.
Start the head where your bra band sits or just above it, then angle the biggest tentacle down toward the upper hip. Leave breathing room between tentacles - you want clear negative space lines so the tattoo doesn't turn into one dark mass. Use slightly heavier blacks near the head and fade to softer gray mid-tentacle.
Pro tipAsk for a stencil that shows your tattoo on both sides - ribcage placement can flip the tentacle flow depending on how your body turns.
AvoidAvoid packing tentacles too tightly under the armpit line; it blurs as you move your arm.
3. Upper Arm Octopus Portrait With Dotwork Suckers
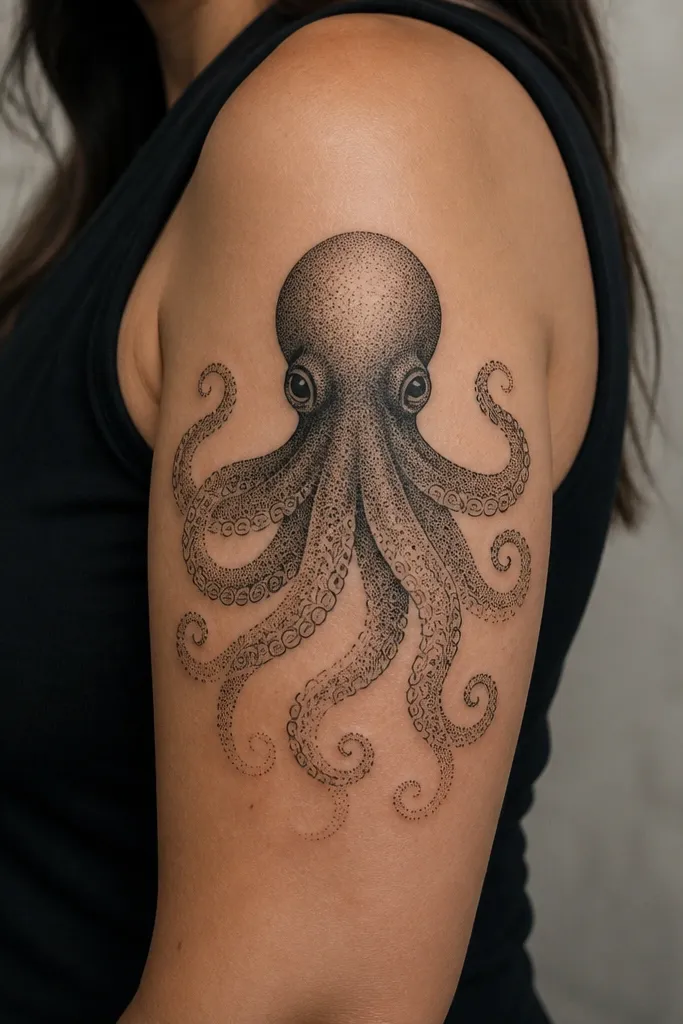
Upper arm skin has enough flat space for dotwork to stay crisp. Dotwork suckers create texture without relying on ultra-thin lines, and the fan-like tentacles keep the silhouette clean. This style also photographs well because the dots catch light differently from solid black areas.
Place the head about halfway between your shoulder cap and elbow crease. Keep the tentacles curling outward rather than reaching straight down - that makes the tattoo sit flat as your arm rests. Ask for a darker "halo" under the head so the portrait pops even after it fades.
Pro tipIf you want dotwork, request a test patch: have the artist do a small section of sucker dots in your consult so you can see how it heals.
AvoidAvoid tiny eyes and crowded micro-text; the upper arm can still lose that detail during healing.
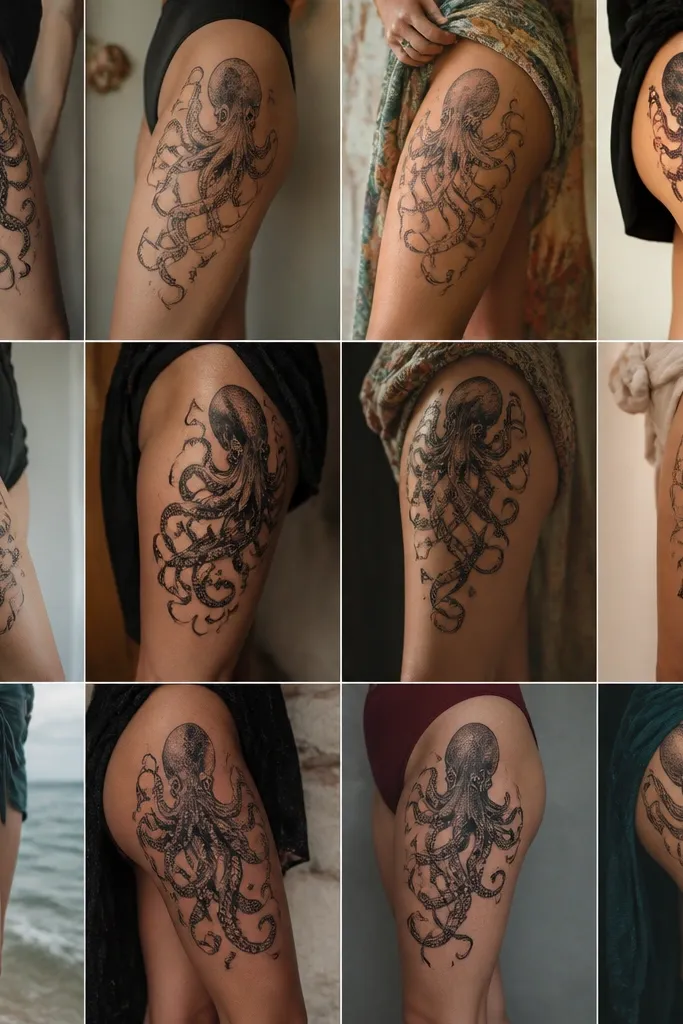
4. Blackwork Octopus Mandala Frame for Outer Thigh
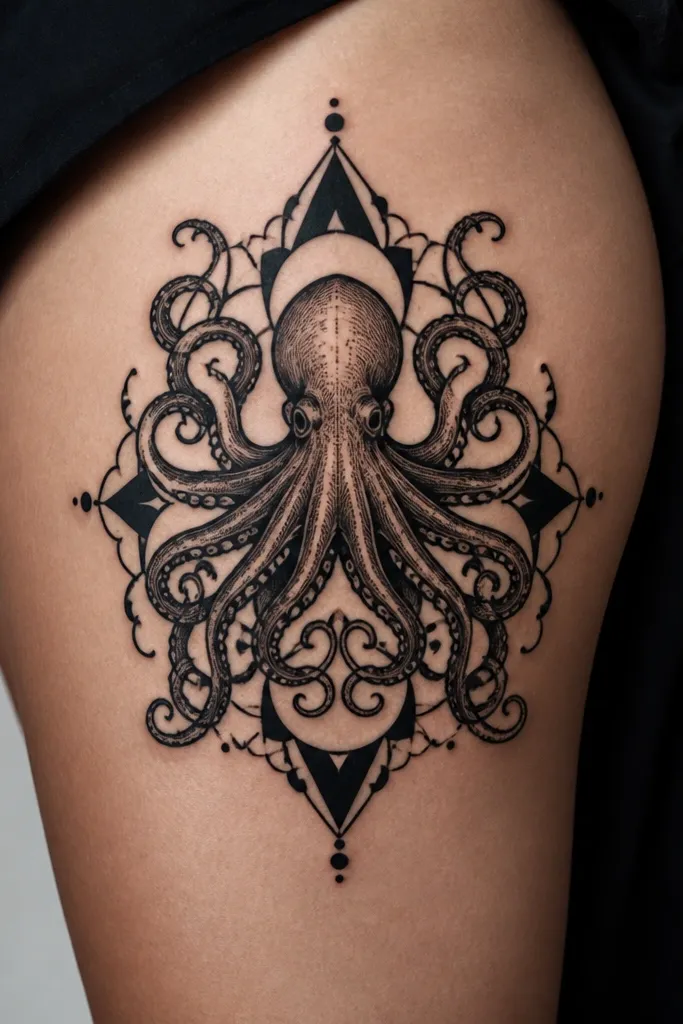
Geometric frames look sharp on the thigh because you get room for symmetry and spacing. Thick blackwork keeps the composition readable and gives you a clean contrast when the tattoo fades. The octopus inside the frame also gives you a clear focal point so the piece doesn't feel scattered.
Sketch the mandala so it sits slightly higher than center on the outer thigh, then extend tentacles toward the knee with a gentle taper. Keep the frame lines thicker than the tentacle lines so the tattoo stays structured. If you want shading, use small solid fills in the frame corners instead of heavy gray gradients.
Pro tipWear fitted shorts when you choose placement - seeing the tattoo against moving fabric helps you judge how much it will stretch during daily motion.
AvoidAvoid thin decorative lines in the frame; they heal thinner and can vanish.
5. Minimal Linework Octopus With Single-Color Suckers
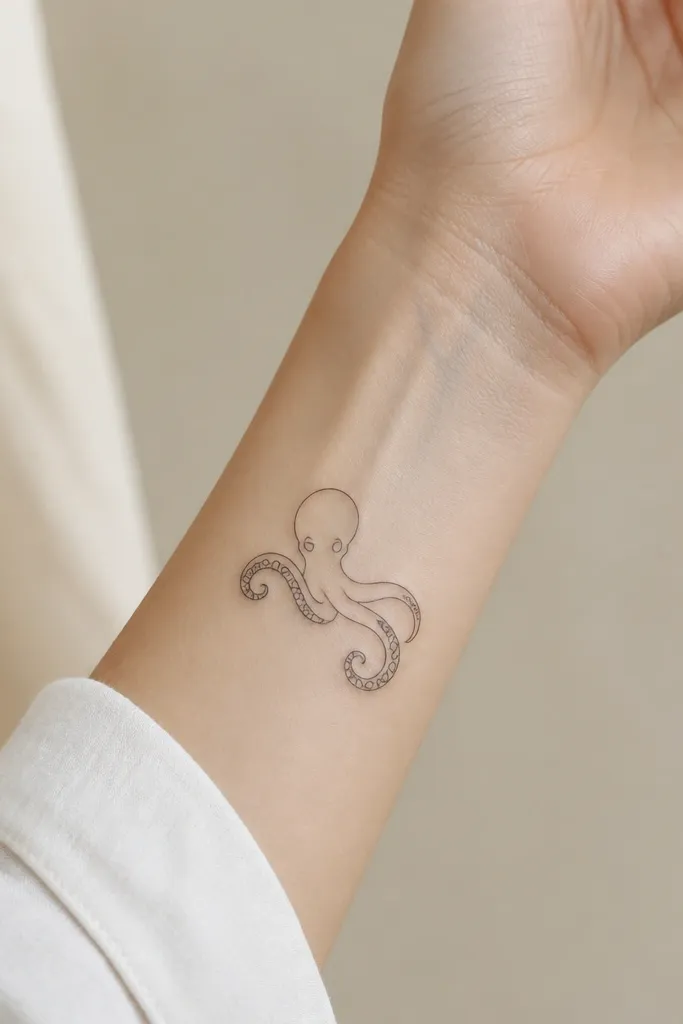
Minimal linework works when you keep the design simple and let the negative space do the heavy lifting. The inner wrist placement makes the tattoo feel delicate, but the linework has to be bold enough to heal without going gray. Single-color suckers keep the pattern consistent and readable.
Keep the overall tattoo under 2.5 inches wide on the wrist to avoid crowding. Place tentacles so they follow the wrist's natural curve, not straight across the joint. Ask for line weight that looks slightly thicker than you think you need in the stencil.
Pro tipRequest a stencil that includes a light line version and a bold line version so you can compare how it reads from 3 feet away.
AvoidAvoid ultra-thin needles for linework on wrists; it fades into skin tone.
6. Watercolor Octopus With Teal and Coral Washes
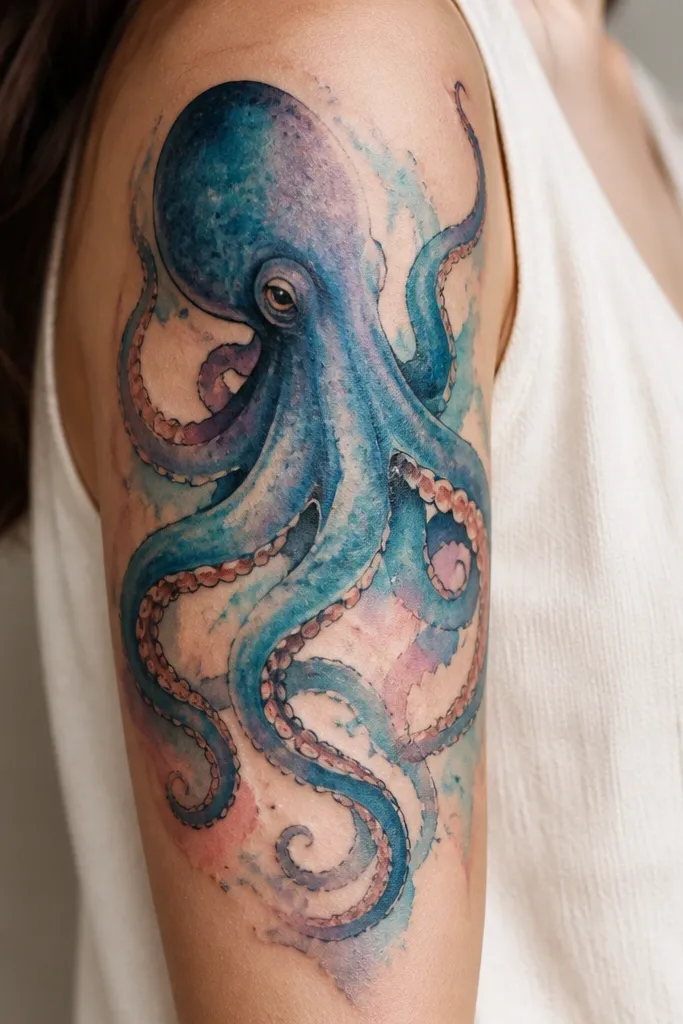
Watercolor works when you anchor the design with a darker outline and place color in intentional zones. Teal and deep blue mimic ocean depth, while coral accents make the suckers look like they're glowing. The key is controlled bleeding - you want cloudy fades, not a muddy gray blob.
Use a darker outline for the head and main tentacle edges, then apply watercolor washes inside those boundaries. Keep the coral accents to fewer areas - near the sucker rows and the underside of the head - so the color doesn't overwhelm. Upper arm is forgiving for watercolor because you get enough space for gradual transitions.
Pro tipAsk the artist to show you healed examples of their watercolor - fresh ink looks perfect, healed ink tells the truth.
AvoidAvoid full-color tentacles with no outline; they blur fast on moving skin.
7. Half-Sleeve Octopus With Ship-Log Compass Background
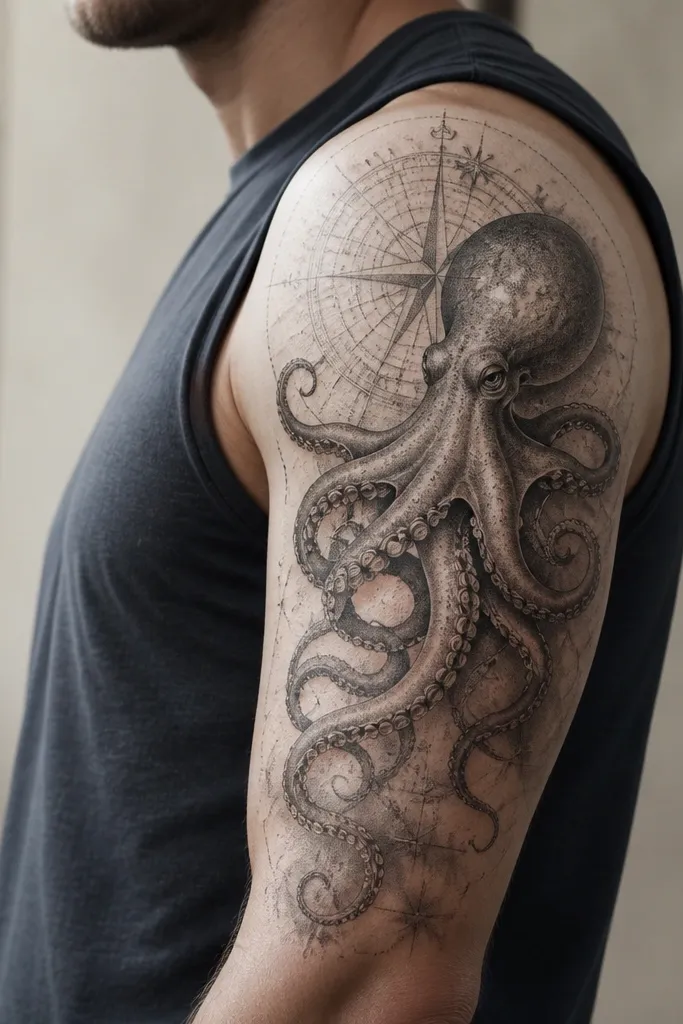
This works because you're giving the octopus a "story layer" that doesn't compete with it. Compass and nautical marks add structure, and the gray background keeps the octopus as the main read. The thin marks should stay thin, but the octopus lines must be thicker so the whole sleeve doesn't turn into noise.
Plan the compass circle so it sits behind the head and doesn't wrap around your elbow crease. Use dot shading in the background to create depth without turning the sleeve dark. Keep at least one tentacle edge crisp in black so the octopus doesn't blend into the compass lines.
Pro tipPrint your sleeve placement photo and mark elbow and bicep flex lines - then adjust tentacle directions so they don't get distorted when you bend your arm.
AvoidAvoid putting detailed tiny ship text anywhere near creases; it won't survive motion.
8. Color Pop Octopus With Red Ink Sucker Highlights

Red accents are the fastest way to make an octopus look alive without committing to full color. The black-and-gray base keeps it classic, and the red sucker highlights draw your eye to the texture. Shoulder blade placement lets the tentacles fan out naturally while staying comfortable under most clothing.
Place the head slightly lower than the shoulder peak, near the upper scapula. Keep red accents small and consistent - think tiny paint dots inside each sucker shape. Ask for smooth gray transitions around the head so the red doesn't float on top of flat shading.
Pro tipChoose one red tone (blood red or brick red) and stick to it across all suckers so the tattoo looks intentional after it fades.
AvoidAvoid large red patches - they heal unevenly and can turn into flat pink.
9. Small Octopus Head Tattoo Behind the Ear
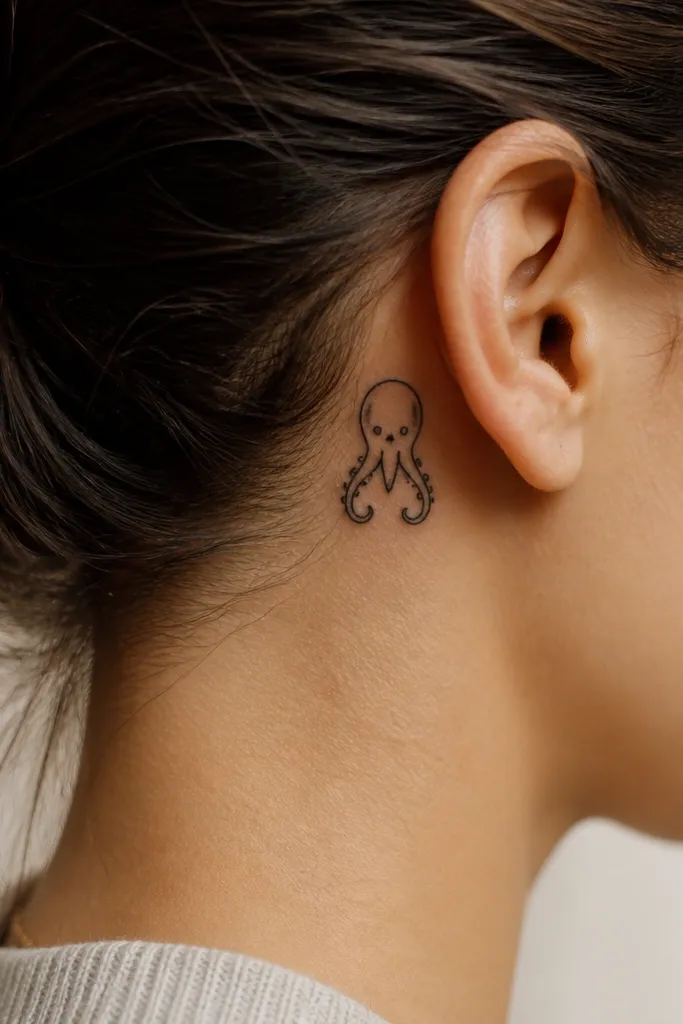
Behind the ear is a "cute but strict" placement. The tattoo has to be tiny, readable, and low-detail because that skin area shifts and heals with more texture. A small head with two tentacle tips keeps it clean and prevents the design from turning into a dark smear.
Keep it under 1.5 inches wide and position it so it doesn't cross into the hairline too much. Use bold outlines and very few sucker marks. Ask for a stencil placement that considers hair growth direction so you don't get awkward coverage gaps.
Pro tipIf you wear earrings or have piercings nearby, plan the tattoo so it doesn't sit under the metal rubbing point.
AvoidAvoid shading-heavy designs behind the ear; they blur quickly in that spot.