1. Wrist Hugger Octopus (Tiny Head, Three Tentacles)
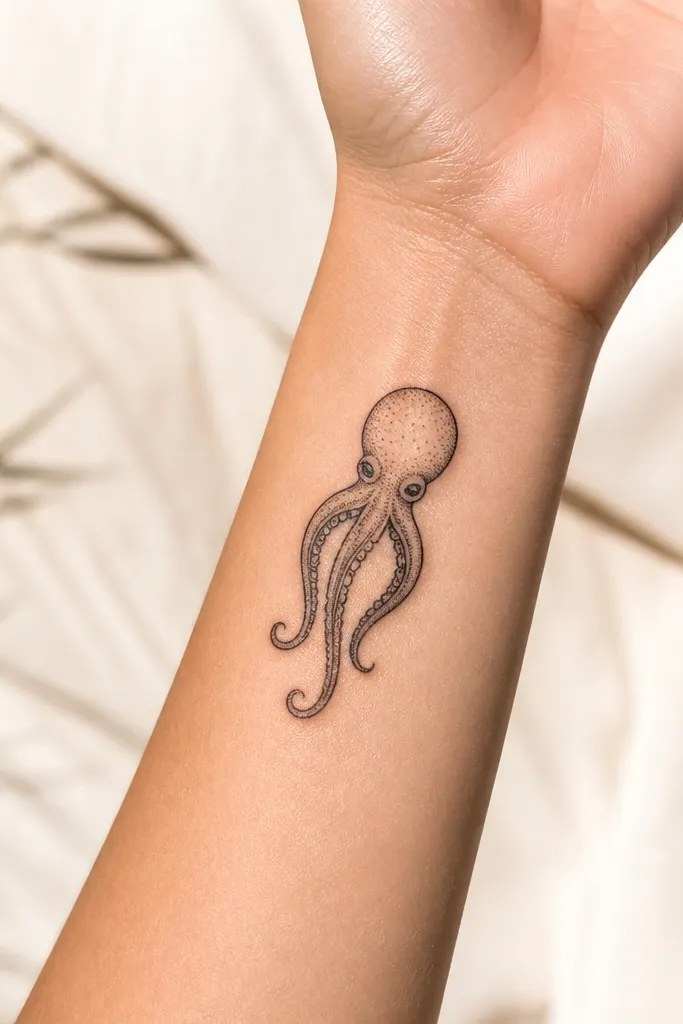
This placement makes the octopus look like it's holding onto you. The wrist is narrow, so a tiny head keeps the design from turning into a blob during healing. Thin black outlines keep the silhouette crisp, while dot shading in the head adds that cute, puffy look without adding heavy color. The tentacles curl toward the palm side, so they read as hugging instead of floating.
Keep the head about the size of a dime to a quarter. Position it slightly above the wrist crease so it doesn't get distorted by constant bending. Ask for the tentacles to taper - thicker at the base, thinner at the tips - so they feel delicate.
Pro tipRequest a stencil with the tentacles pointing toward the thumb side, then check it in a mirror with your hand relaxed and your fingers extended.
AvoidAvoid full, wide tentacle spreads on the wrist; they heal blurry and lose the cute shape.
2. Forearm Doodle Octopus with Sucker Dots
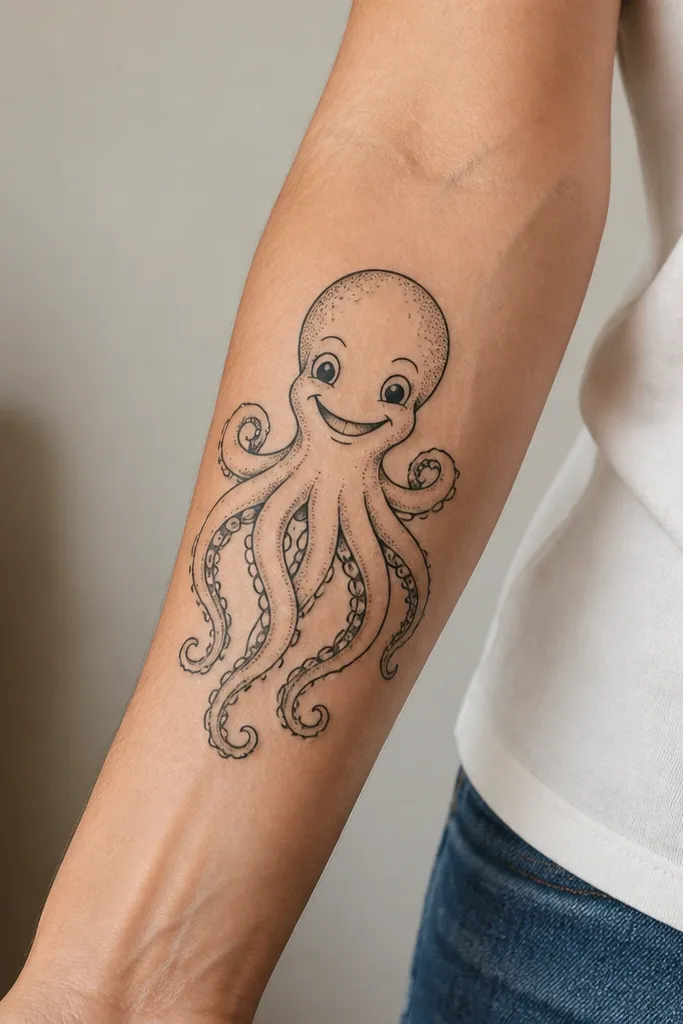
This is the "I drew this in my notebook" style that still tattoos clean. The sucker dots give the design texture without needing thick black fills. On the forearm, you get enough vertical space for the tentacles to run in a gentle curve, so it looks playful instead of cramped. A small smile and two dot eyes add personality fast.
Place it on the outer forearm, about two finger widths from the wrist, and let it sit parallel to your forearm muscles. Size it so the widest tentacle span is no wider than 1.5 inches. Use a consistent black line weight for the outline, then add dot shading only behind the head for depth.
Pro tipBring a reference with a similar "doodle" thickness; if the outline is too thin, it can fade and the smile disappears.
AvoidAvoid adding too many extra bubbles or seaweed bits - the design turns into noise after healing.
3. Behind-the-Ear Mini Octopus (Floating Tentacles)
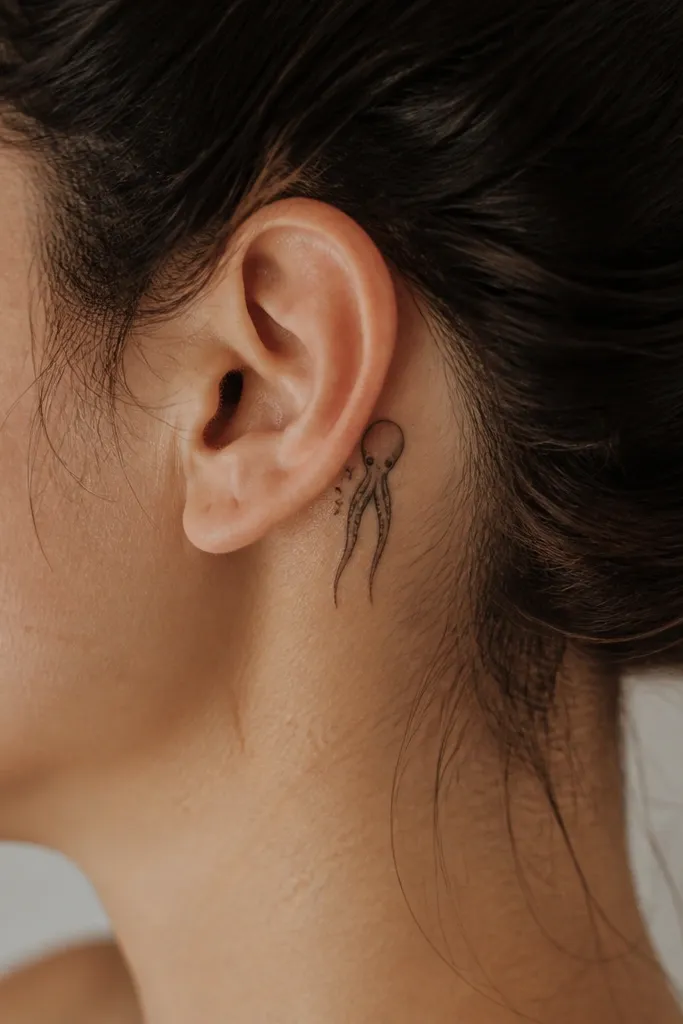
Behind the ear is where cute becomes personal. The head stays small and readable, and the tentacles can "float" down the curved skin without needing lots of space. Fine-line works well here because the area is relatively flat compared to the wrist, and the design can be kept simple enough to heal crisp. Micro dots around the octopus add a playful underwater hint.
Place it just behind the ear lobe, centered so it doesn't creep toward the hairline. Keep it under 1 inch tall so it doesn't blur as your ear moves and your hair shifts. Use clean black lines and tiny sucker marks - no heavy shading blocks.
Pro tipAsk your artist to test the stencil with your hair pulled back and your head tilted forward; behind-the-ear tattoos look different from different angles.
AvoidSkip large shading areas behind the ear; they can heal patchy and soften the cuteness.
4. Collarbone Wrap Octopus (One Tentacle Clasp)
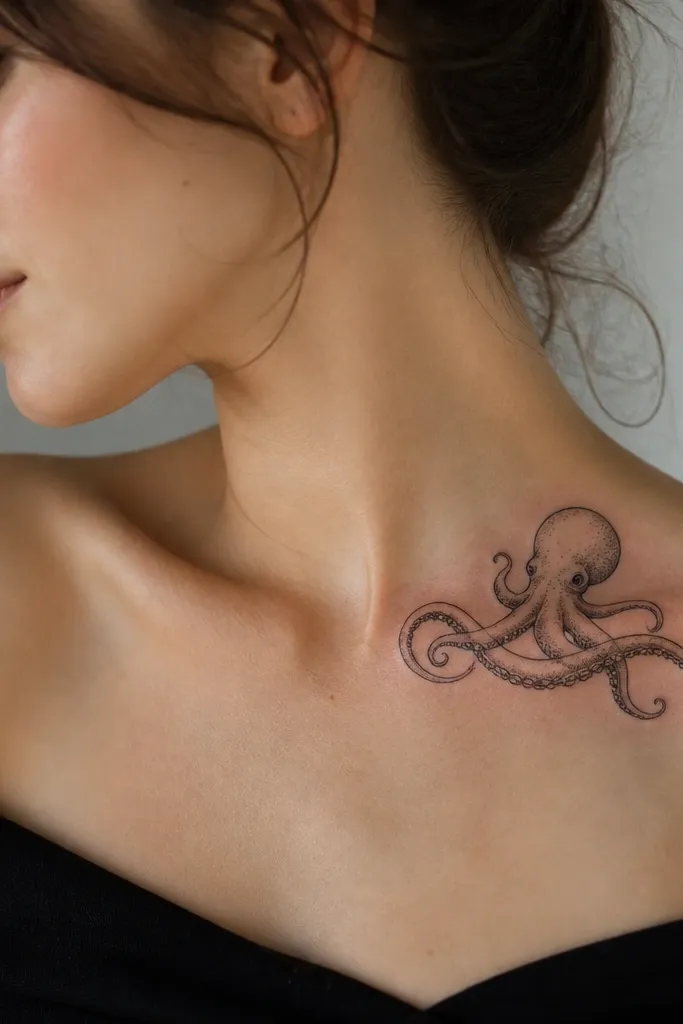
This one looks like jewelry because the collarbone already has a natural curve. Having one tentacle clasp across the collarbone creates a clean focal point instead of a spread-out pattern. Dotwork shading under the head makes it feel soft and dimensional without turning it into a heavy tattoo. The rest of the tentacles can be kept short to maintain that "cute but tidy" look.
Place the head near the center of your collarbone, then angle the tentacle to follow the collarbone's diagonal line. Size the head around 1 inch across. Keep tentacles shorter than the width of your collarbone so it doesn't stretch when you raise your shoulders.
Pro tipWear the top you plan to show it in during your appointment - a low neckline changes how the stencil sits.
AvoidAvoid placing it too close to the sternum; it can warp with posture and lose its shape.
5. Ribside Octopus with Curly Tentacle Frame
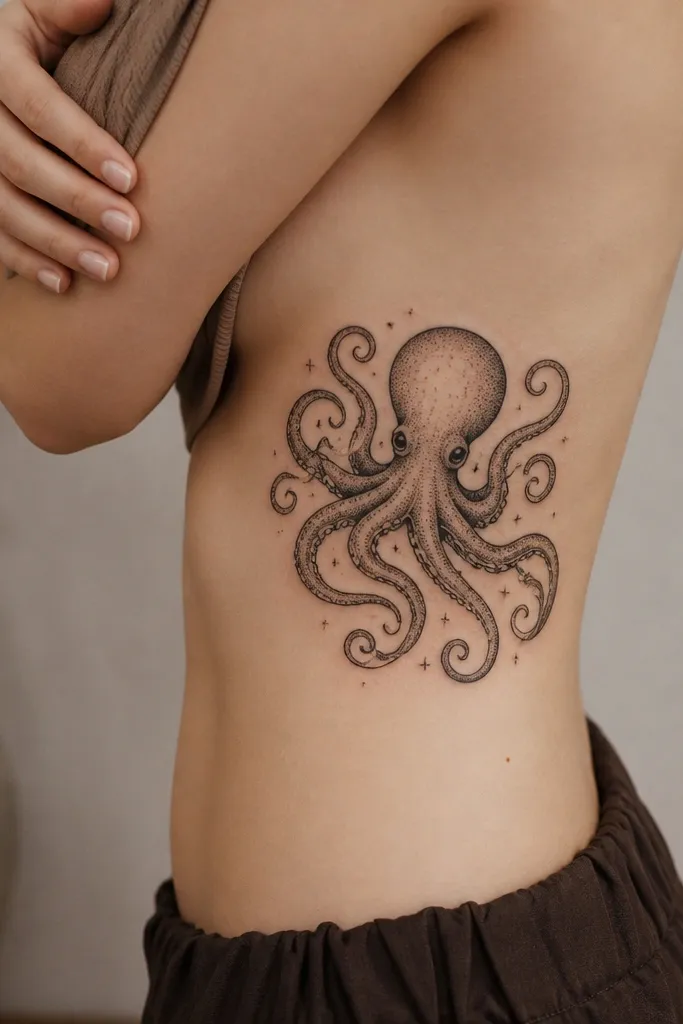
Ribs are great for cute because you get natural movement and a curved canvas. A frame-style octopus - head in the middle, tentacles curling outward - reads like a sticker when it heals. Dot shading keeps it soft, while the curled tentacles make it look like it's reacting to your ribs. This style also hides well if you want to keep it private at first.
Place it on the outer rib area, midway between your armpit and waist. Keep the design vertical so the tentacles follow your rib curve. Ask for a stencil that fits when you're standing relaxed; don't let the artist size it only when you're bending forward.
Pro tipPlan your appointment for a day you can rest after - rib tattoos are more sore than you think, especially if you're on a tight schedule.
AvoidSkip super-fine micro details if you're prone to swelling; they can blur during healing.
6. Ankle Candy Octopus with Polka Dot Suckers
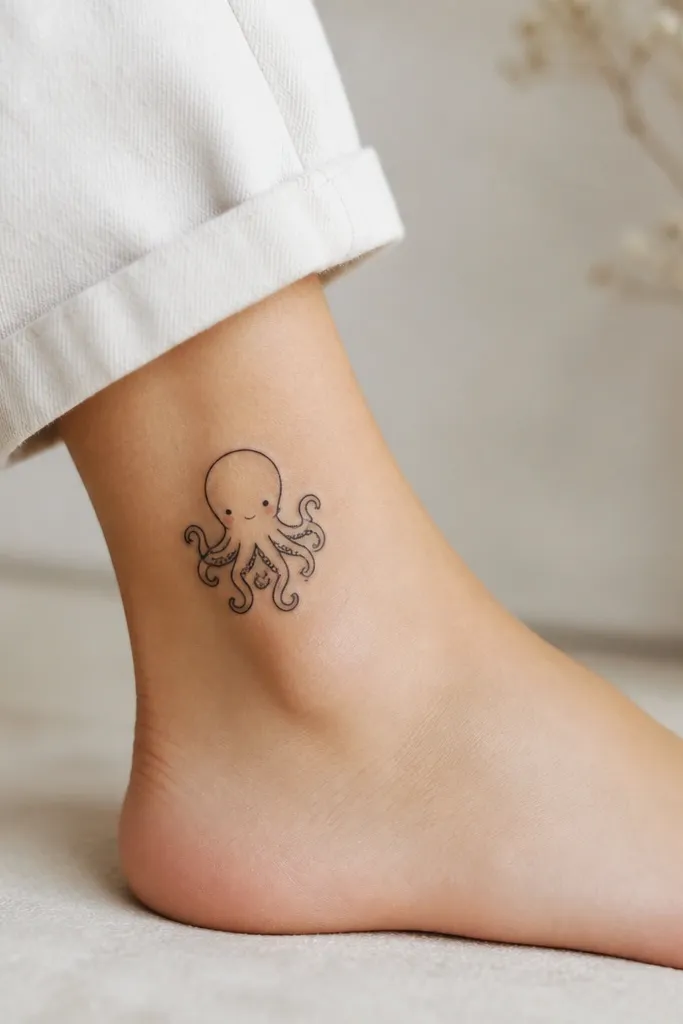
Ankle tattoos look extra cute because the design can follow the bone curve. Polka dot suckers give the octopus a candy-like texture, and the tiny blush dots add personality without needing full color. Keeping the tentacles tight and short helps it stay legible in a spot that gets a lot of friction from shoes. Black outline does the heavy lifting so it still reads even when the ankle skin shifts.
Place it on the outer ankle, slightly above the ankle bone so the design isn't stretched by walking. Keep the overall height under 2 inches. If you want color, use very limited pink - think two small dots, not a wash.
Pro tipChoose closed-toe shoes or sandals that don't rub the tattoo in the first two weeks after your session.
AvoidAvoid placing it directly over the bony peak; it heals rougher and the lines soften faster.
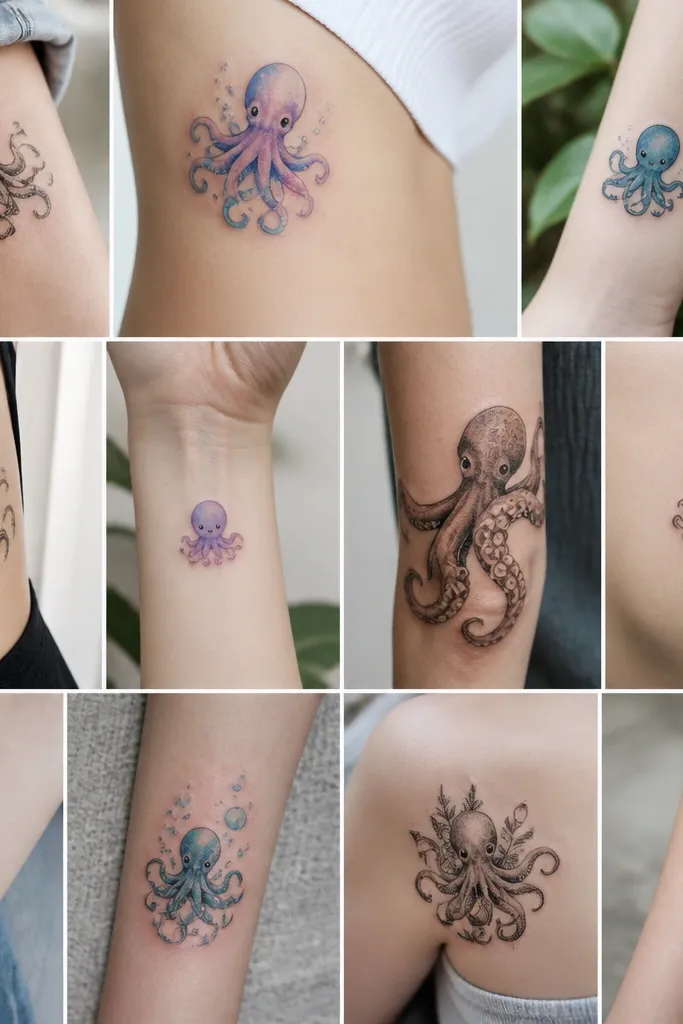
7. Inner Bicep Octopus with Soft Watercolor Wash
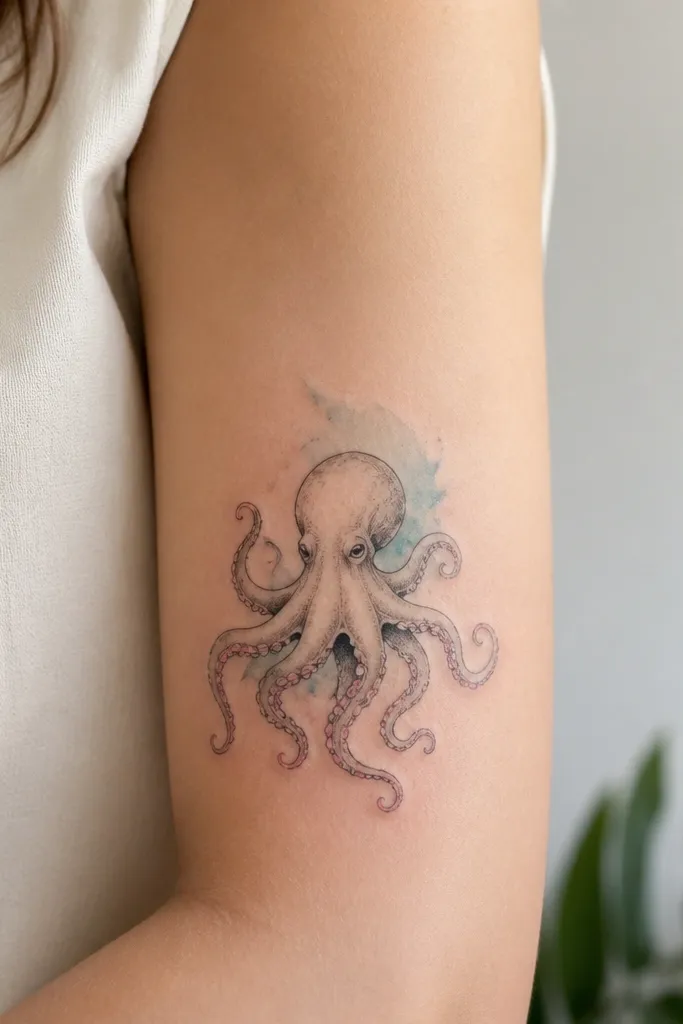
This is cute without going cartoony. The watercolor wash gives a gentle ocean glow, and the thin black linework keeps the octopus from looking like a stain. Inner bicep is also a good choice because it's a relatively smooth surface where the wash can sit evenly. The pale blue and faint pink accents make it feel playful instead of dramatic.
Position it on the inner bicep, about halfway between your armpit and elbow. Size it so the head is about 1.25 inches across, with tentacles extending only a little past the head's width. Tell your artist the wash needs to be diluted - you want transparency, not solid color blocks.
Pro tipAsk to see a sample of the artist's watercolor style on skin before you commit to color in your tattoo.
AvoidAvoid heavy blue saturation; it can heal muddy and hide the suckers.
8. Palm-Side Forearm Octopus with Thin Seaweed Curl
This design works because it uses negative space as part of the composition. The seaweed curl behind the head gives the octopus a "label" shape, which makes the tattoo look intentional even if it's small. Thin linework keeps it airy, and the tentacles stretching toward the hand look active. It reads playful because the octopus isn't packed with details - it's got breathing room.
Place it on the thumb-side forearm, just above where your wrist tendons show. Keep the seaweed line light - same line weight as the octopus outline. Make the tentacles slightly longer than the head height so the motion feels natural.
Pro tipTest the placement by flexing your wrist during the stencil check; you want the tentacles to stay aligned when your tendons move.
AvoidSkip thick black fills; they make the whole thing look heavy and less cute.
9. Shoulder Cap Octopus with Dotwork Halo

A dotwork halo makes the octopus look like it's glowing, which reads cute on the shoulder. The shoulder is wide, so you can keep the octopus compact while still getting a full halo effect. Dotwork also hides minor uneven healing better than crisp full-shade areas. The tentacles curl down so the tattoo doesn't fight the shoulder's roundness.
Place the head near the top outer shoulder, then let the halo extend outward slightly but not down the arm. Keep the halo diameter under 3 inches so it stays in the "small tattoo" category. Use dotwork in a consistent density - lighter at the edges, darker behind the head.
Pro tipWear a sleeveless top during the stencil session so you can see how it sits on your shoulder line.
AvoidAvoid a halo that's too dense; it can look like a dark circle instead of a cute glow.
10. Lower Back Octopus with Minimal Line Tentacles
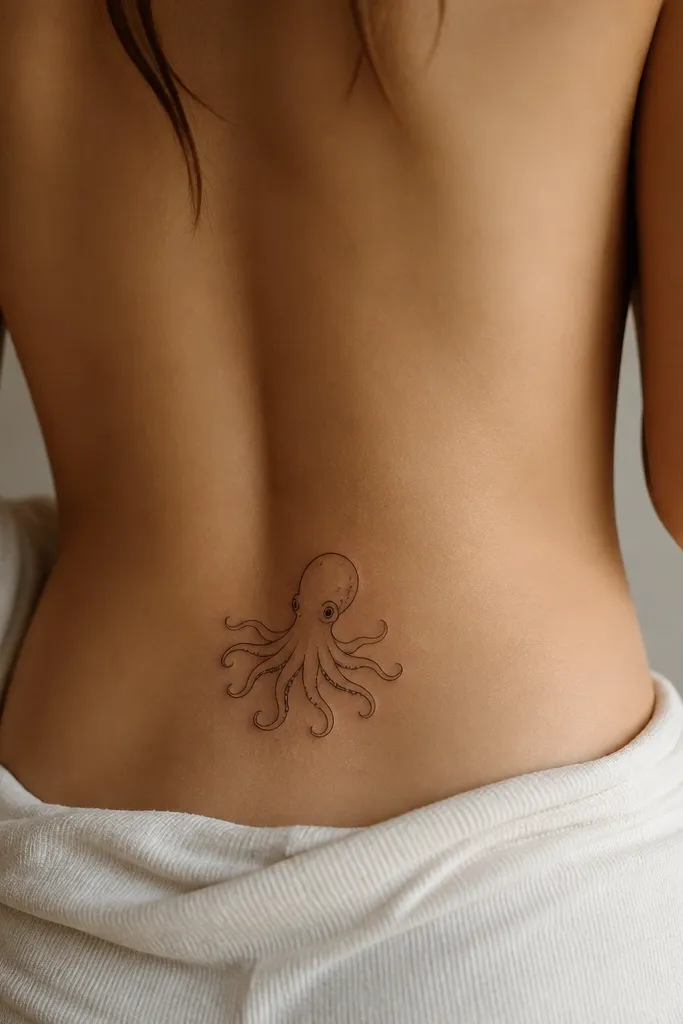
Lower back is a great spot for a cute octopus because it looks like it's peeking from beneath clothing. Minimal line tentacles keep the design classy and readable, especially from the side. The lack of heavy shading makes it easier to see the suckers and the head shape during healing. If you keep it small and clean, it stays cute even years later.
Place it slightly off-center on the upper outer lower back, about 2-3 inches above the waistband line. Keep the head under 1 inch across. Use a few dot highlights only - think 6-10 dots total - so it doesn't turn into a gray wash.
Pro tipCheck the placement when you're standing straight and when you're leaning slightly forward; lower back tattoos shift with posture.
AvoidSkip a big octopus on the lower back if you hate touch-ups; this area fades faster and details can soften.
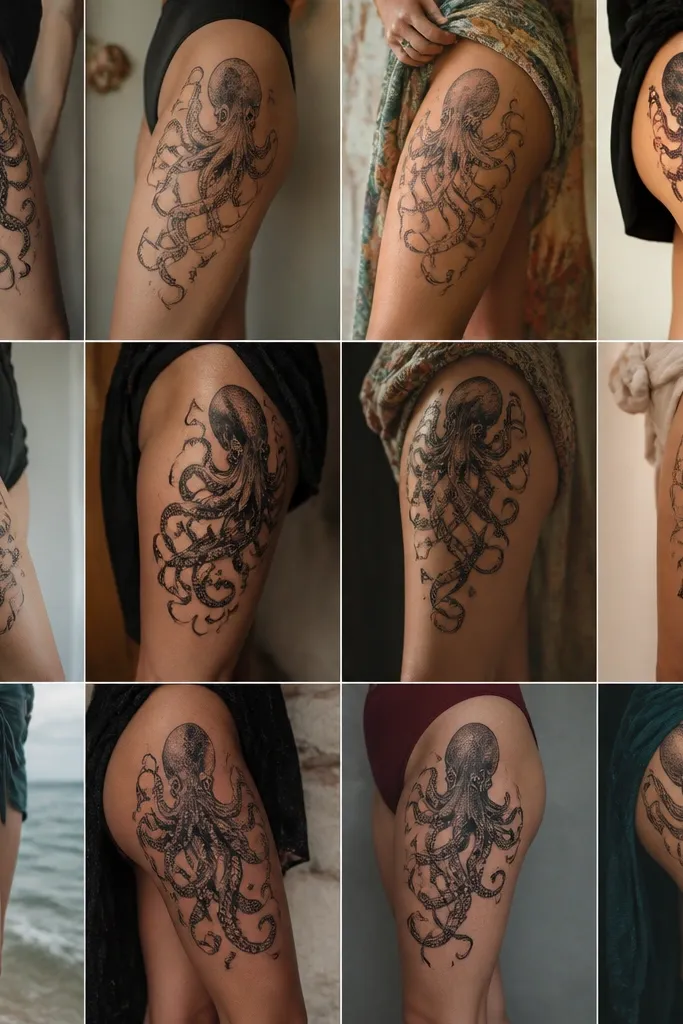
11. Upper Thigh Octopus with Cute Bow-Tie Seaweed
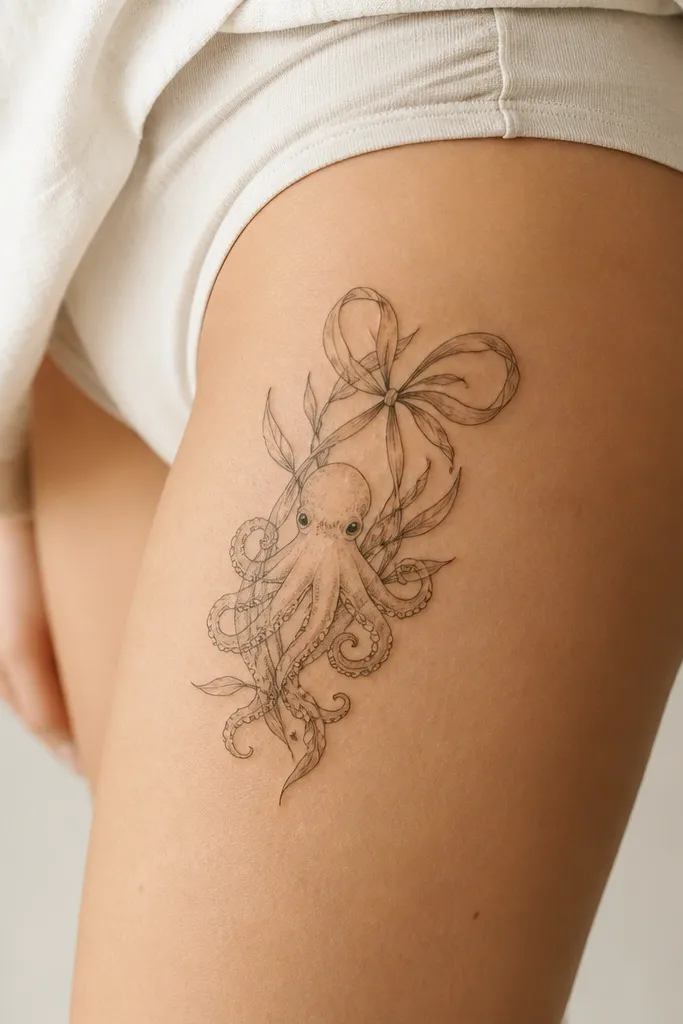
This one looks playful because of the bow-tie seaweed framing. The octopus sits in front, while the curled seaweed creates a clear shape that reads well when your thigh moves. Thin linework keeps it crisp, and the bow shape adds a "character" element without turning it into a cartoon face. It also gives your artist a guide for tentacle placement.
Place it on the outer upper thigh, midway between hip and knee, and size it so the bow-tie seaweed spans about 2 inches. Keep tentacles wrapped just enough to overlap the seaweed line - not too much, or it becomes messy. If you want color, stick to a tiny hint of pale green in the seaweed tips.
Pro tipDuring the stencil, sit down and stand up - the thigh stretches, and you want the bow to stay symmetrical.
AvoidAvoid placing it too close to where underwear seams rub; it can blur faster.