1. Single Stem Micro Olive Branch on Forearm
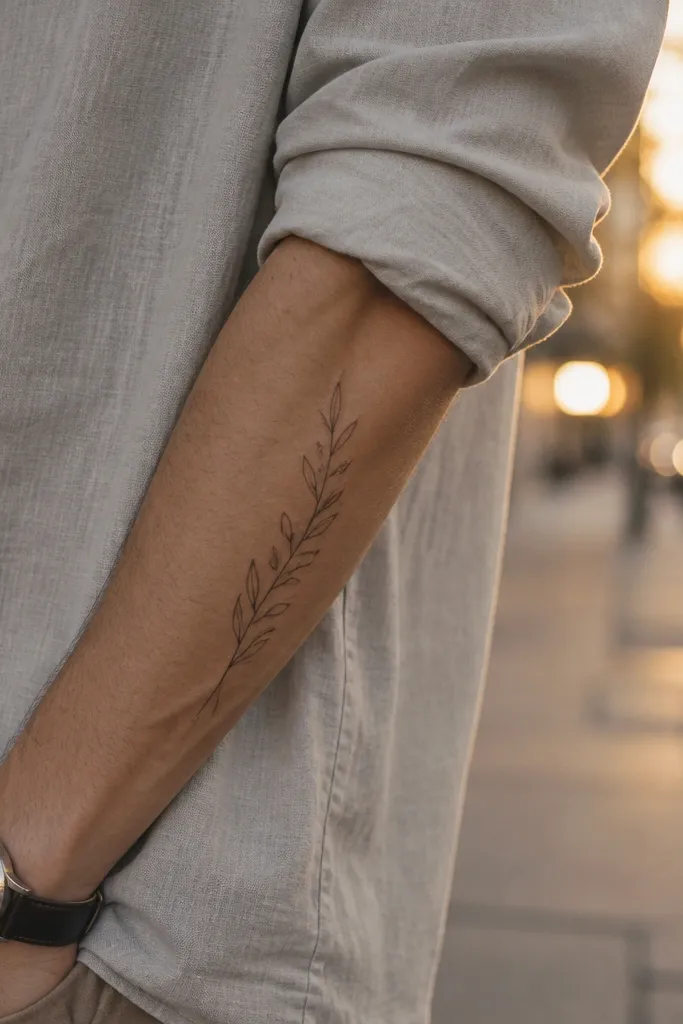
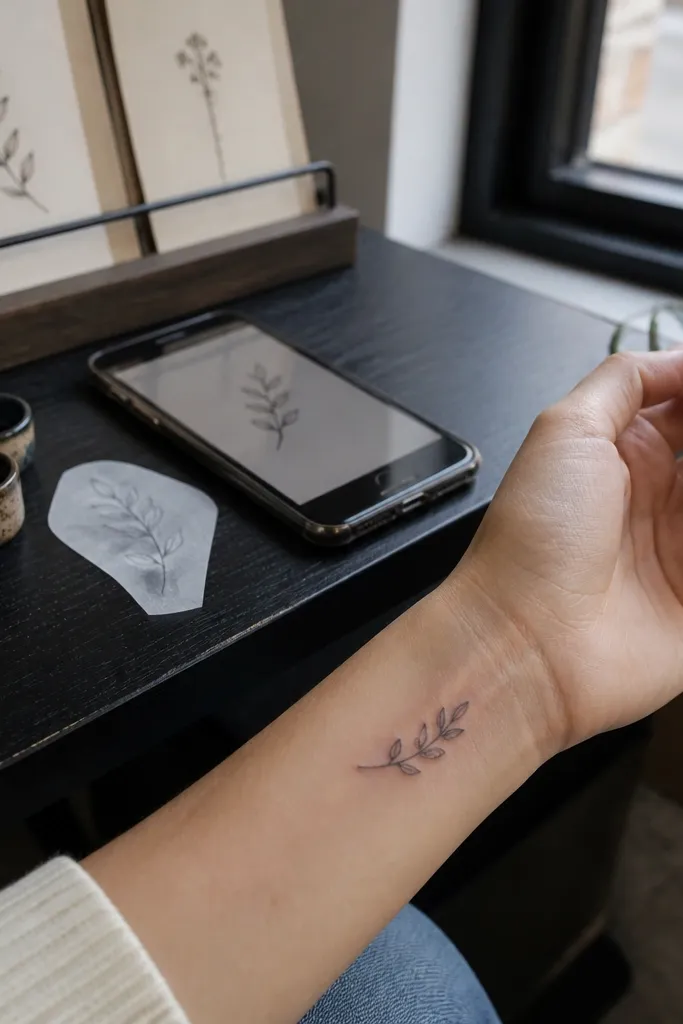
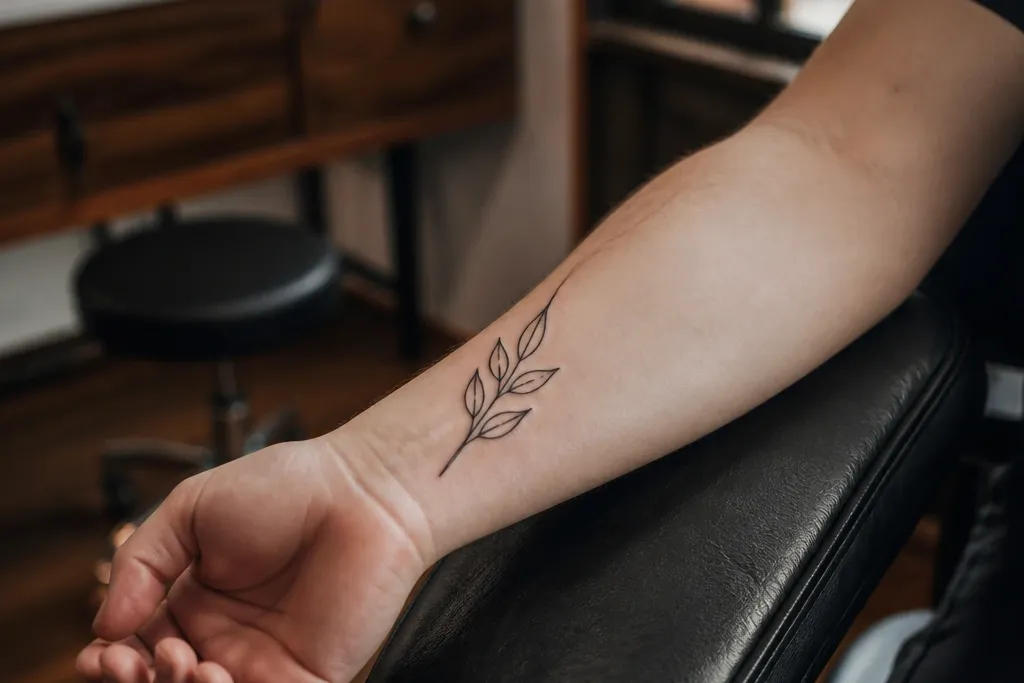
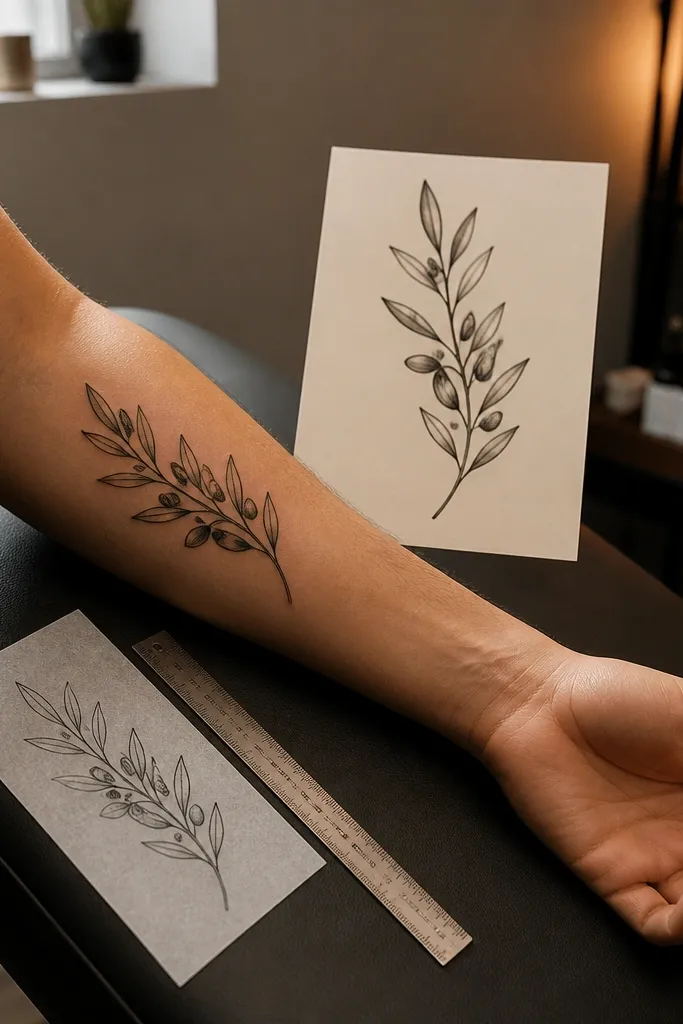
This one is for when you want the symbol to feel personal, not decorative. The single stem layout keeps the composition calm, and the micro leaves make it look intentional up close without needing color or shading. I like it on the forearm because the branch can “flow” with your muscle line, and it still reads as an olive branch even when you’re wearing long sleeves. Traditional symbolism stays intact — peace, protection, and a little resilience — but the modern minimalist treatment keeps it from looking like a logo.
Start by choosing a size that fits your forearm span — I’d plan about 3 to 5 inches for a first pass, not a tiny 1-inch sprig. Then ask your artist to use thin-to-medium black linework and keep the leaves spaced so you can see skin between them. Finally, decide whether you want a slight stem taper (thicker at the base, thinner at the tip) — it makes the whole branch look “grown,” not drawn. Expect mild tenderness for a couple days, and keep it out of direct sun while it’s healing so the black stays sharp.
Editor's noteTell the artist you want “one repeating leaf shape” and show them a reference photo of an olive leaf you like so the rhythm stays consistent.
One warningDo not add extra leaf clusters to fill empty space — the minimal look dies when the branch starts to crowd itself.
2. Two-Branch Olive Wreath Half-Circle on Upper Arm
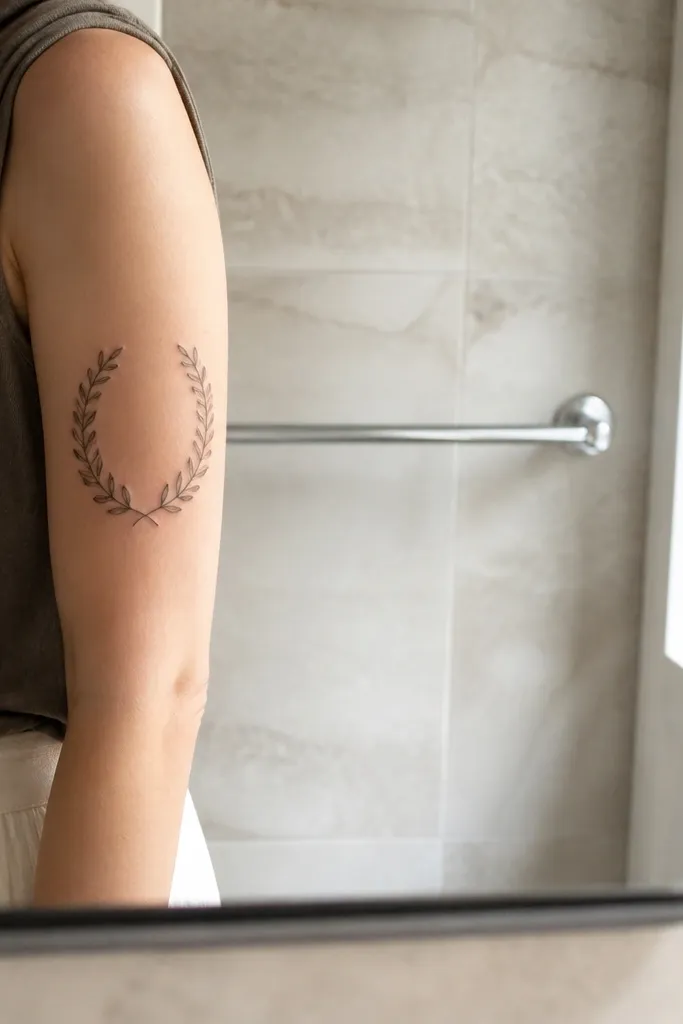
A half-wreath gives you that traditional “peace ring” feeling without turning into a full band tattoo. The two-branch split is what makes it look modern — it creates a frame, but the center stays airy. I’ve had this design photographed in front of a mirror and it still looks balanced because the leaves are not all the same size; they taper slightly as they go up. It’s also a great choice if you want the tattoo to look composed even when your arm is relaxed.
Start with placement: outer upper arm or upper arm sleeve area, where the curve is steady. Then plan a rough diameter of 4 to 6 inches for the half-circle so it stays legible as it ages. Ask for consistent leaf outlines with only light gray under-shadow on every third leaf, if you want depth; otherwise keep it pure linework. For aftercare, treat it like a linework tattoo — wash gently, pat dry, and moisturize with a thin layer so the ink does not scab thickly and soften the edges.
Editor's noteIf you want it to look more minimalist, ask for the meeting point at the bottom to be a simple knot line, not a detailed ribbon.
One warningAvoid thick black fills in the wreath center — it makes the whole piece look heavier than you intended.
3. Olive Branch with Tiny Peace Symbol Leaf at the Tip
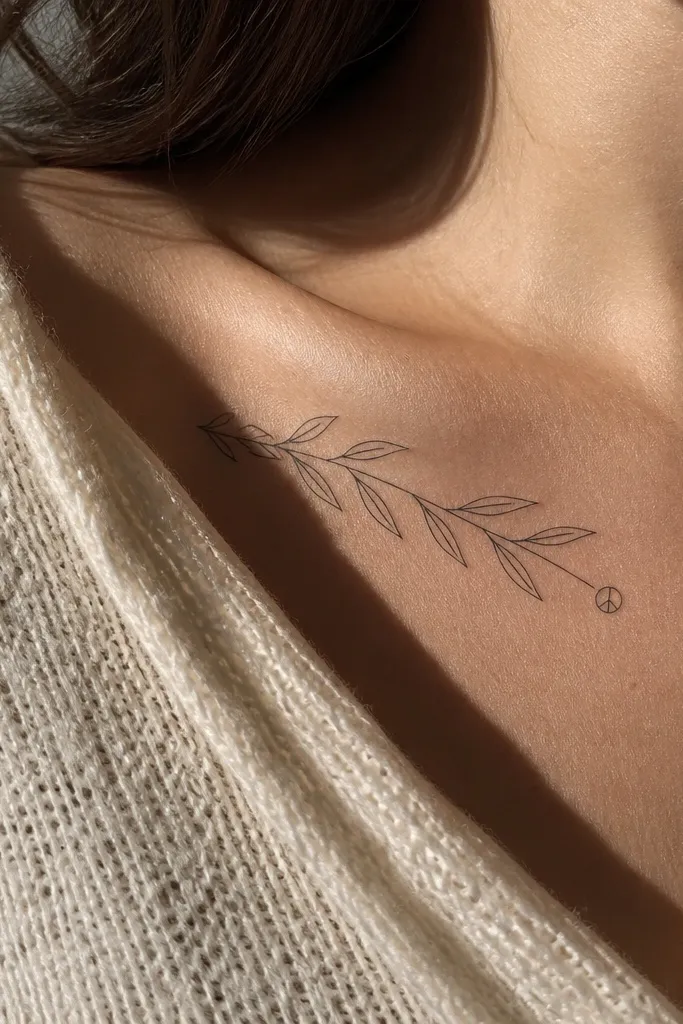
This is the one I recommend when you want the traditional olive branch but you also want it to feel current and slightly playful. The peace symbol micro detail is subtle — it reads only when you look closely, which keeps the whole design from becoming a loud icon. Diagonal placement near the collarbone makes the branch feel like jewelry, and the fine lines look especially clean in daylight. It’s a strong pick for someone who wants meaning without a big banner tattoo.
Start by marking a diagonal path from collarbone toward upper chest — keep it under 4 inches long so the peace symbol stays tiny. Then ask for linework that is consistent in thickness, with the peace leaf made using negative space rather than heavy black fill. Finally, include a slightly curved stem so the top leaf doesn’t look “stuck on” — movement reads as natural. Healing is usually quick, but the collarbone area gets dry fast, so moisturize lightly and avoid tight collars that rub.
Editor's noteAsk the artist to draw the peace symbol first in stencil at the leaf size so you can approve the scale before ink goes in.
One warningDo not make the peace symbol too detailed — if it has tiny internal lines, it will soften as it heals.
4. Olive Branch Single Leaf Cluster on Wrist (Asymmetrical)
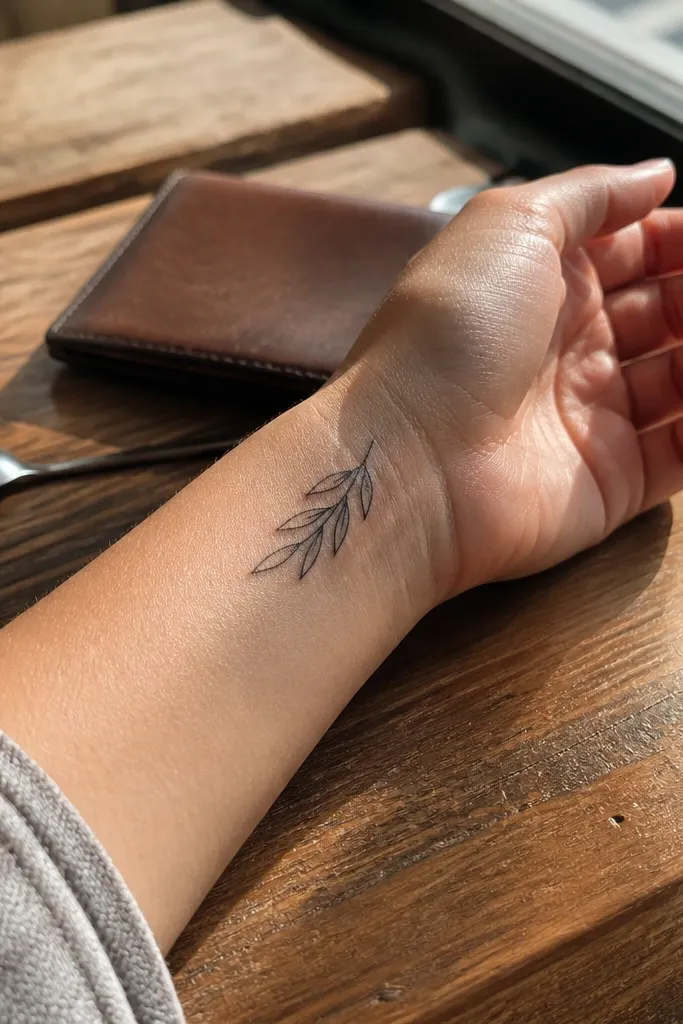
Wrist tattoos look great when they’re light and intentional, and asymmetry is the trick that keeps it from looking like a sticker. The asymmetrical cluster makes the branch feel alive, not centered like a logo. I like this design for daily wear because it stays neat under sleeves and still catches light when you move your hand. Traditional symbolism is clear because the leaf shapes are still recognizable, even though the tattoo is small.
Start by choosing wrist side placement rather than straight across the pulse — it hides better when your hand flexes. Then keep the total size around 1.5 to 2.5 inches and use fewer leaves than you think you need. Ask for thin linework with minimal shading; on the wrist, shading fades faster, so line clarity matters most. During healing, expect flaking because wrists move a lot — keep it clean, moisturize often, and avoid soaking it.
Editor's noteRequest a stencil that shows how it looks when your wrist bends; approve the final orientation before you commit.
One warningAvoid adding a full stem length up the forearm unless you’re ready for a longer commitment to linework maintenance.
5. Olive Branch with Thin Ribbon Banner on Forearm
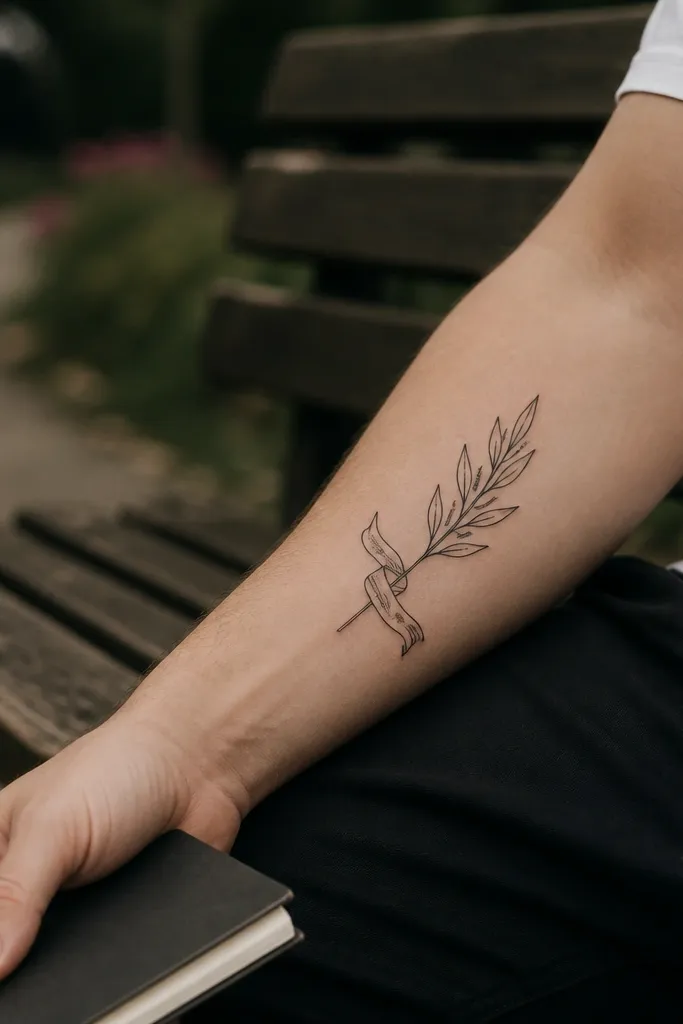
Banners are traditional, but they can get messy fast. This version stays minimalist by keeping the ribbon linework thin and leaving the folds simple. The banner gives the branch a focal point, so the tattoo feels “finished” even though the rest is mostly negative space. I’ve seen this look especially good on forearms because the ribbon crossing makes a natural visual anchor when your arm is down.
Start by placing the branch vertically with the banner crossing at mid-forearm, around 3 to 4 inches from the wrist. Then ask the artist to draw the ribbon first as a curved band and let the stem tuck under it, so the overlap looks deliberate. Finally, limit shading to a few leaves only — one soft gray underlay per leaf cluster — so the linework stays crisp. Pain is usually mild, but forearm skin can get irritated from friction, so avoid tight sleeves right after.
Editor's noteIf you want words later, wait — tattoos with text over time can blur more than line-only designs.
One warningDo not add ornate lettering or heavy ribbon fill — it turns a minimalist symbol into a busy poster.
6. Olive Branch Micro Dotwork Background on Calf
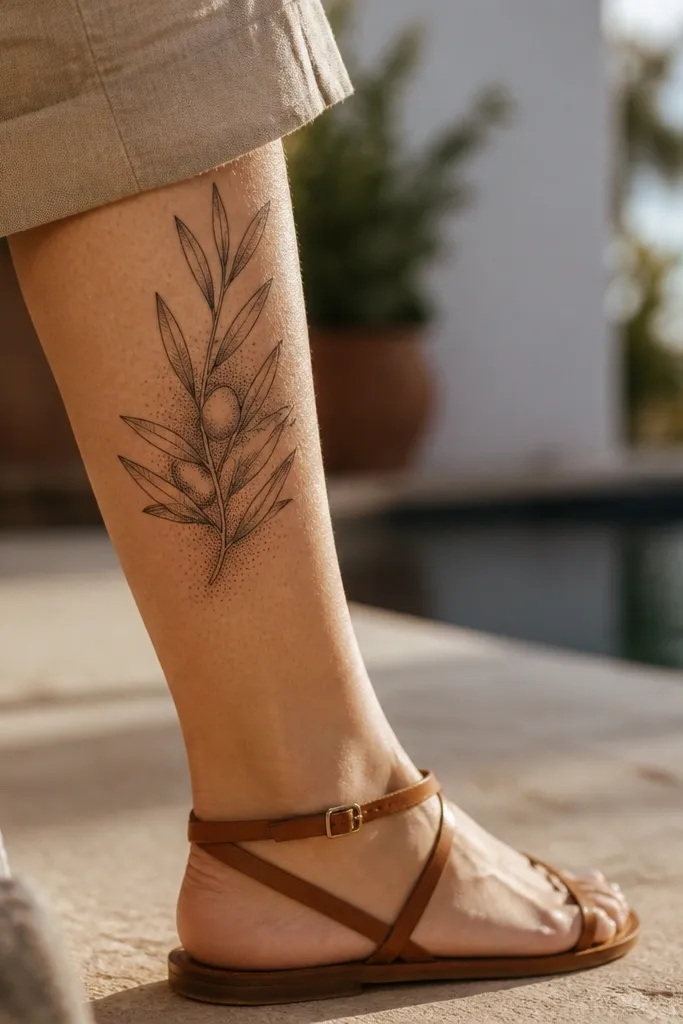
Dotwork is the easiest way to add depth without turning the tattoo into a dark blob. This design keeps the olive branch itself mostly linework, while the tiny dots create atmosphere behind it like a soft spotlight. It still reads as traditional because the leaf shapes are classic, but the modern minimalist feel comes from the restrained dot density. Calves help because the skin is thicker and you have room for the branch to breathe.
Start by sizing it for the calf length — plan 5 to 7 inches so the branch has room for a gentle curve. Then ask for micro dotwork only behind the stem and outer edge of leaves, not inside every leaf — that keeps it airy. Finally, request dot spacing that fades outward; your artist can do this by starting denser near the branch and tapering off. For healing, dotwork can weep more than pure lines, so keep it clean, pat dry, and do not over-moisturize.
Editor's noteBring a reference of dotwork halos you like, and ask for a test stencil section so you can approve density.
One warningAvoid full shaded backgrounds — they age into gray haze and drown the branch.
7. Olive Branch on Ribcage with Negative Space Center
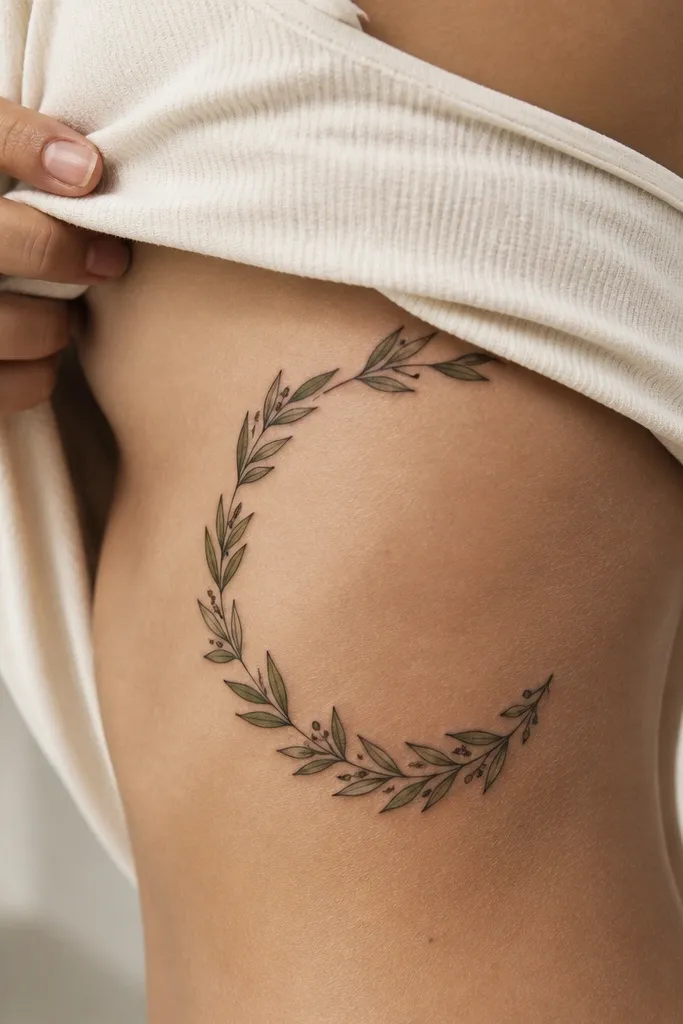
Ribs are perfect for minimal olive branches because the body movement makes the branch look like it’s floating. The negative-space center is what makes this feel modern — it avoids that “filled wreath” look that can feel heavy on skin. Traditional meaning stays present because the leaves still read clearly, even with minimal linework. This is also a flattering choice if you want something that photographs well from the side, not just straight-on.
Start by placing it along the side rib curve, roughly between the bra line and upper ribs, about 4 to 6 inches long. Then ask for leaves that are mostly outline with no dense shading, and keep the stem from crossing itself — one clean path. Finally, agree on a line weight that is thin enough to stay delicate but not so thin it disappears; medium fine-line is the sweet spot here. Aftercare matters more on ribs because of friction — wear breathable clothing and keep the area dry when you can.
Ask the artist to check placement while you exhale and while you inhale so the branch doesn’t distort into an awkward angle.
Avoid very dense leaf clusters — ribs already move, and crowded lines blur sooner.
8. Olive Branch Underline on Collarbone (Horizontal Line Style)
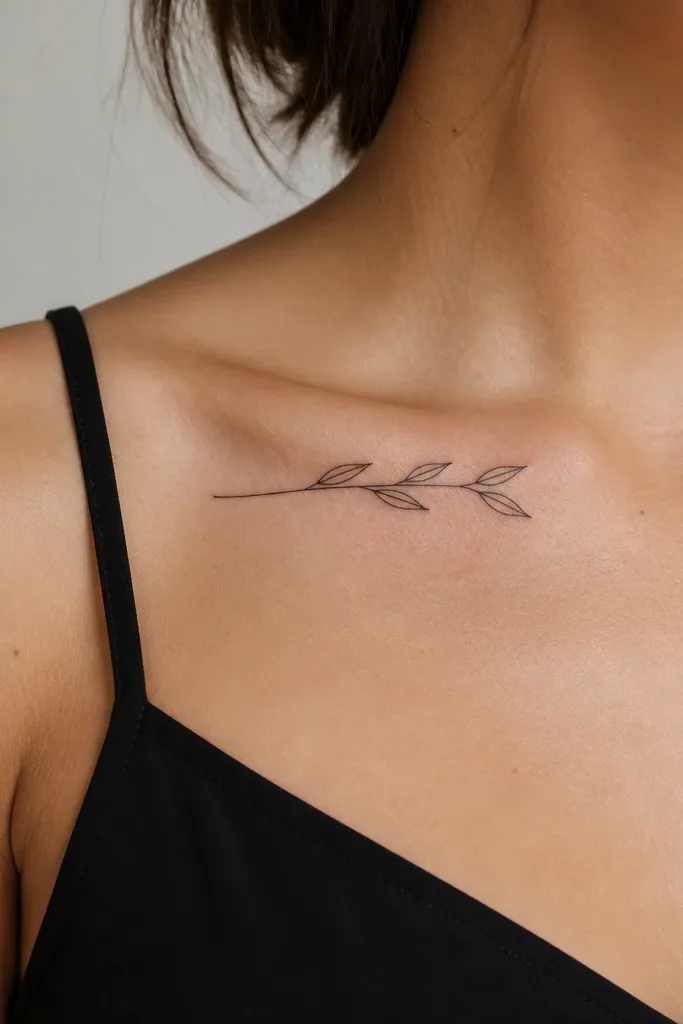
This layout is clean like jewelry. The horizontal underline placement makes the olive branch feel intentional and minimal, and it frames your collarbone without covering it. I like it because it looks good even when your hair covers part of your neck; the branch still reads. Traditional symbolism is there, but the modern minimalist styling keeps it from looking overly romantic or overly religious.
Start by marking the collarbone line you want to follow — keep the tattoo around 3 to 4.5 inches so it does not spread too far across the chest. Then ask for leaves that step along one side of the stem, not mirrored everywhere; that asymmetry makes it look more design-forward. Finally, keep shading to a single light gray underlay on the bottom-most leaf only — too much shading on collarbone fades quickly. Healing tends to be fine, but collarbone tattoos get dry — moisturize and avoid scratchy bras or straps for the first week.
Editor's noteIf you want it extra minimalist, ask for no leaf stems — just leaf outlines attached to the main stem.
One warningDo not place it too close to the shoulder joint where skin wrinkles — it will crease and blur.
9. Olive Branch with Single Feather-Like Leaf Shape on Upper Arm
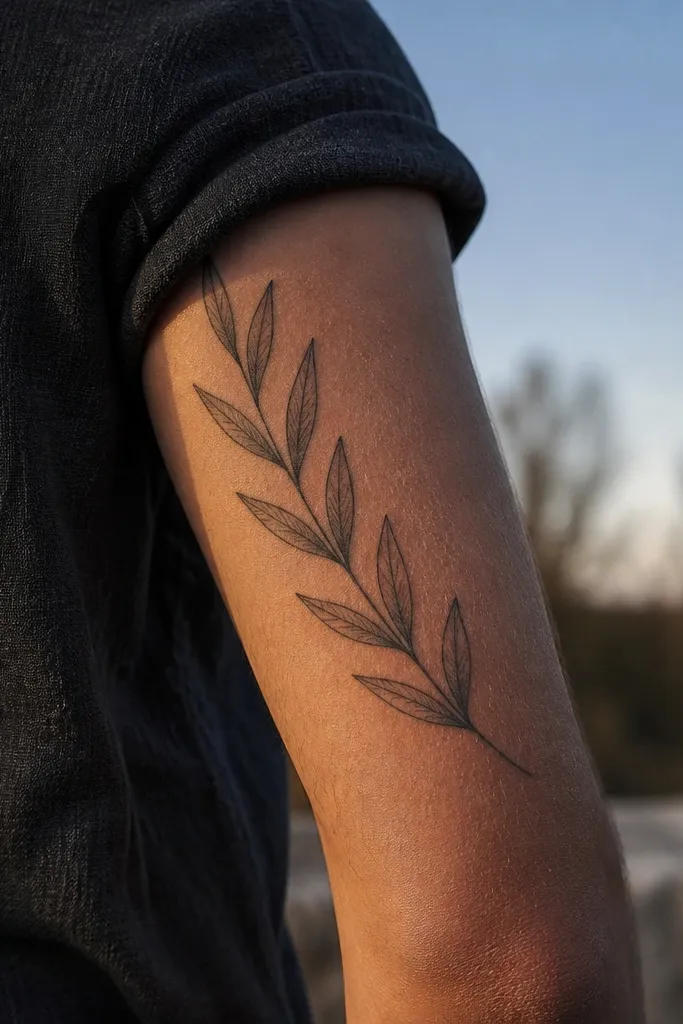
Most minimalist olive branches use classic oval leaves. This one tweaks the leaf shape so it feels more modern and less botanical, while still reading as olive from a distance. The central line in each leaf adds structure and keeps the tattoo looking sharp as it heals. Upper arm placement gives it room to curve, and the elongated leaves look great when your arm flexes — they catch light along the edges.
Start by choosing a placement on the outer upper arm with a clear curved surface, and plan about 4 to 7 inches depending on how wraparound you want. Then ask for leaf outlines with a simple centerline, but keep the leaf size consistent within the branch. Finally, stick to black ink with no heavy gray; if you want dimension, add a soft gray wash only at the base of the leaves. Aftercare is normal, but avoid heavy friction from straps or rough clothing while it’s healing.
Editor's noteShow the artist a reference leaf shape you like and ask them to repeat that exact silhouette for every leaf.
One warningAvoid mixing leaf styles in one branch — different leaf proportions make the tattoo look unfinished.
10. Olive Branch Frame Around a Small Dot (Peace in a Circle)
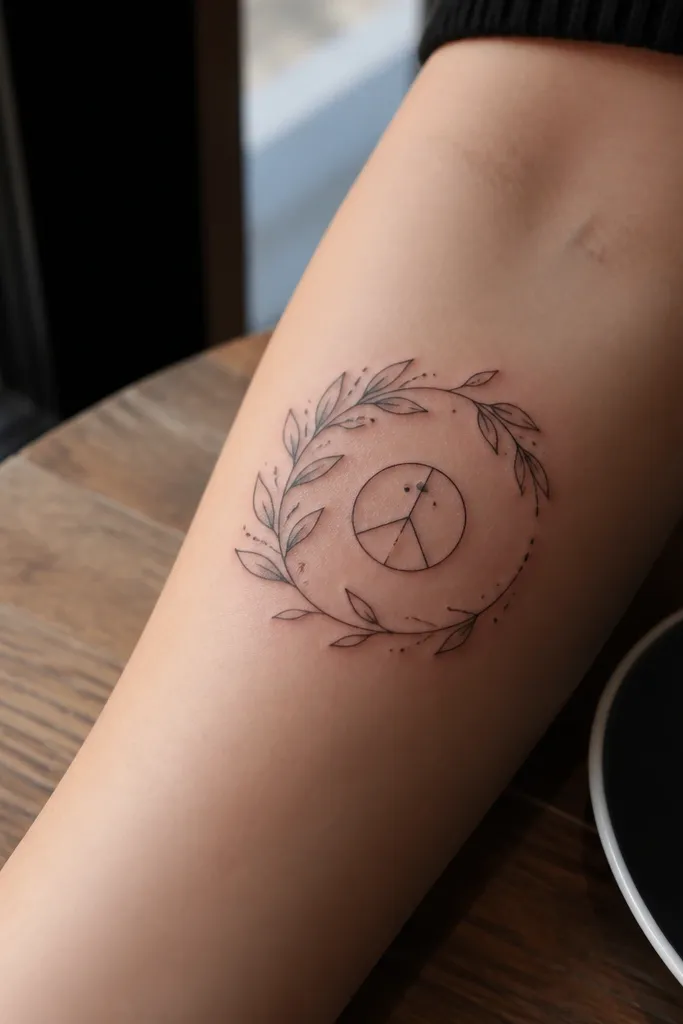
This design is about focus. The tiny dot in the middle acts like a “peace point,” and the olive branch frames it without closing completely, so it stays airy and modern. It looks great in photos because your eye naturally goes to the center dot, then follows the branch around. It’s also a smart choice if you want an olive branch that feels symbolic but not busy, and it works well for small placements where you cannot fit a whole wreath.
Start by keeping the overall size small — about 1.8 to 2.8 inches — and choose a placement with flat skin, like upper forearm or outer upper arm. Then ask the artist to draw the center dot first and build the branch around it with even leaf spacing. Finally, use linework only, with no shading inside the leaves, so the center stays crisp. Healing should be straightforward, but because it’s small, watch closely for over-drying and keep aftercare consistent.
Ask for the frame to leave a gap at one side so the design does not become a full ring.
Avoid thick outlines around the dot — it creates a heavy “sticker” look on small tattoos.
11. Olive Branch with Minimal Stem Knot at the Bottom
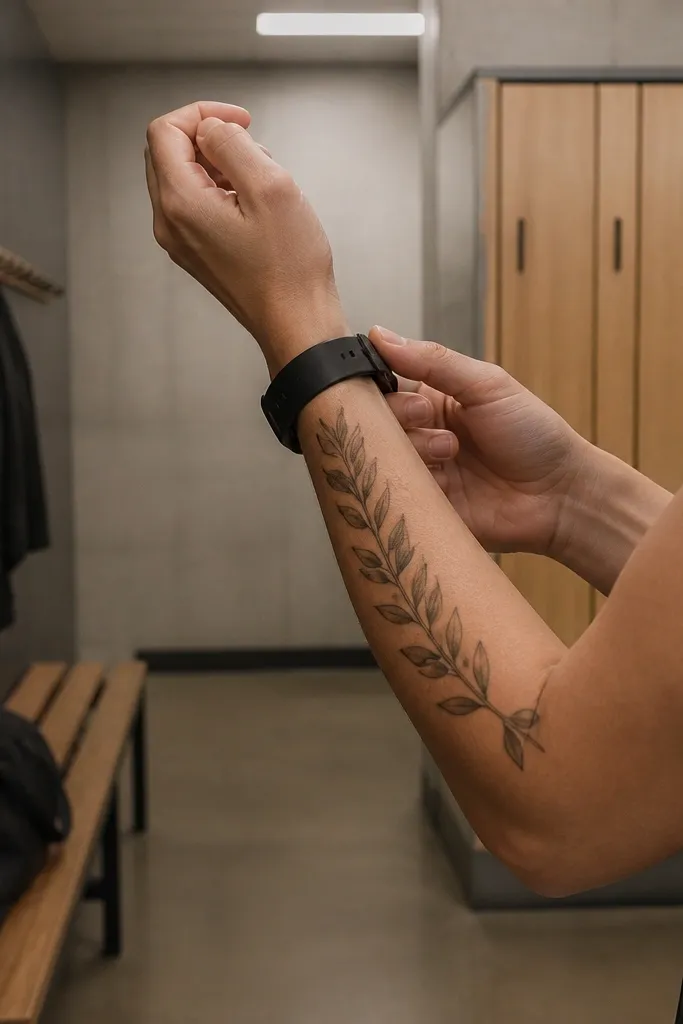
This is a classic traditional feel without the clutter. The knot at the bottom gives you that “tied together” symbolism, and it keeps the composition balanced so the branch doesn’t look like it’s floating off the skin. I love it on the back of the forearm because the branch arc looks smooth when your arm is extended. The modern minimalist look comes from the restraint — thin stem, repeating leaves, no extra ornamentation.
Start by placing it along the back of the forearm with a slight diagonal from wrist toward elbow, aiming for 4 to 6 inches. Then ask for a knot drawn as a few simple overlapping lines, not a detailed braid. Finally, keep leaf spacing consistent and limit shading to micro gray under the lowest leaves only. For aftercare, the back of the forearm can dry out fast, so moisturize lightly and avoid picking at any dry flakes.
Editor's noteIf you want it to age better, keep the leaves outline-only and skip inner texture.
One warningAvoid adding extra leaf clusters above the knot — it makes the bottom look crowded and throws off balance.
12. Olive Branch Half-Arch with Tiny Leaves in a Grid-Like Rhythm
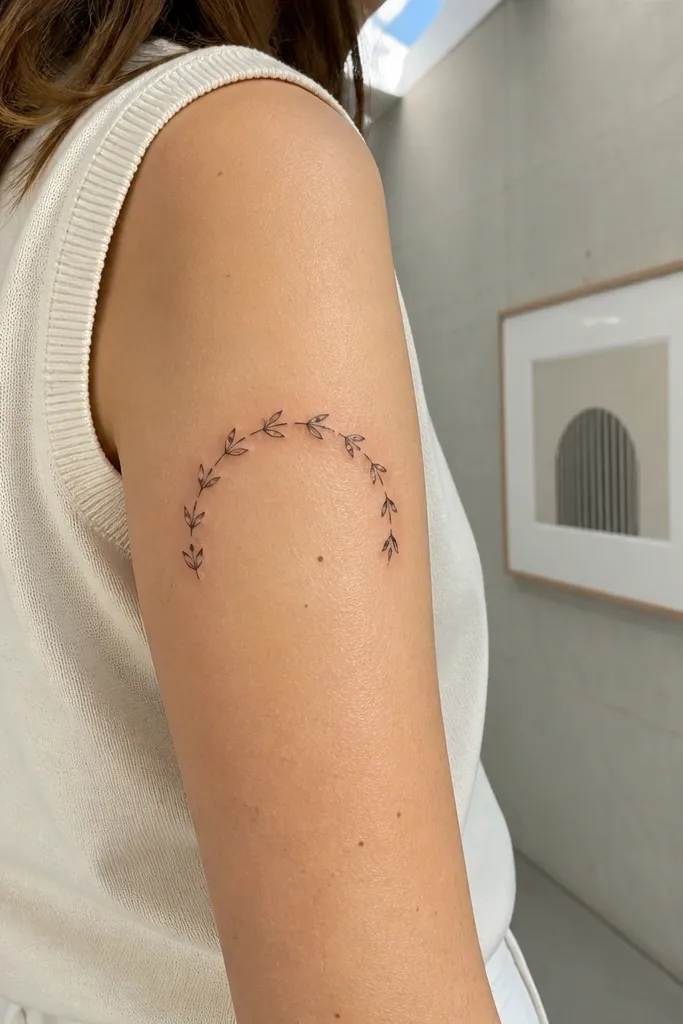
This one looks modern because the rhythm is controlled. Instead of random botanical variation, the leaves repeat in a design pattern, which is why it photographs so neatly. The half-arch placement makes it feel like a minimal frame, and it reads as traditional olive because the leaf shape is still classic. If you’re someone who likes symmetry but does not want a full wreath, this is the compromise.
Start by picking a placement with enough length — outer forearm or upper arm — and plan around 4 to 6 inches. Then ask for a consistent leaf size and angle, and make sure the artist keeps spacing uniform so the pattern does not drift. Finally, request no shading at all for maximum crispness over time. Healing is usually easy, but uniform linework can scab evenly; keep it clean and moisturize thinly so the edges stay sharp.
Bring one reference leaf and ask the artist to match it exactly for every leaf in the sequence.
Avoid mixing leaf sizes in the same arch — the design pattern breaks and looks accidental.
13. Olive Branch Corner Accent on Shoulder Blade
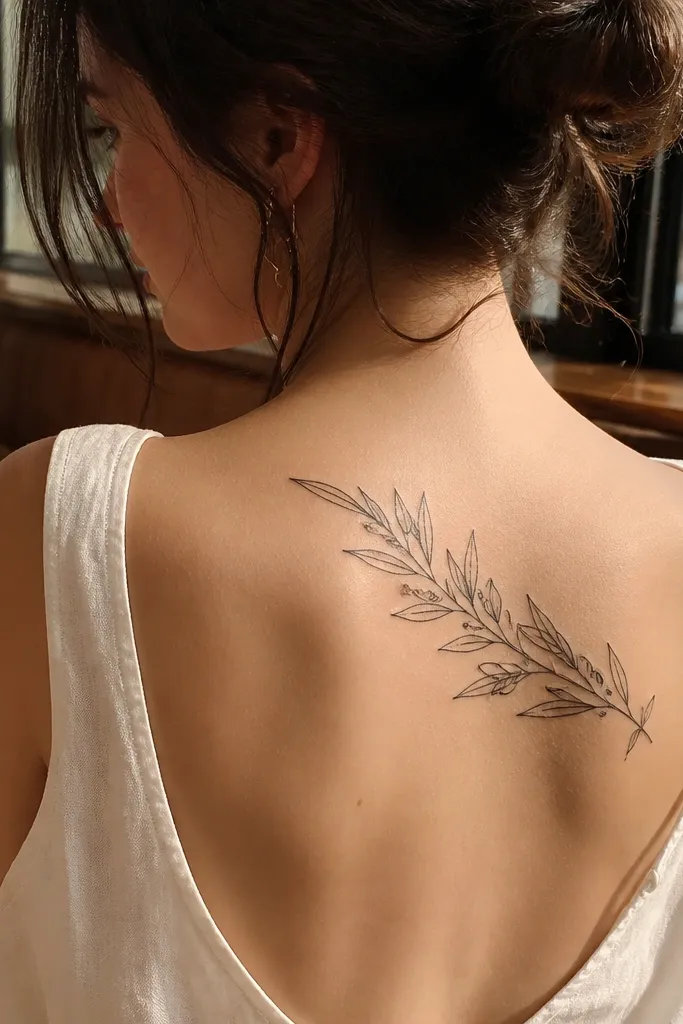
Corner accents are underrated for olive branches. They feel traditional because the branch still looks like a real sprig, but the placement makes it look graphic and modern. Shoulder blade tattoos photograph beautifully because you can show them when you turn your body, and the negative space makes the leaves look sharp. This is a good option if you want meaning but you do not want a large tattoo that dominates your back.
Start by choosing a spot on the upper outer shoulder blade where skin is relatively smooth, not right over a bony ridge. Then keep it small — about 2.5 to 4 inches — with only 3 to 6 leaves plus one bud. Finally, ask for thin linework and a tiny touch of gray on the bud if you want contrast, but keep everything else outline-only. Aftercare is normal, but bras and straps can rub the area, so plan for looser clothing during healing.
Ask for the branch to angle toward your spine so it looks tucked, not scattered.
Avoid placing it too low on the shoulder blade where the tattoo stretches when you move your arm.
14. Olive Branch Minimal Bouquet on Upper Arm (Two Branches, One Stem Base)
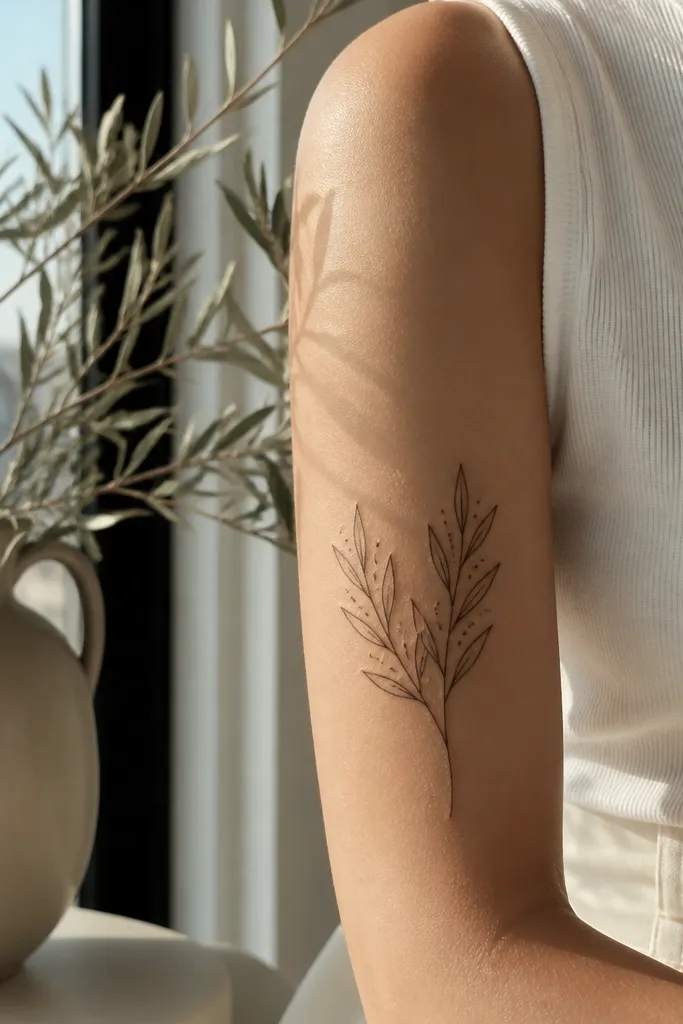
Bouquet style makes the olive branch feel like it belongs in a modern still-life photo. It’s traditional in the symbol, but the composition is graphic because the branches share one base and then separate cleanly. I like this for people who want something more interesting than a single stem but still minimal enough to stay classy. The symmetry in the base helps it look intentional even if one branch is slightly higher.
Start with placement on the outer upper arm where you have a smooth curve, and plan around 5 to 8 inches. Then ask your artist to draw one base stem first, with two consistent leaf patterns that match each other’s leaf count. Finally, keep it linework-only; if you add shading, do it only at the base overlap so it does not blur. Healing is usually comfortable, but outer upper arm can peel — keep it moisturized and avoid tight sleeves.
If you want it extra minimalist, ask for the leaves to alternate slightly in angle so it looks hand-arranged, not stamped.
Avoid uneven leaf spacing between the two branches — it reads as imbalance in photos.
15. Olive Branch with Micro Crosshatch Stem on Ankle
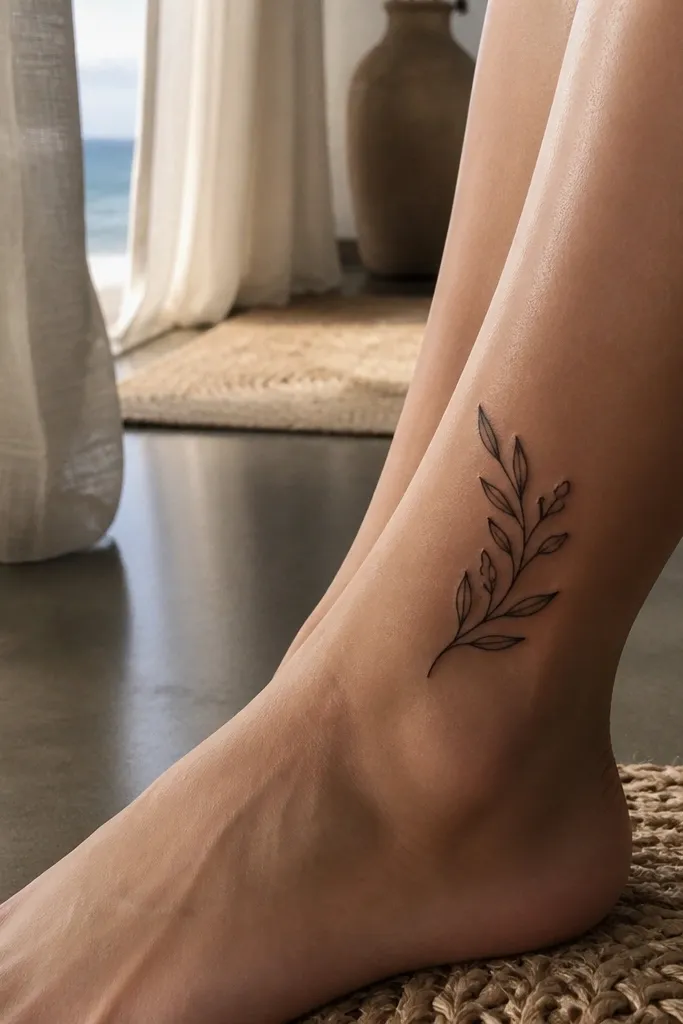
Ankle tattoos need restraint, and crosshatch can be the right kind of texture when you keep it light. This design keeps the leaves minimalist but gives the stem a tiny bit of character, like a hand-drawn antique engraving. It still reads as traditional olive because the leaf silhouettes are classic. The modern minimalist appeal comes from the texture staying on the stem only, not inside every leaf.
Start by placing it on the front or inner ankle where the skin is flatter, and keep the size around 2 to 3.5 inches total. Then ask for micro crosshatch on the stem — light enough that it stays visible but does not turn into a solid gray line. Finally, keep leaf outlines clean and avoid shading; ankles fade faster than forearms. Aftercare is extra important because shoes rub — keep it clean, moisturize thinly, and wear breathable footwear during healing.
Ask the artist to show you a small stencil test for the crosshatch density so it does not look too heavy when healed.
Avoid heavy crosshatch that fills the stem — it will look smeared as the ankle moves.
16. Olive Branch with Minimal Dot Shading on Leaves (No Fill)
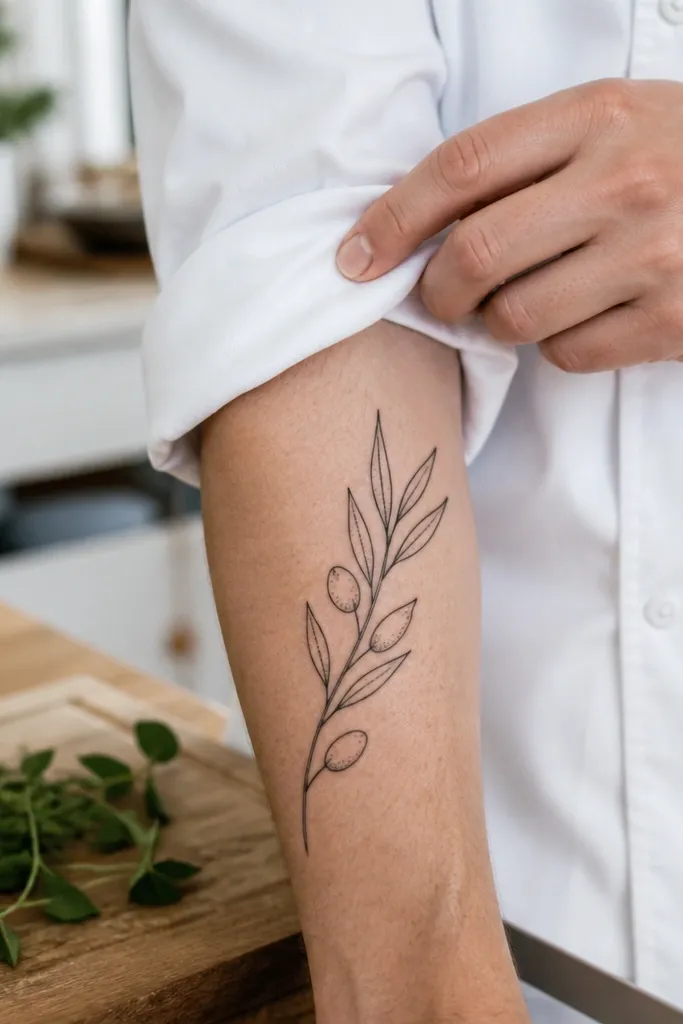
Dot shading on the leaves is how you get dimension without losing the crispness that makes minimalist tattoos look modern. Here, the shading is placed like a highlight near the center, so the leaf still reads as an outline first. I’ve found this style looks best when the dots are sparse and consistent, not dense. It’s traditional olive symbolism with a cleaner finish — and it photographs well because the tiny dots catch light under bright sun.
Start by choosing a placement with enough surface area — calf or forearm is best — and plan 5 to 7 inches. Then ask for dot shading only at the leaf center or near one edge, keeping it light and not touching the outer line. Finally, keep the stem line thin and smooth; the stem should not be textured. Healing dotwork can take a touch longer to look settled, so moisturize gently and avoid picking.
Editor's noteIf you want the cleanest look, ask for dot shading on only half the leaves and keep the others outline-only.
One warningAvoid full dot fills inside leaves — it turns the design into a gray pattern that ages faster.
17. Olive Branch with Thin Frame Line and Small Corner Leaves
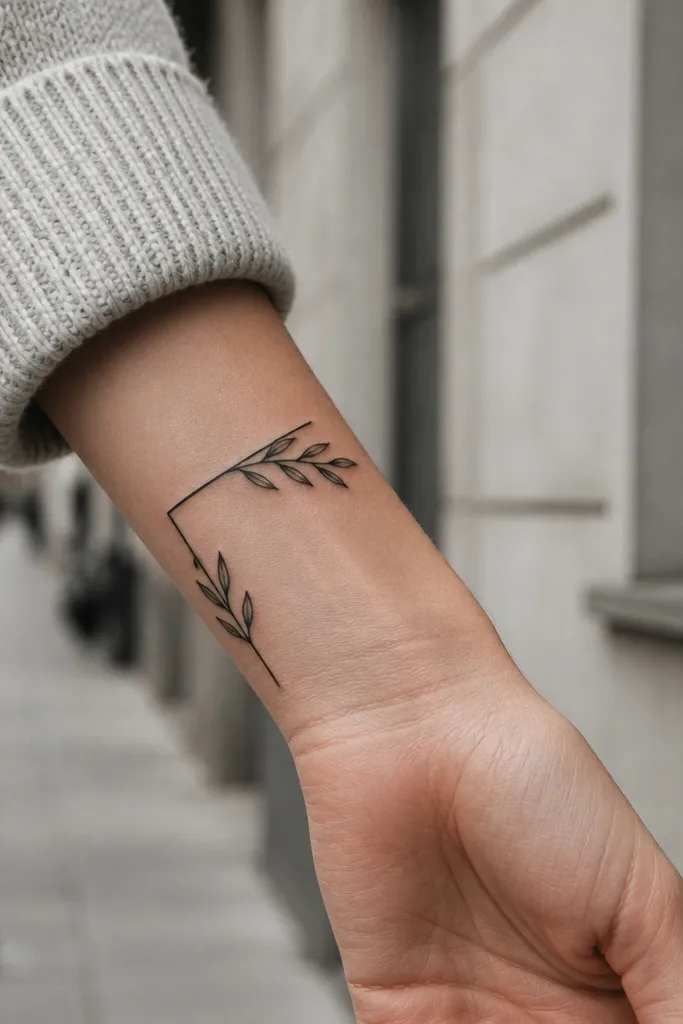
This is the design I pick when someone wants the olive branch symbol but also loves graphic layout. The thin frame line makes it feel like a minimal poster, and the corner leaves keep it from looking empty. It’s still traditional because the leaves are shaped like olives, but it reads more modern because of the strict geometry. This placement is great for photos where you can show the back — it looks intentional from multiple angles.
Start by placing it on upper back or shoulder blade area where the frame lines can sit flat when you stand straight. Then plan about 6 by 4 inches for the frame, and let the branch rise from the bottom center with 4 to 6 leaves. Finally, keep everything line-only; a frame with shading will look heavy fast. Aftercare is straightforward, but upper back sweats — use clean, breathable clothing and keep the tattoo dry between washes.
Editor's noteAsk the artist to stencil the frame first and check symmetry with your spine line before tattooing.
One warningAvoid thick frame lines — they overpower the olive branch and ruin the minimalist balance.
18. Olive Branch with Minimal Crown Knot on Top
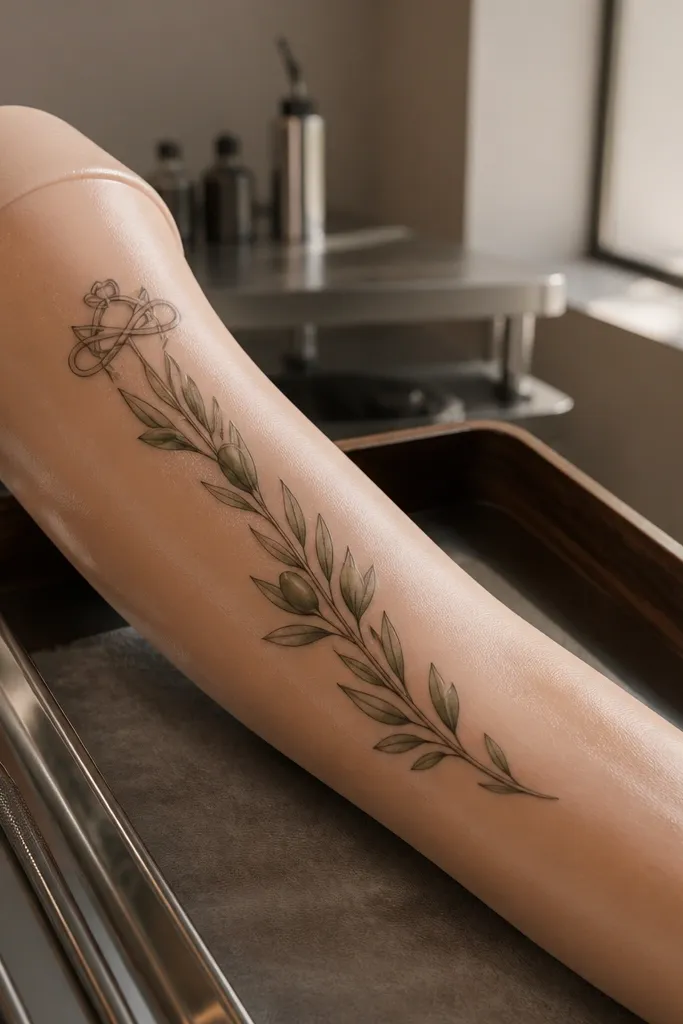
A crown-style knot adds meaning without adding a full crown. It turns the olive branch into a symbol of honor and peace, but in a subtle, modern way. The knot at the top creates a focal point, so the tattoo looks finished even if you only see part of it in a mirror. On the inner upper arm, the curve flatters the body and keeps the composition from looking flat.
Start by placing it on inner upper arm where the skin curves smoothly, and plan 5 to 7 inches. Then ask for a crown knot made of a few overlapping lines — no detailed spikes or gems — and keep the leaves spaced so the top knot does not feel crowded. Finally, add only light gray under the first two leaves near the knot if you want depth; otherwise keep it all linework. Healing should be fine, but inner upper arm can rub — keep clothing soft and clean.
If you want it extra minimal, ask for the knot to be one simple loop line instead of a crown shape.
Avoid heavy shading near the knot — it will darken quickly and blur the focal point.
19. Olive Branch with Single Line Vine Wrap on Forearm
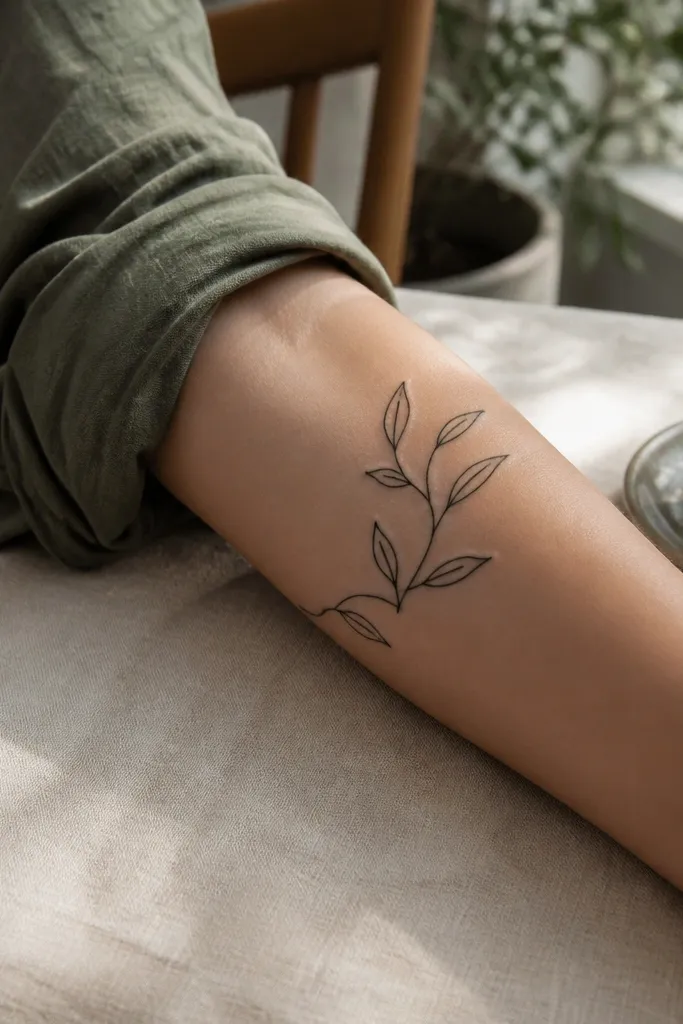
This is the “one-line” feel, and it looks modern because it’s graphic. The continuous line keeps everything connected, so the design stays readable even when your forearm moves. Traditional olive symbolism is still there because the leaf shape is olive-like, even if the linework is more abstract. I’ve found that this style is perfect for people who want minimal but do not want something that looks too simple or too small.
Start by choosing a forearm placement where your skin stretches less, like outer forearm rather than inner near the elbow. Then ask for a continuous line that forms both stem and leaves, and keep the leaf count to 7 to 12 for a 4 to 6 inch piece. Finally, avoid shading entirely; continuous line tattoos look best when they age with clean contrast. Healing is usually manageable, but keep the tattoo dry and avoid friction from watches or bands.
Editor's noteAsk the artist to test the line thickness with a stencil swipe on your skin so it matches your desired delicacy.
One warningAvoid adding extra lines inside leaves — the “single line” look breaks if you get too detailed.
20. Olive Branch with Two Small Leaves and One Big Leaf Center on Hand
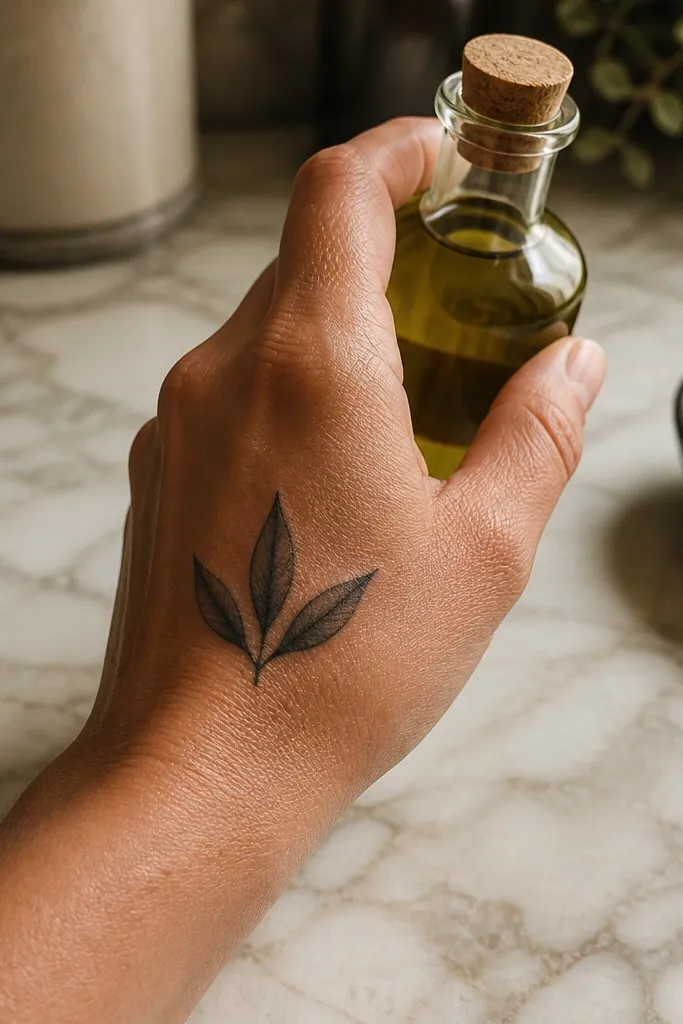
This is minimalist with a focal point. The big center leaf makes the tattoo recognizable even at a glance, and the two smaller leaves balance it without clutter. Hand placements need careful scale, and this design respects that by keeping everything bold enough to last. Traditional symbolism comes through in the leaf silhouette — it still feels like an olive branch, just compressed into a small modern design.
Start by placing it on the back of the hand where skin is relatively smooth, and keep it under 2 inches total. Then ask for crisp linework with no shading — hands fade differently, and shading disappears fast. Finally, make sure the stem is short and the leaves are thick enough in outline to stay visible. Aftercare includes extra attention: wash gently, moisturize lightly, and avoid soaking from dishes or long showers while it heals.
Editor's noteRequest slightly thicker lines than you would for forearm if you’re going on the hand — it helps longevity.
One warningAvoid thin hairline outlines on the hand — they fade into almost nothing.